|
|
|
|
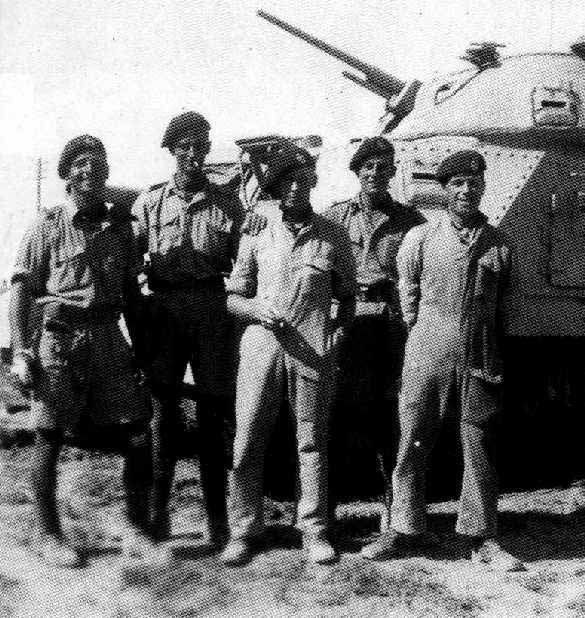
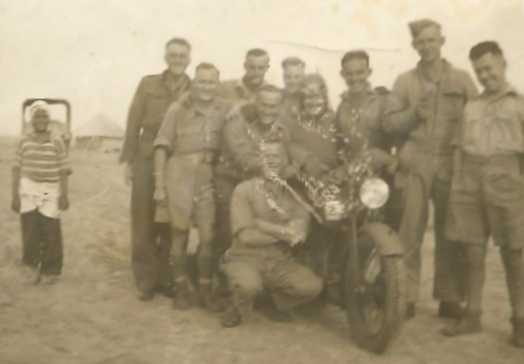
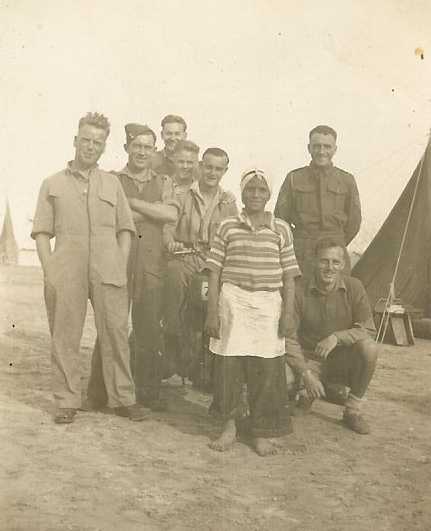
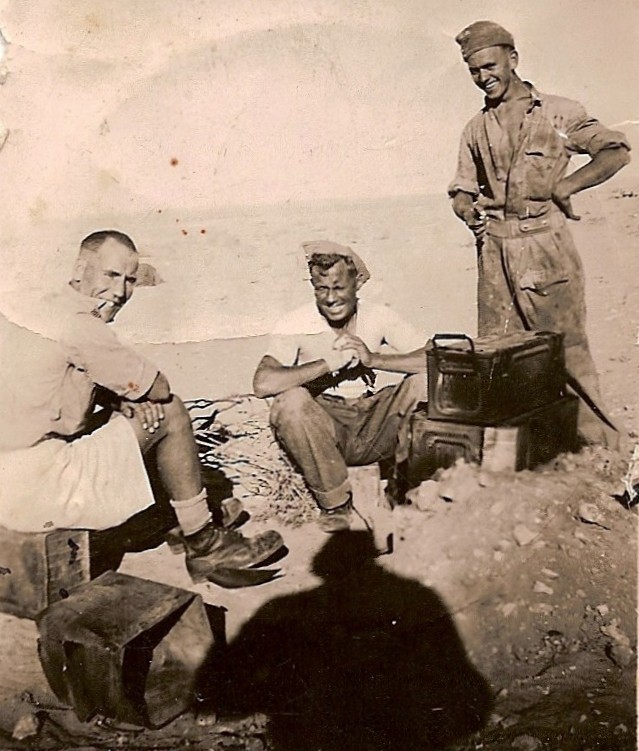
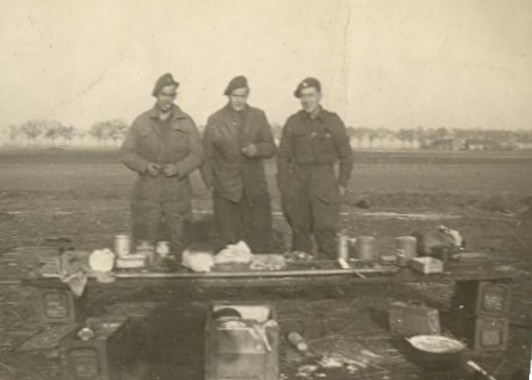
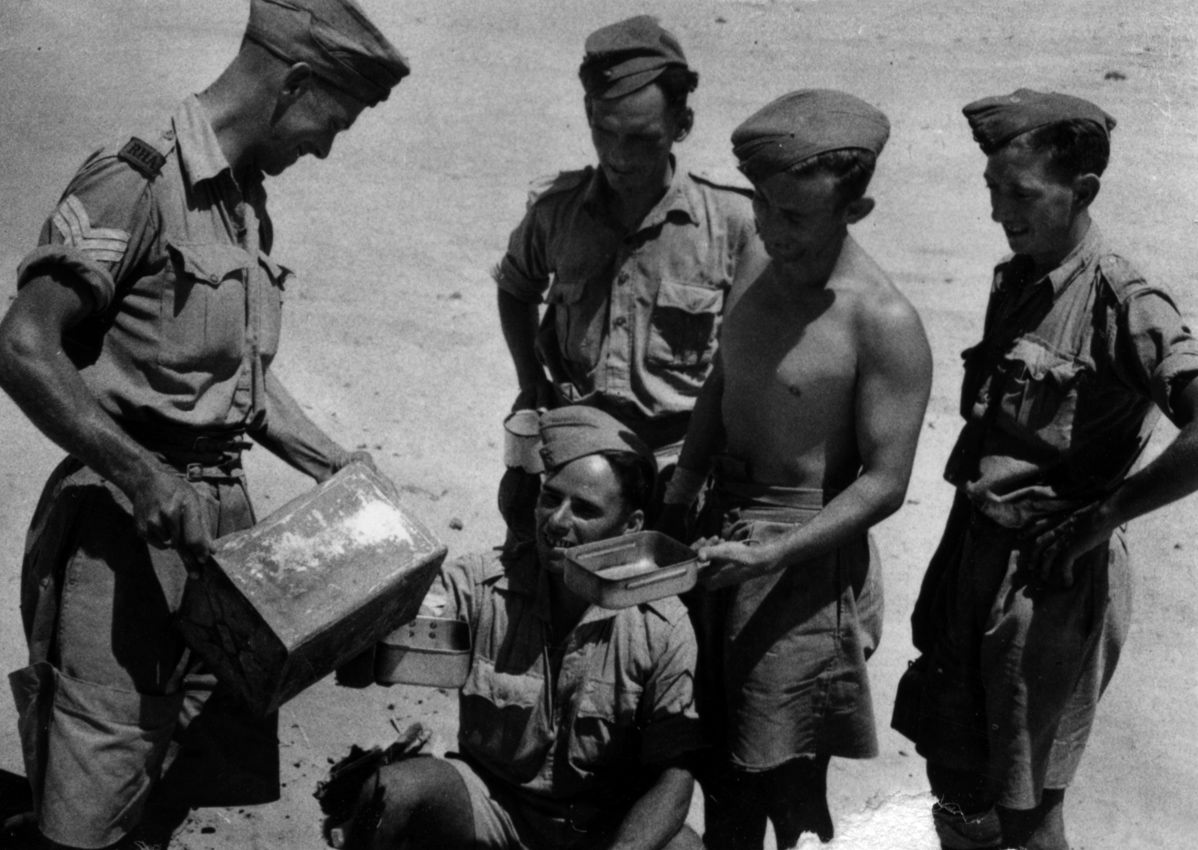
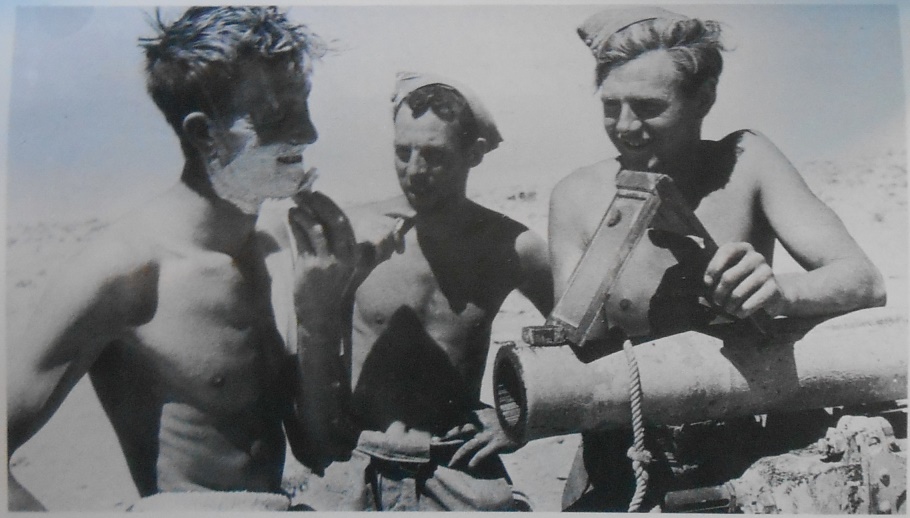
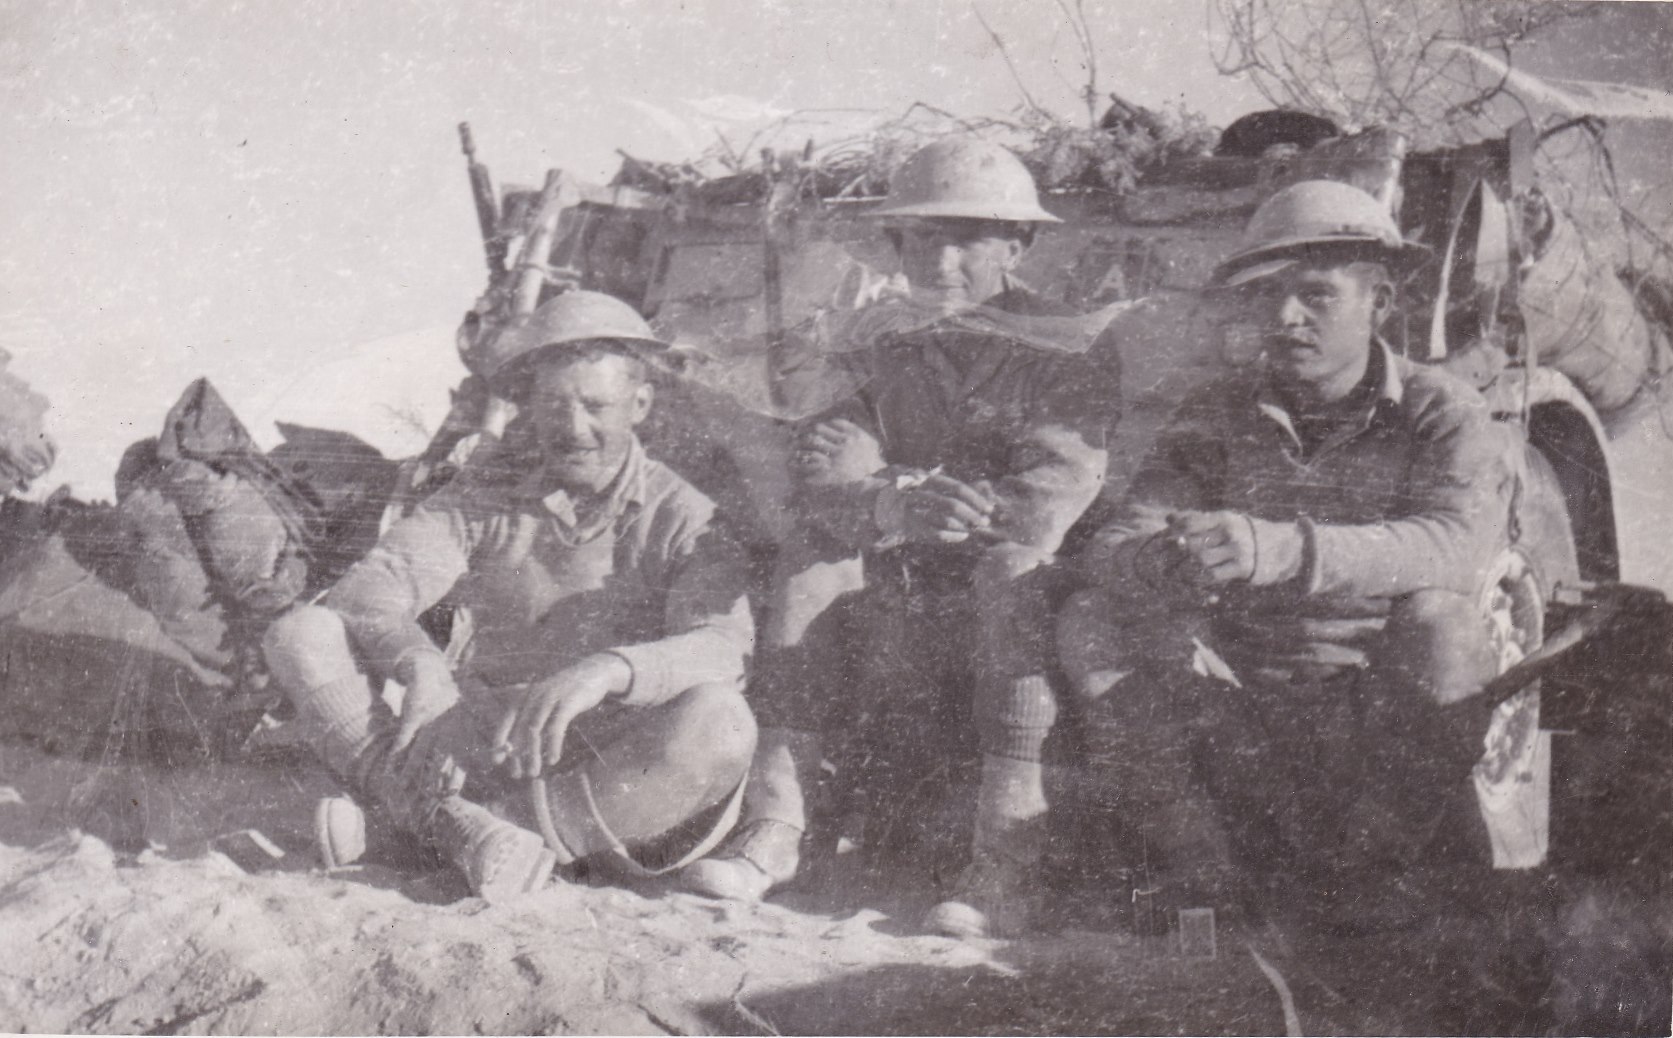
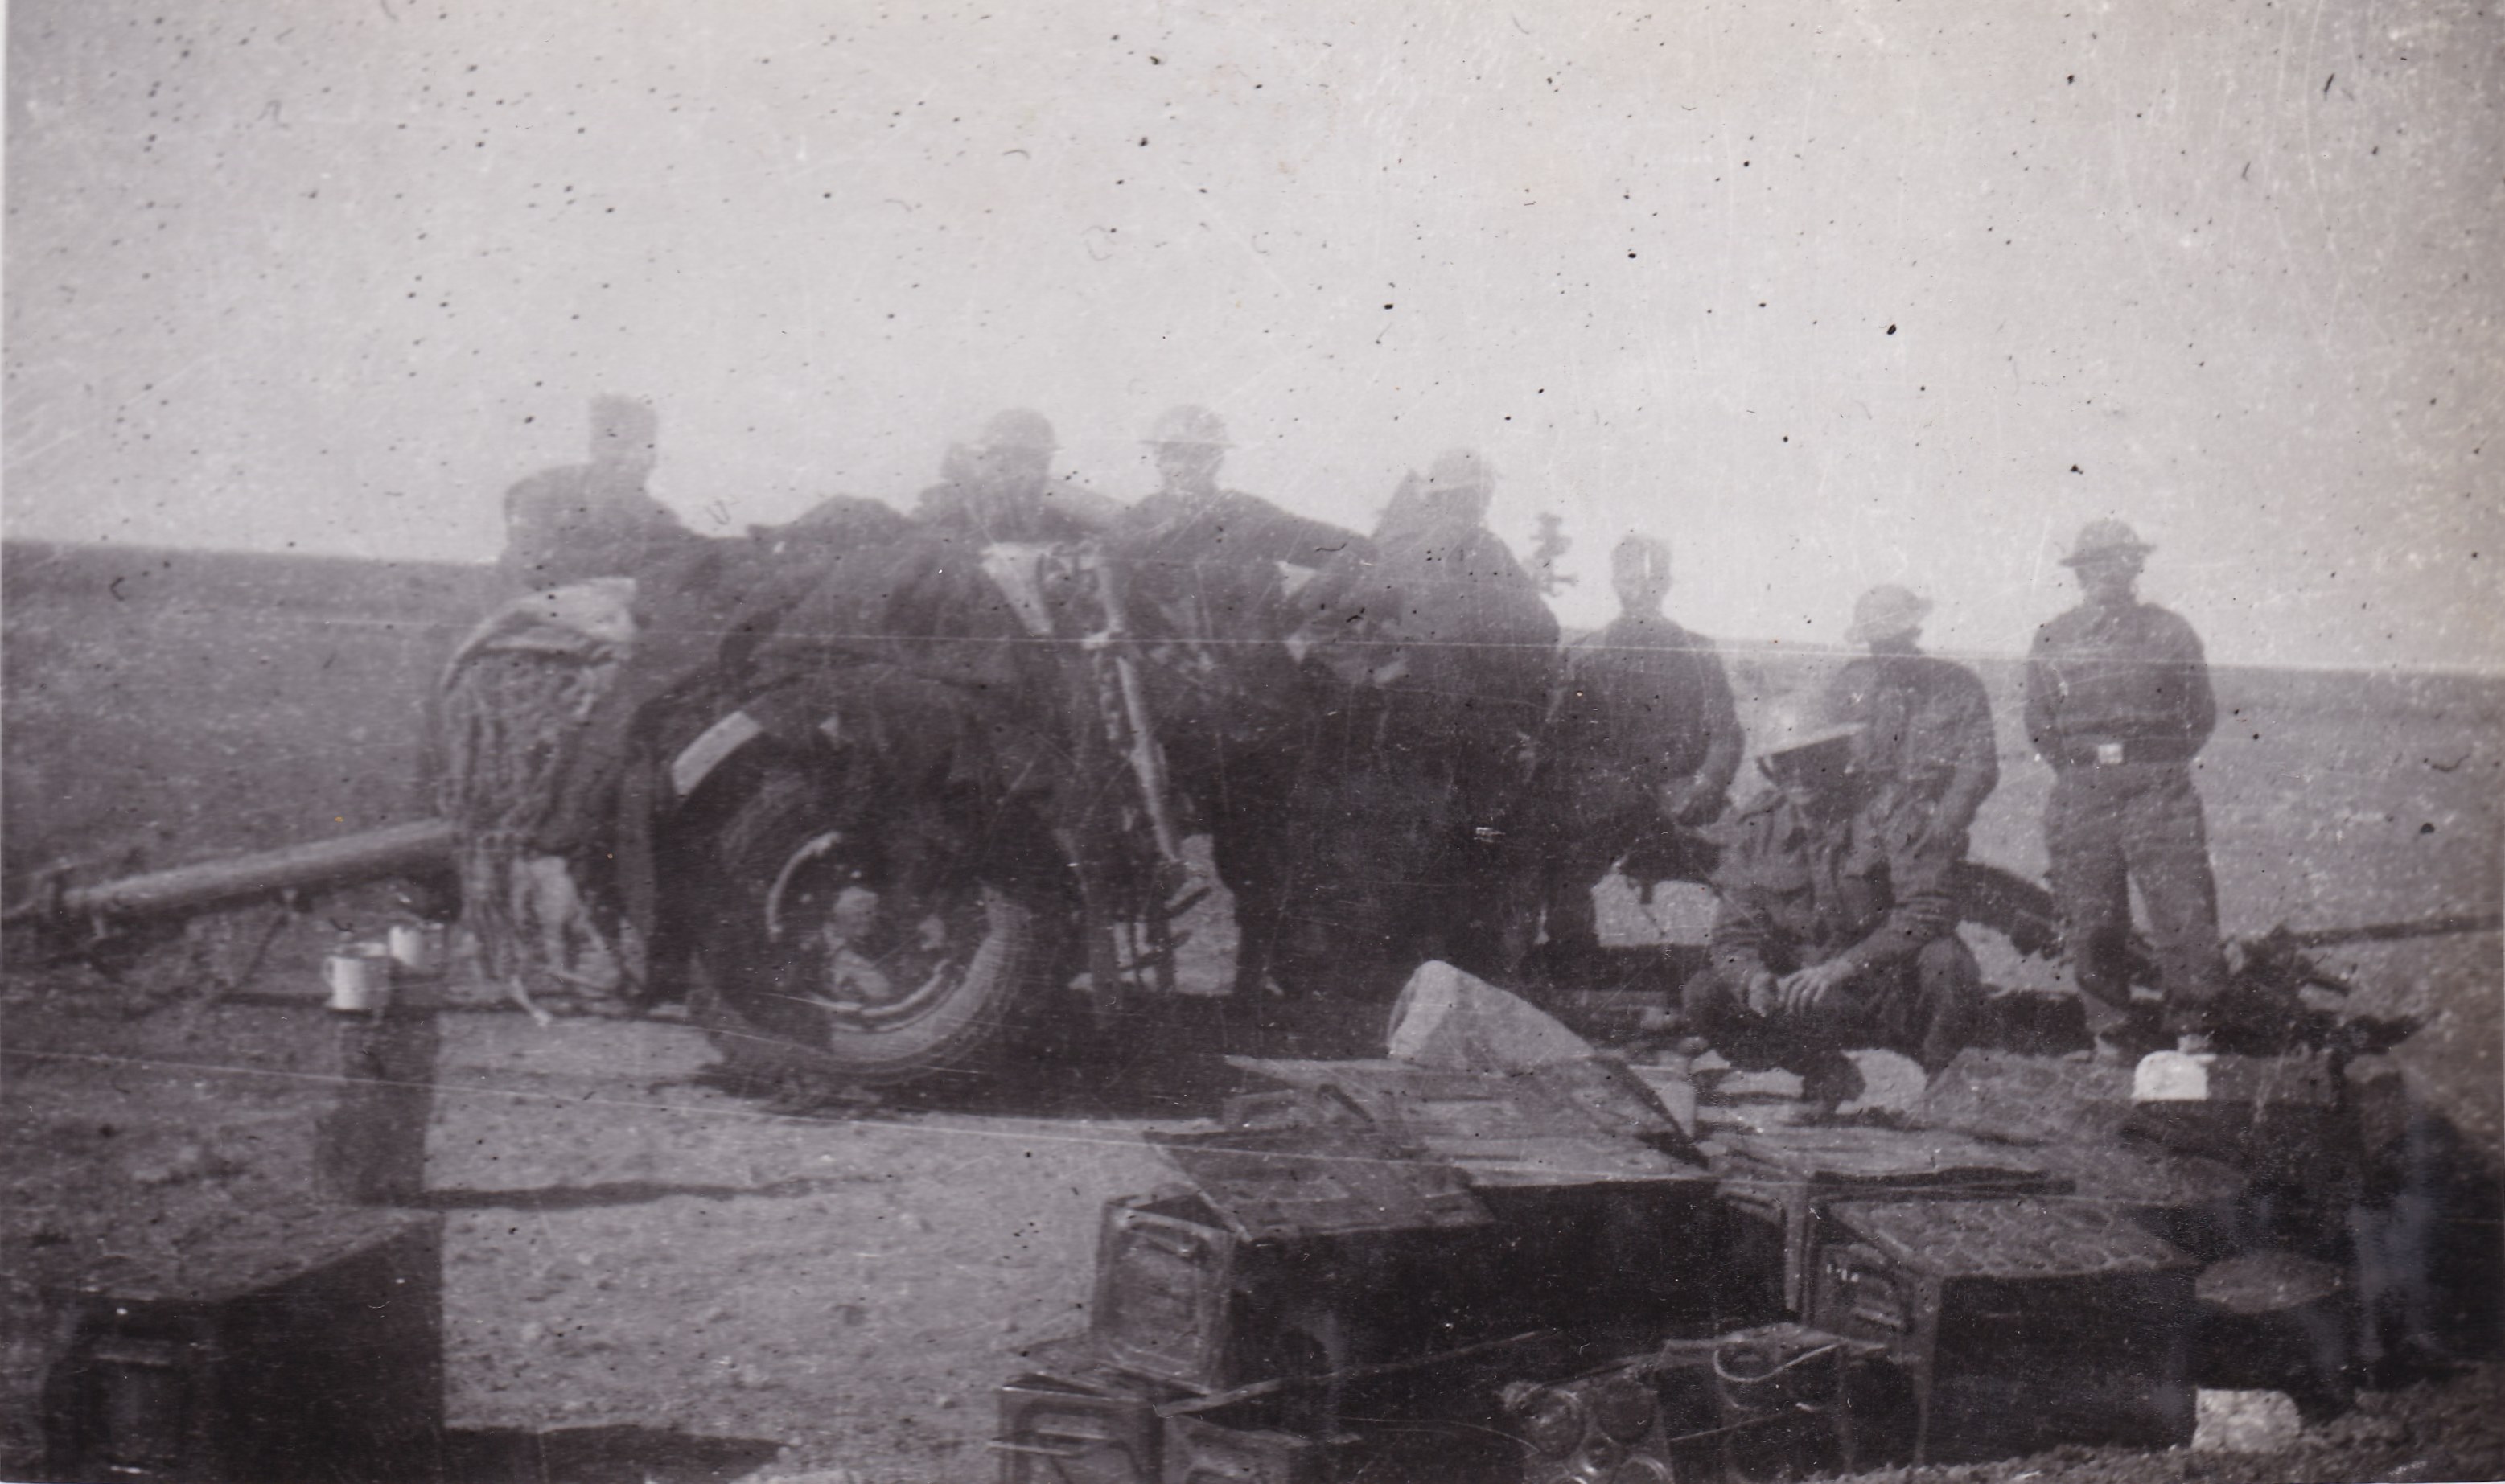
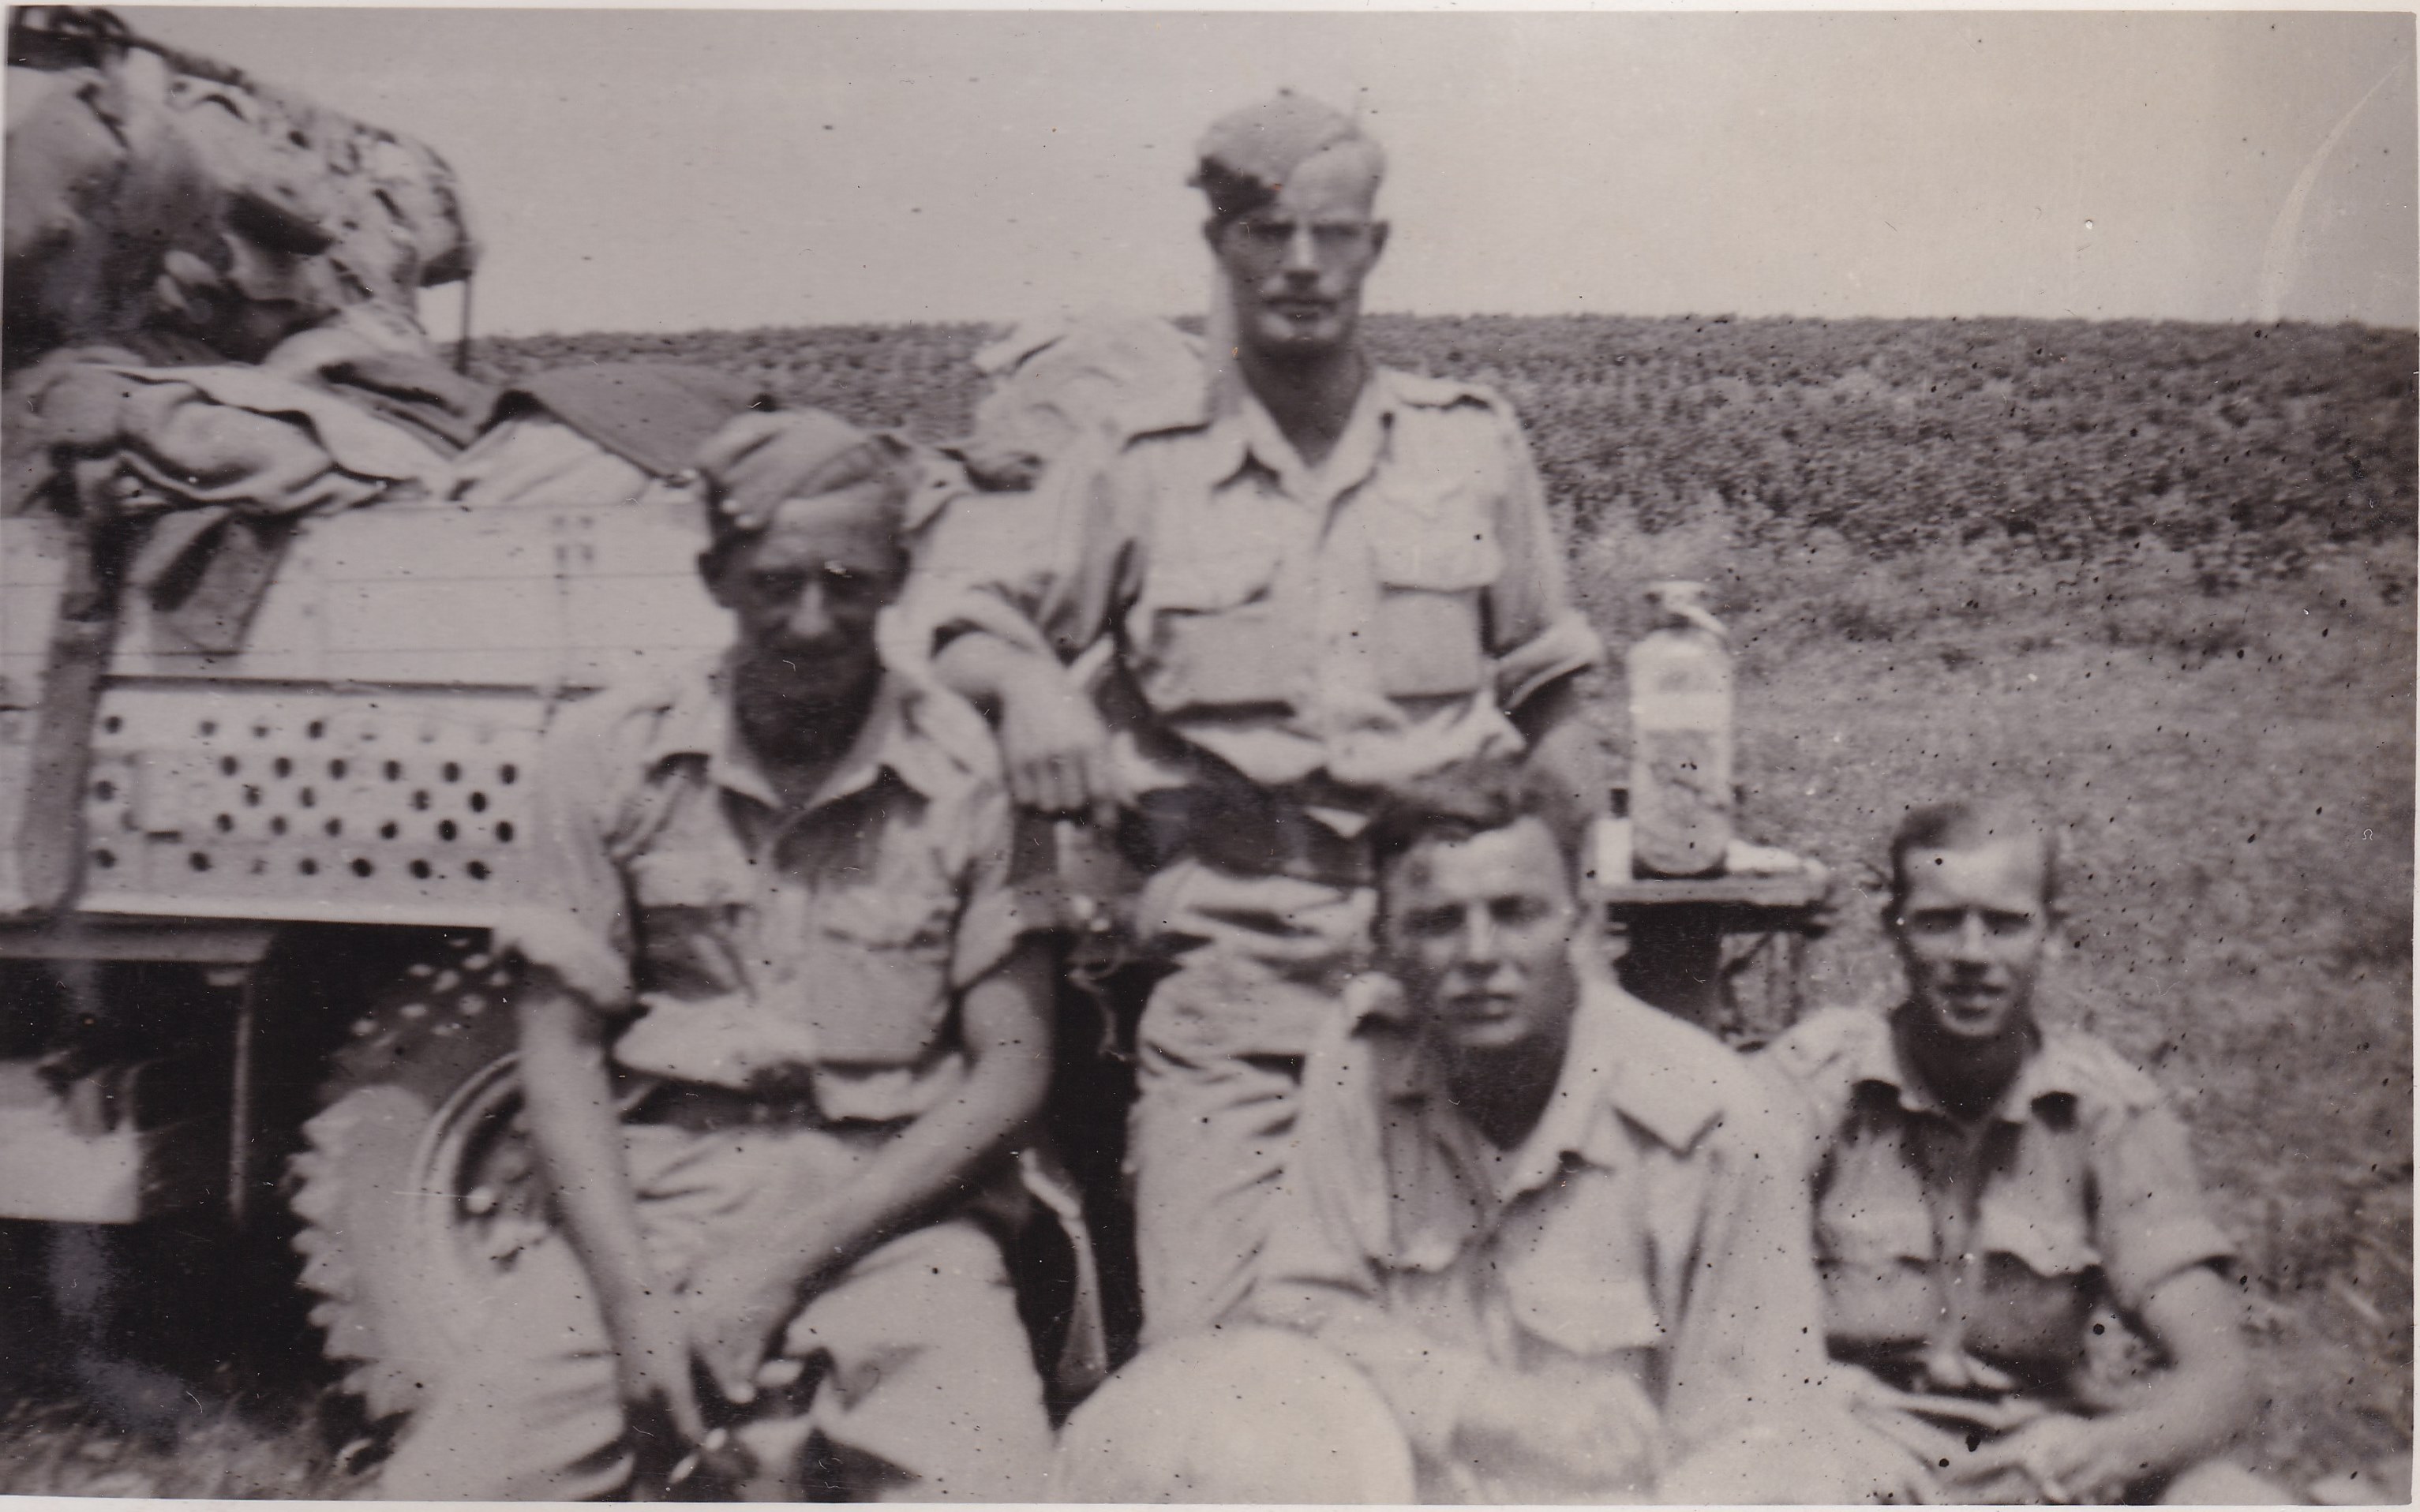
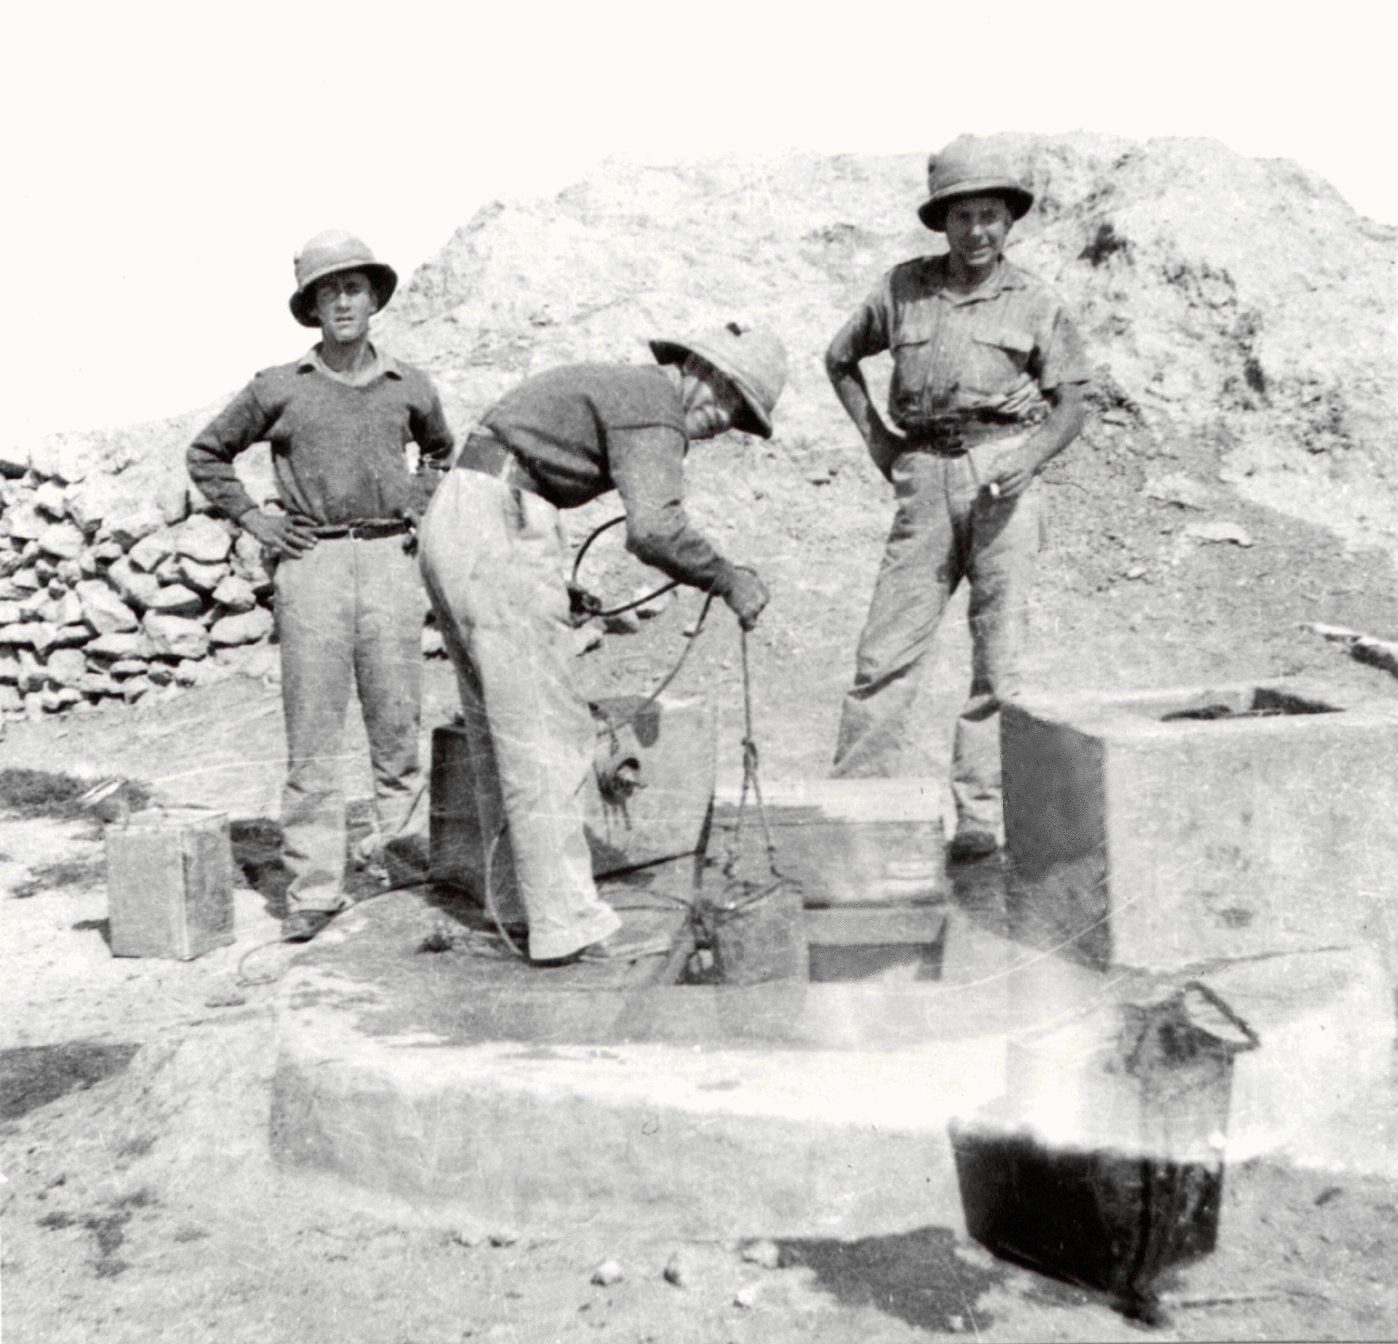
Men from K Battery, 5 RHA, with an improvised oven made out of old Ammunition boxes, cooking in the desert, September 1942. L - R: Bdr Colin Tovey (TOSKA), L/Bdr Lesley Vince, L/Bdr Bob Lerche (JOCK). Courtesy of 'Jock' (Rob) Lerche (K Bty) and Barry Forbes
|
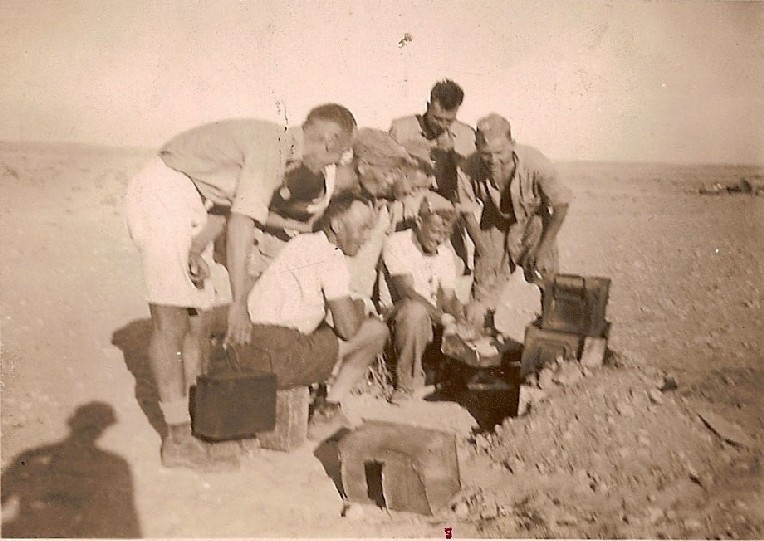
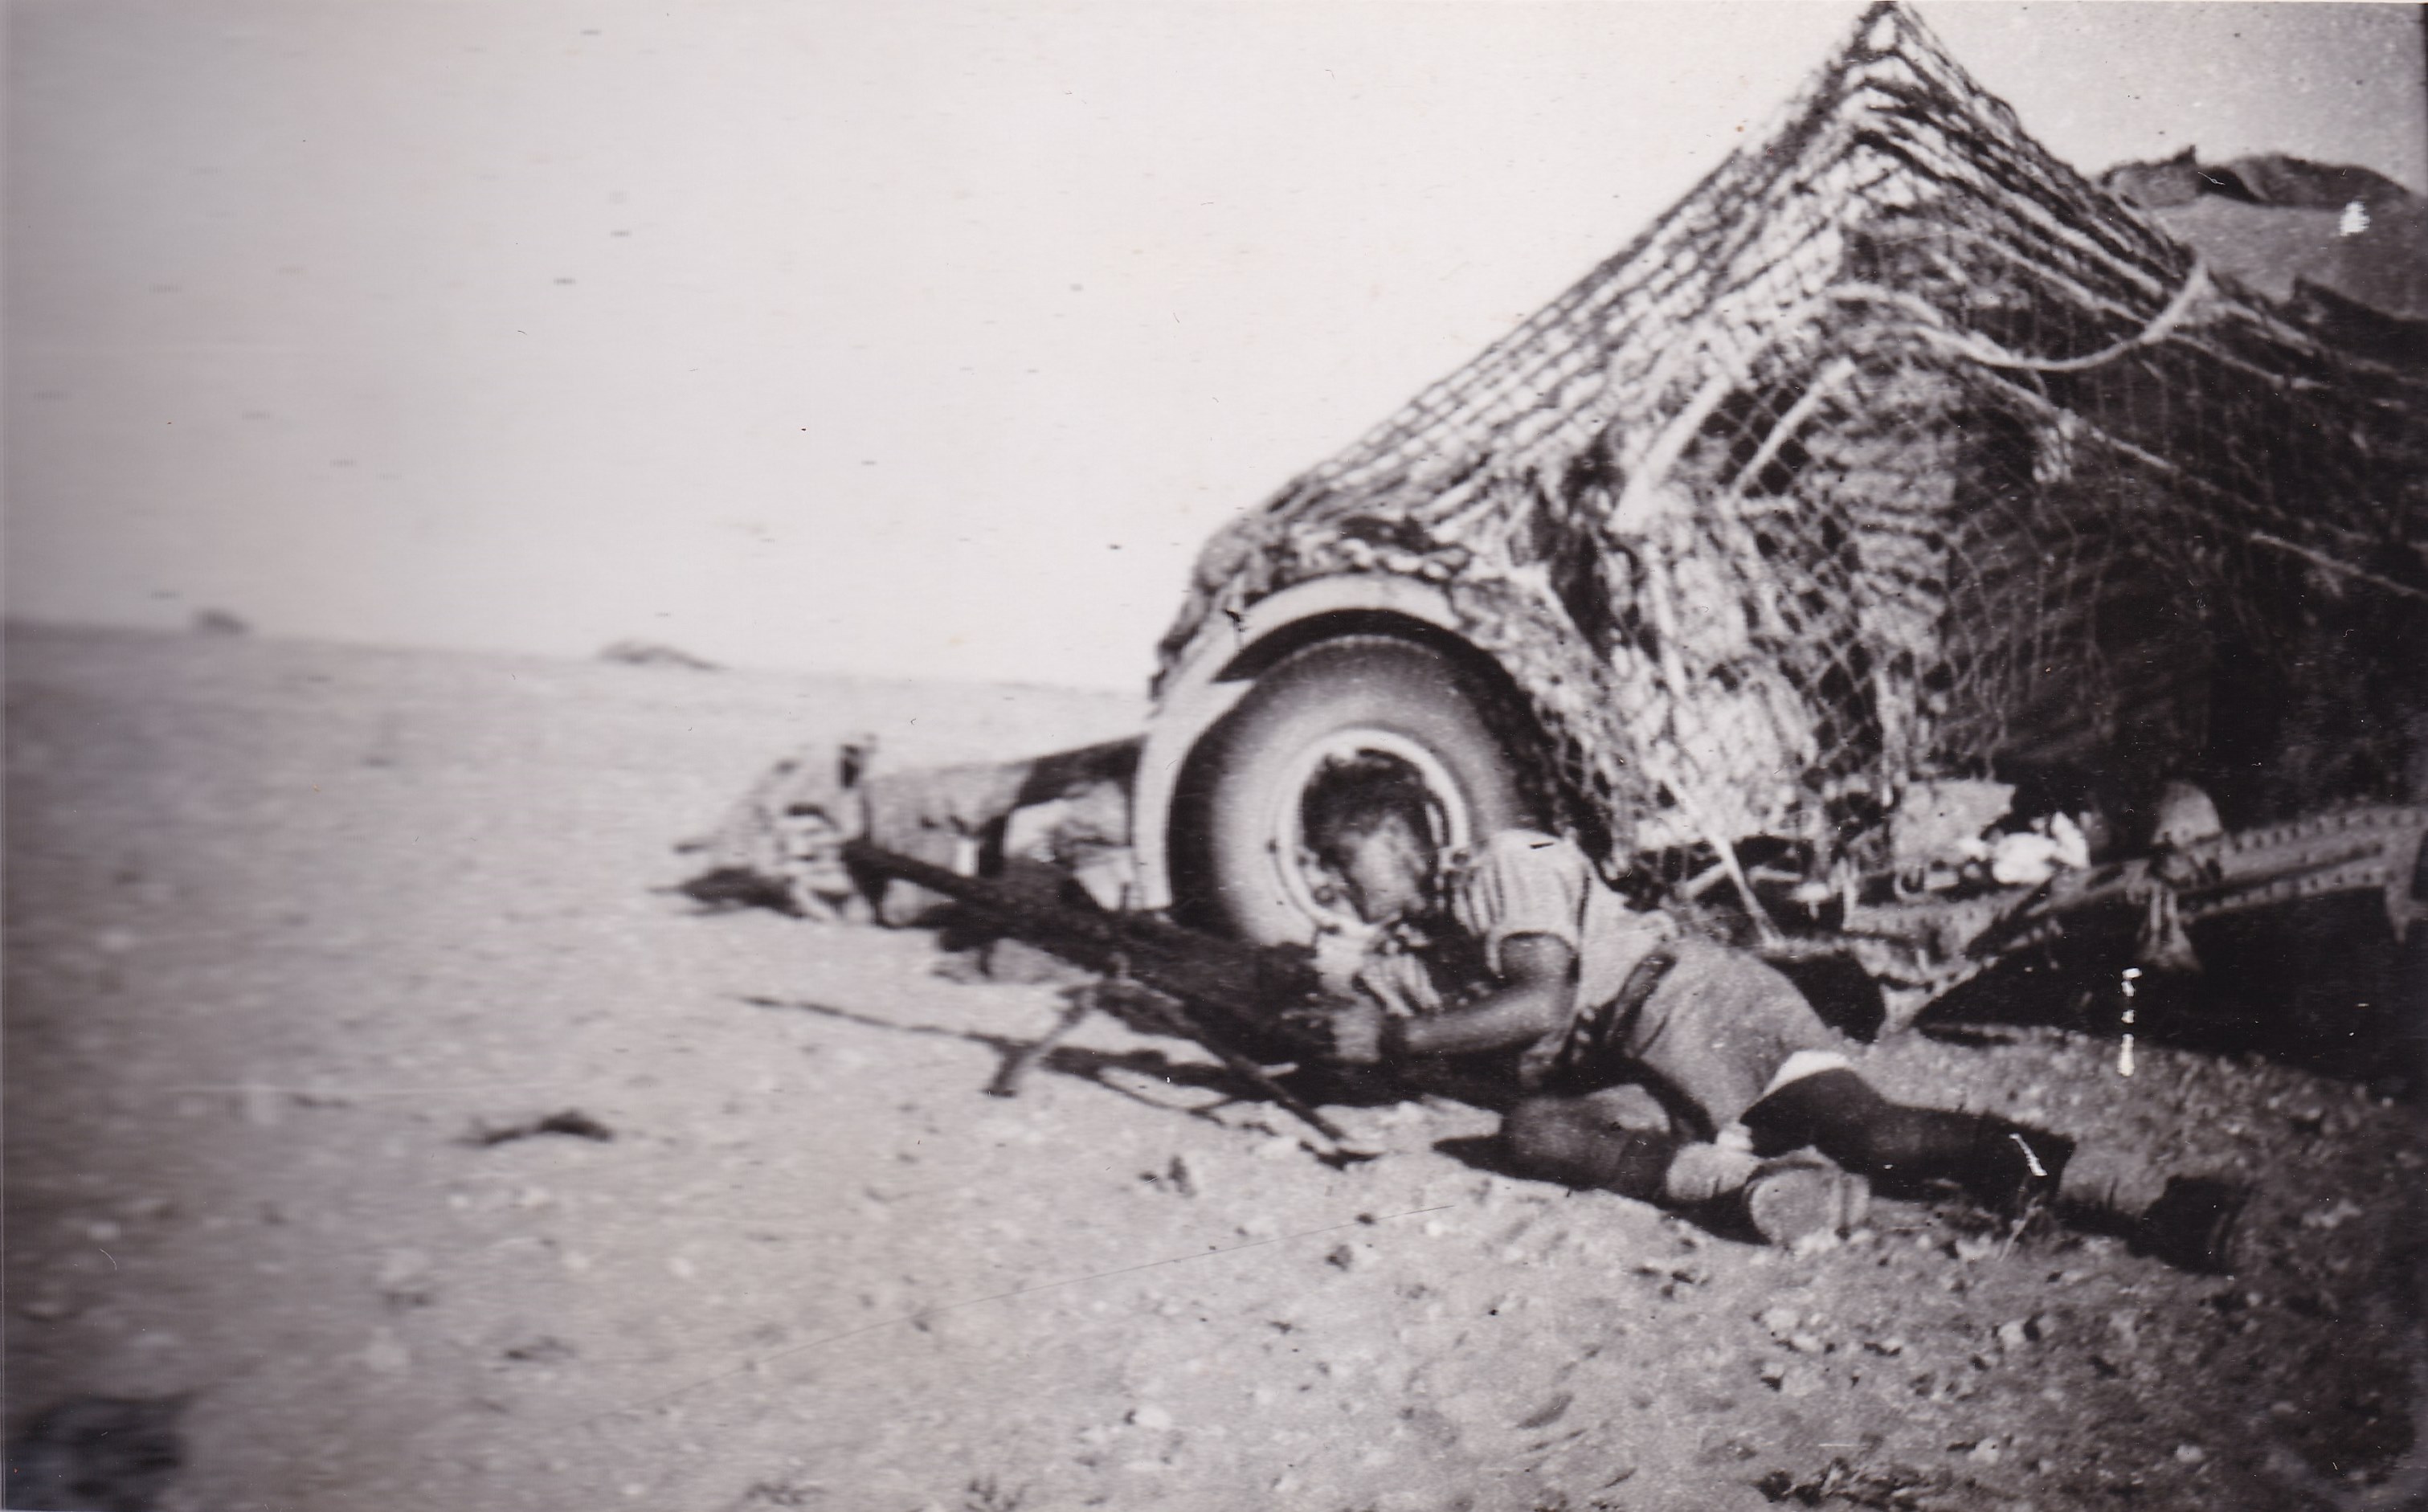
Another of the men from K Battery, 5 RHA, with an improvised oven, cooking in the desert, September 1942. L - R: Colin Tovey (TOSKA), Arthur Rose (Mary), Harry Dormer, Jim Cromley, Lesley Vince, Eric Smith, Bob Lerche(Jock). Courtesy of 'Jock' (Rob) Lerche (K Bty) and Barry Forbes
|
|
|
|
|
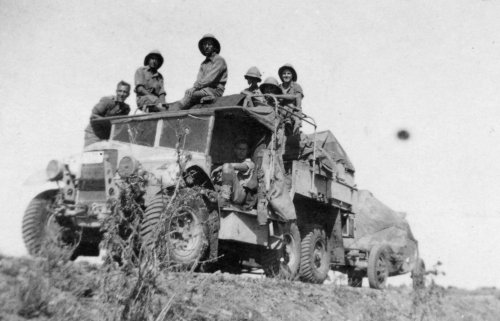
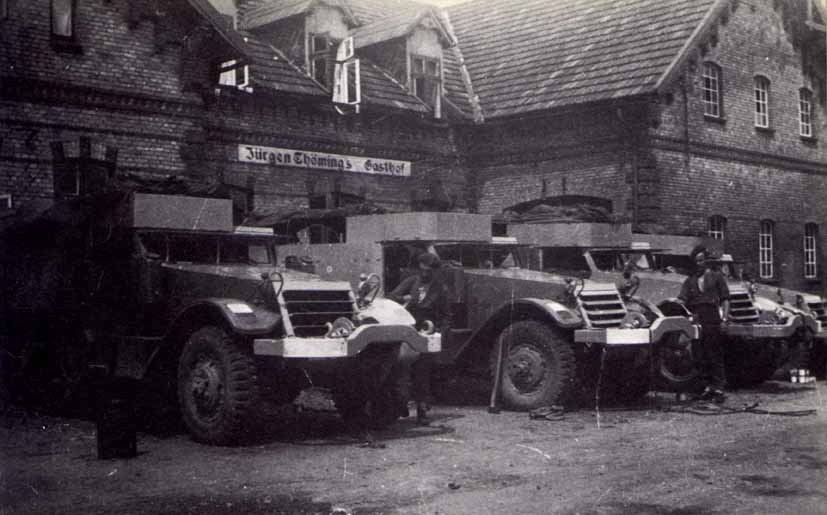
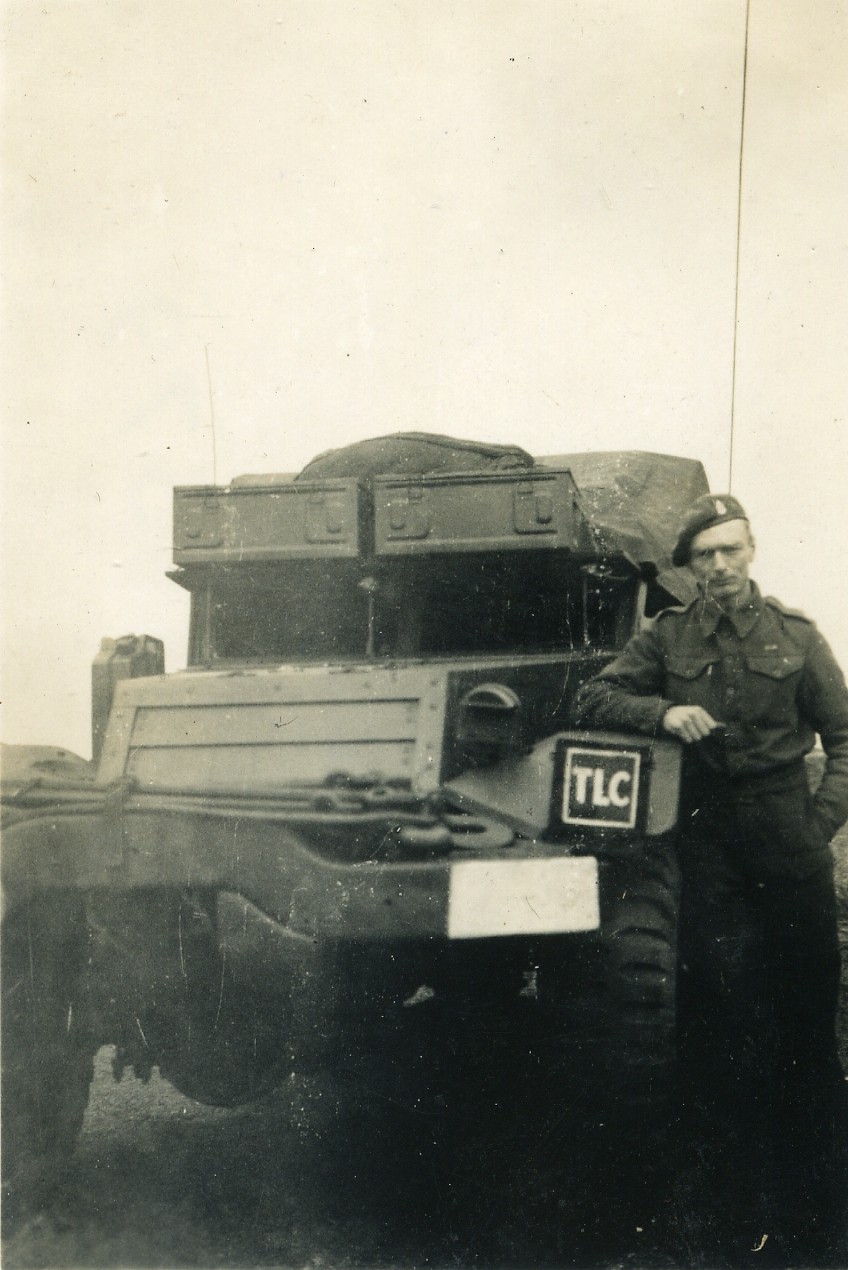
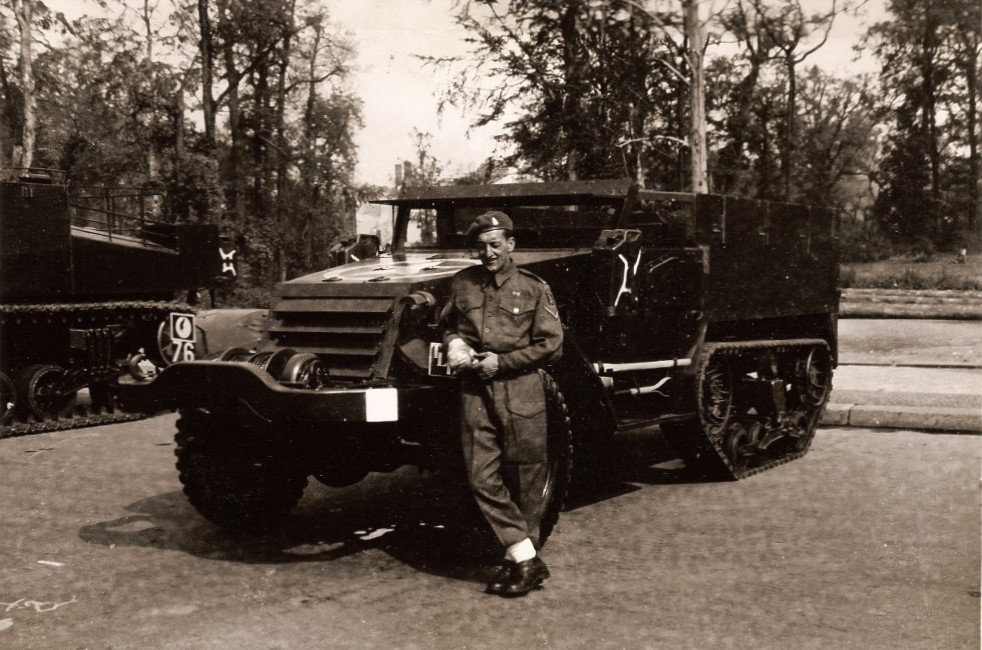
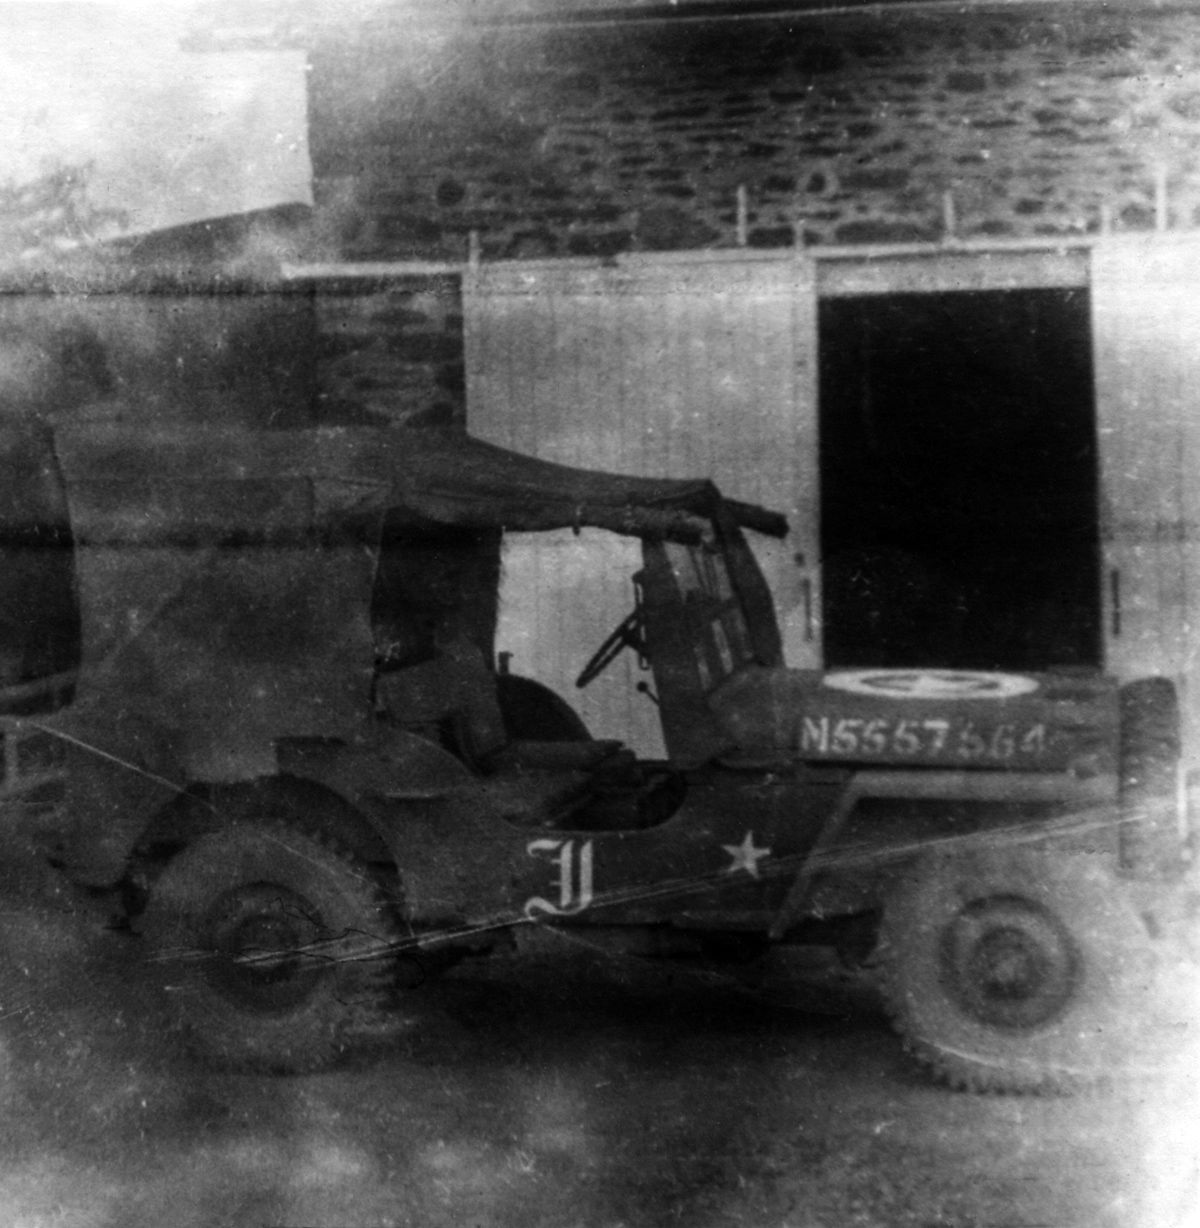
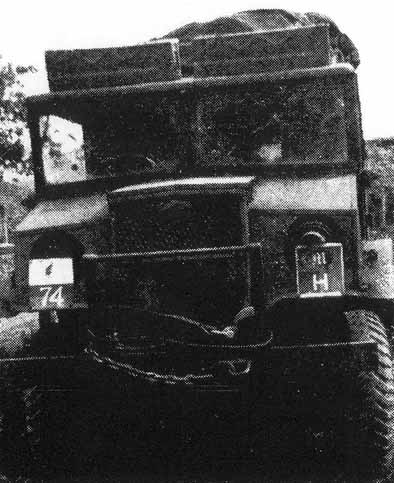
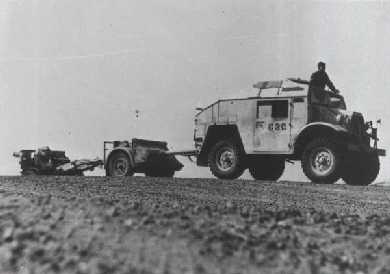
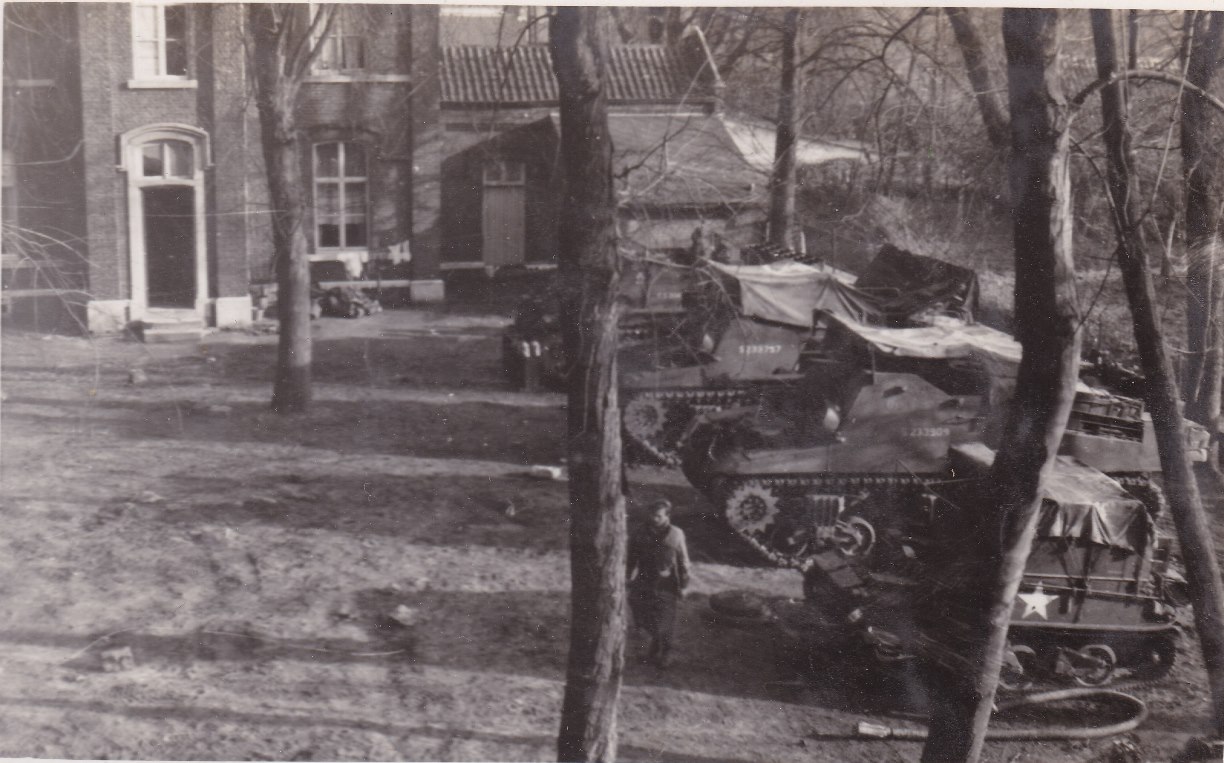
The Troop Leader's Half Track from
'C' Troop, CC Battery, 5 RHA, (as denoted by the TLC markings) near St Joost in early 1945. Courtesy of James and David Allen.
(NB. 5 RHA used TLA and TLB for G
Battery, TLD and TLE, for K Battery and TLA C and TLH for CC Battery)
|
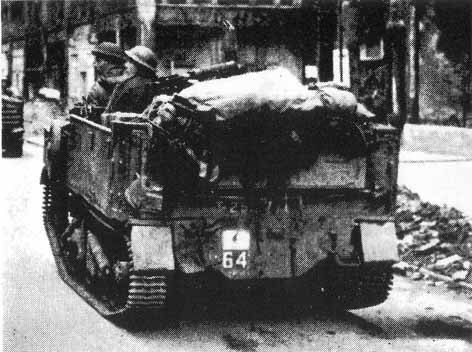
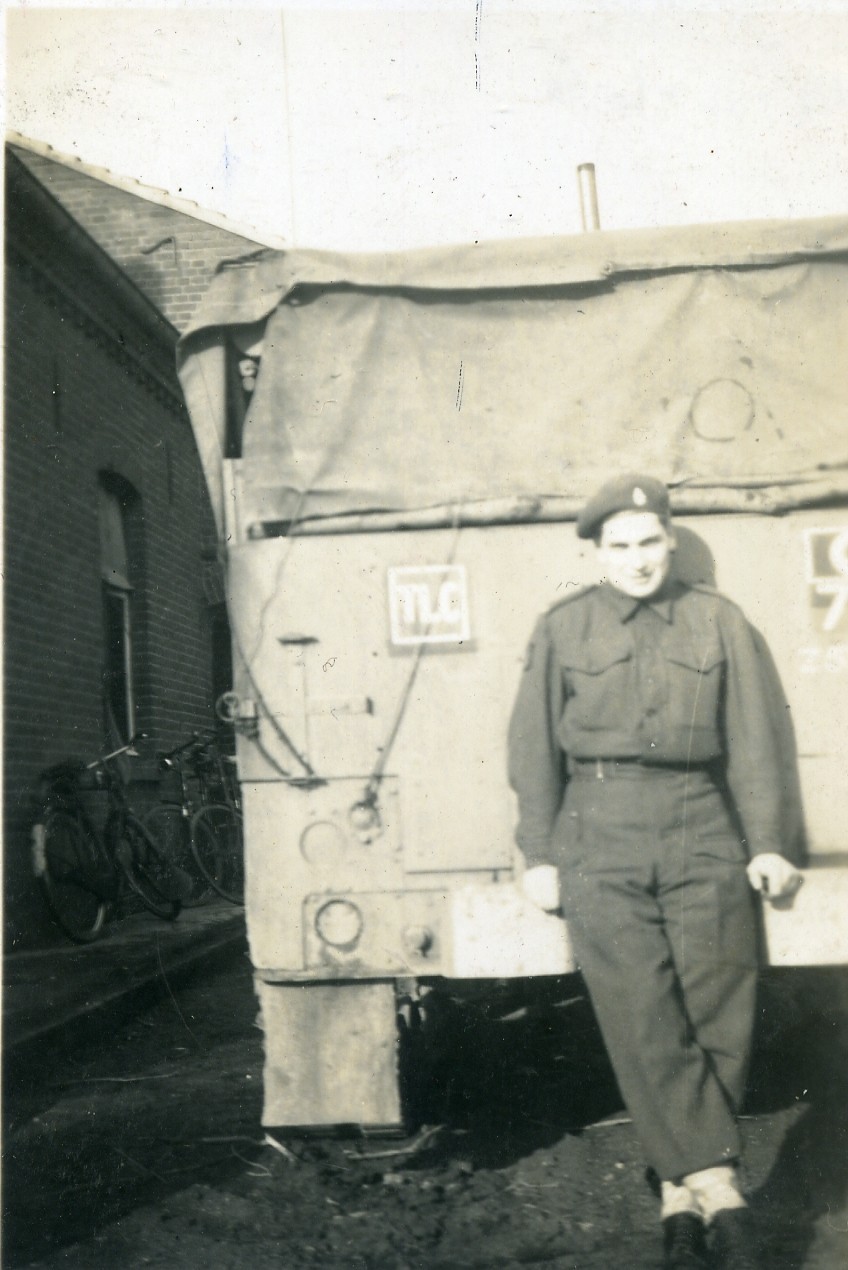
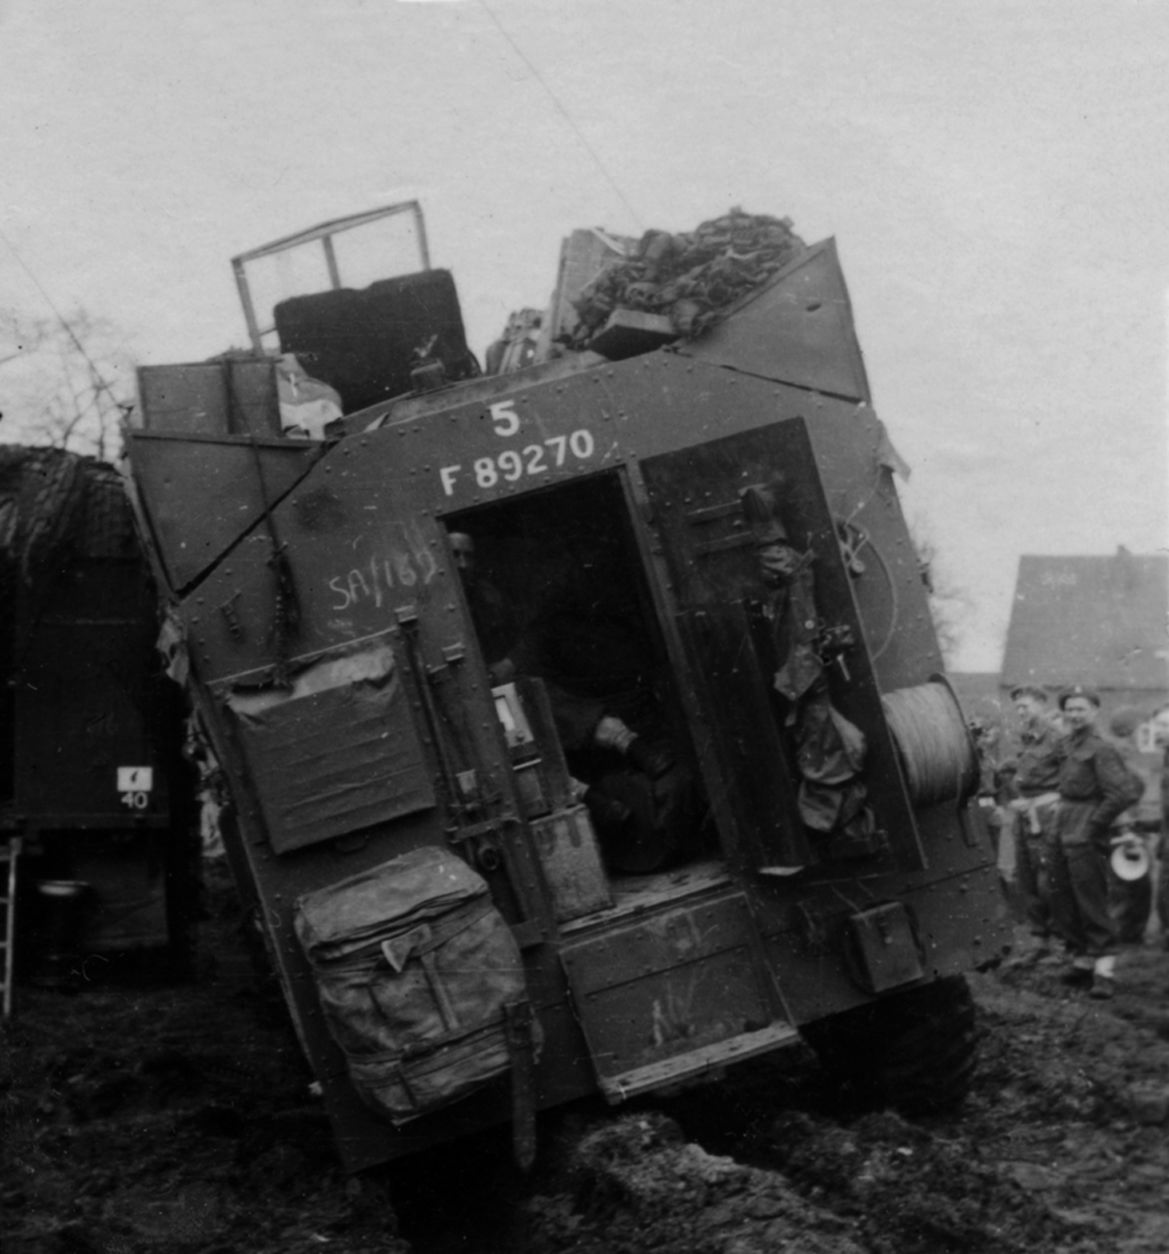
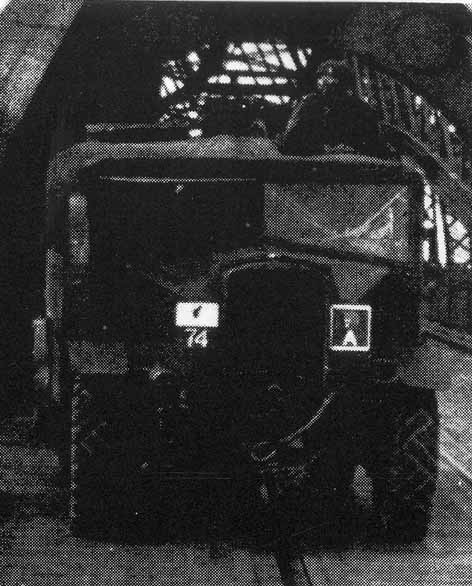
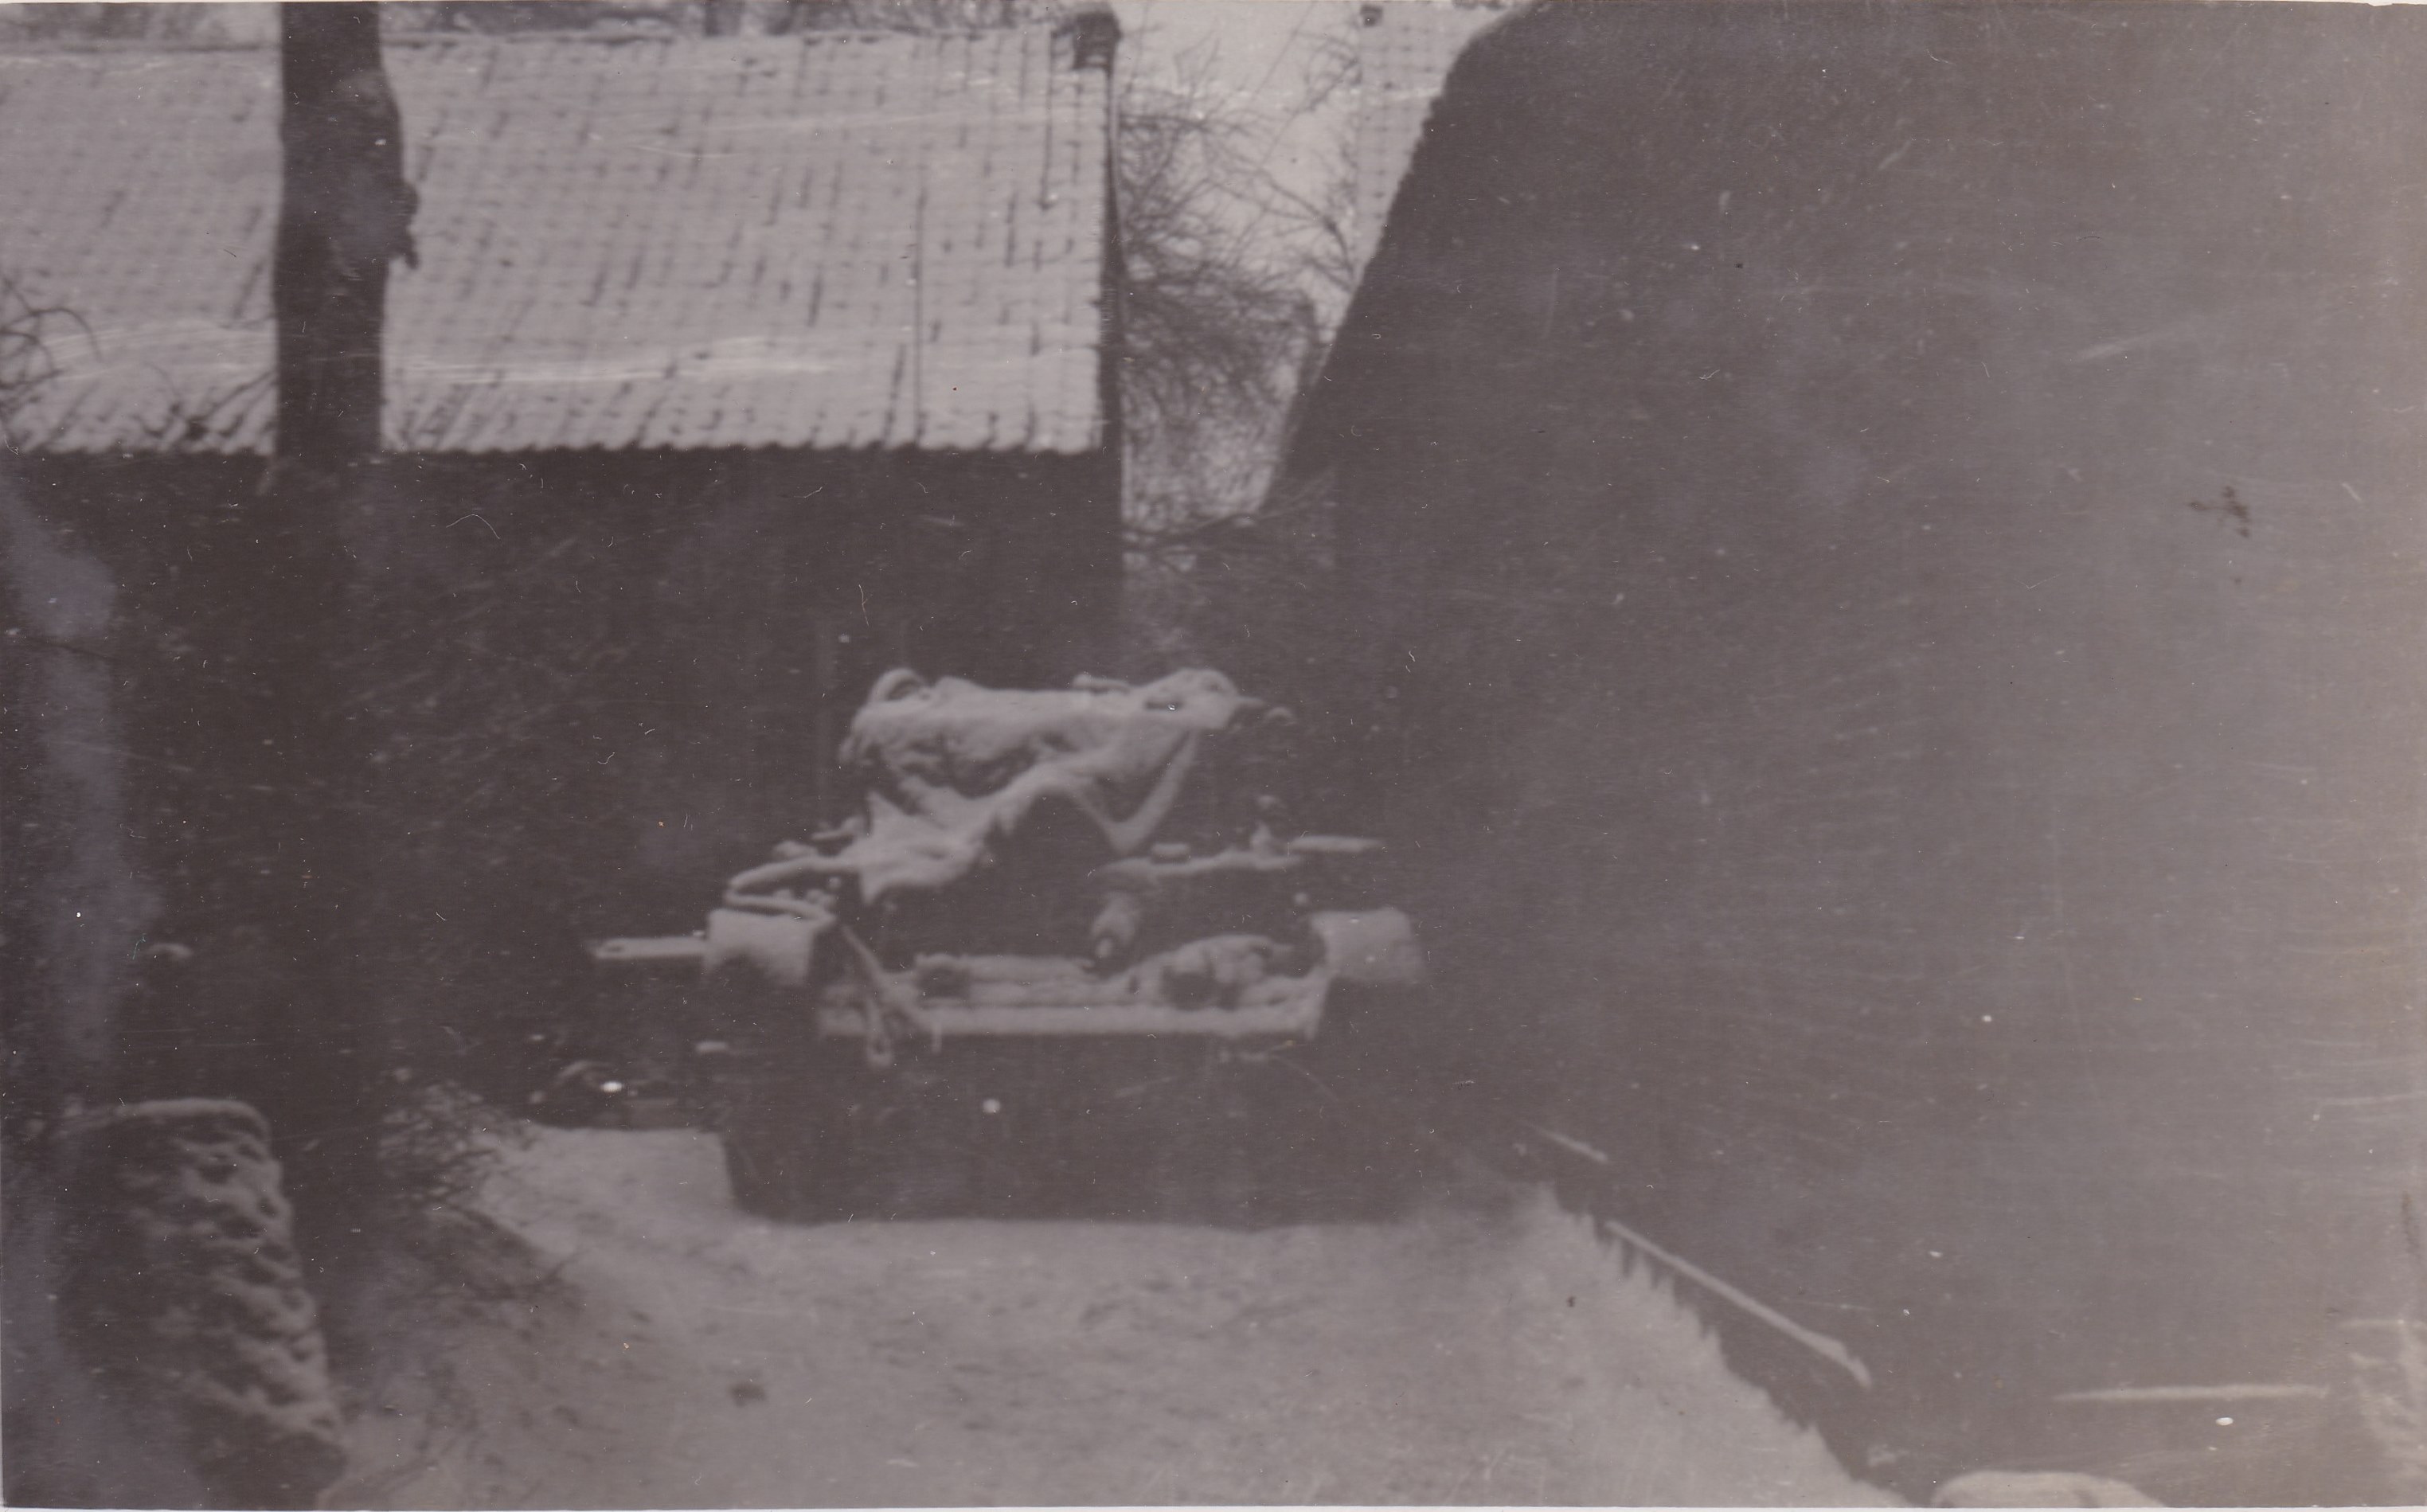
The rear of the Troop Leader's Half Track from
'C' Troop, CC Battery, 5 RHA, (as denoted by the TLC markings) near St Joost in early 1945. Courtesy of James and David Allen.
|
|
|
|
|
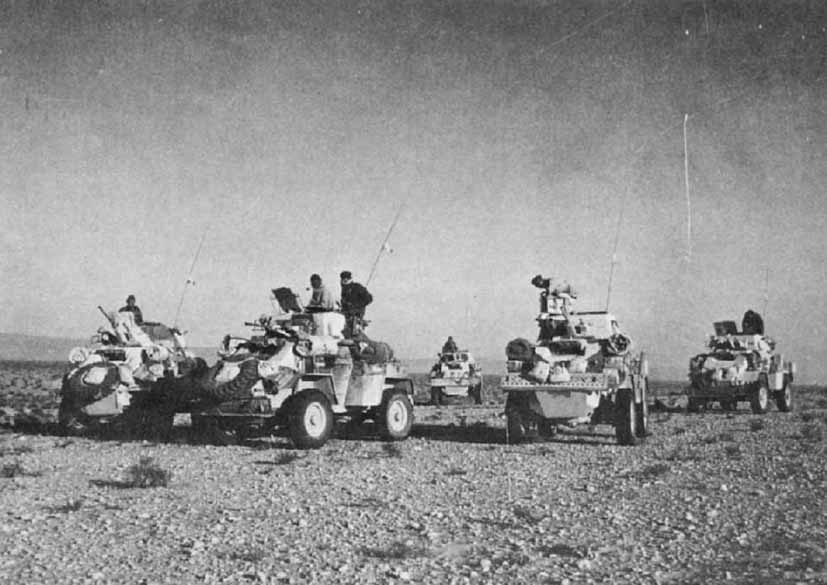
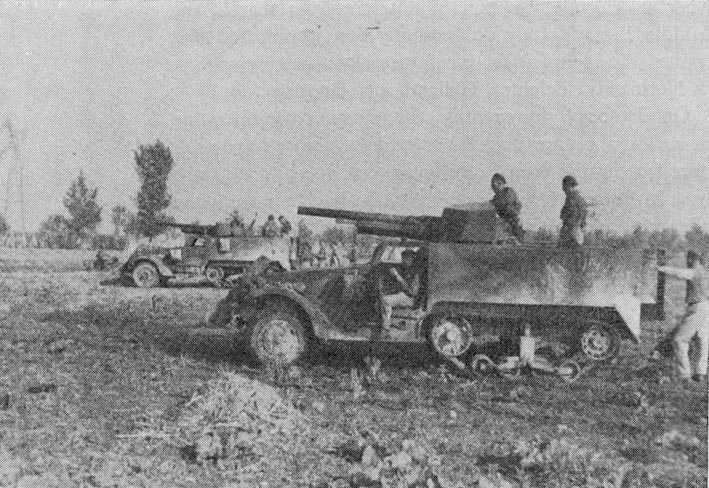
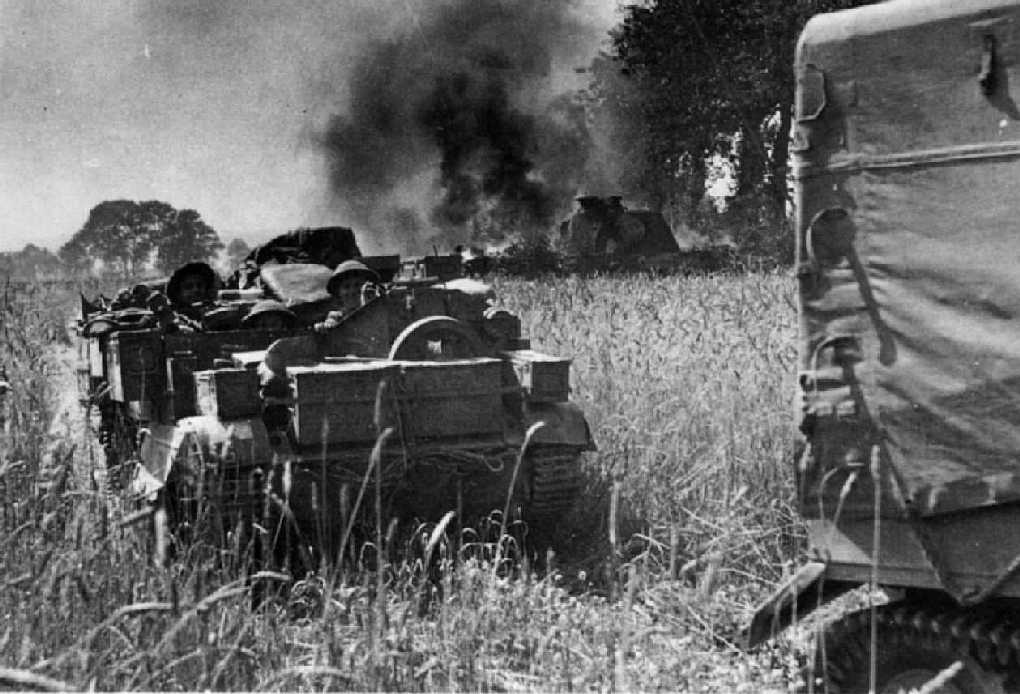
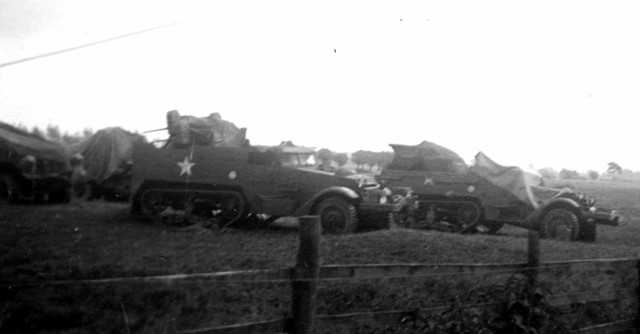
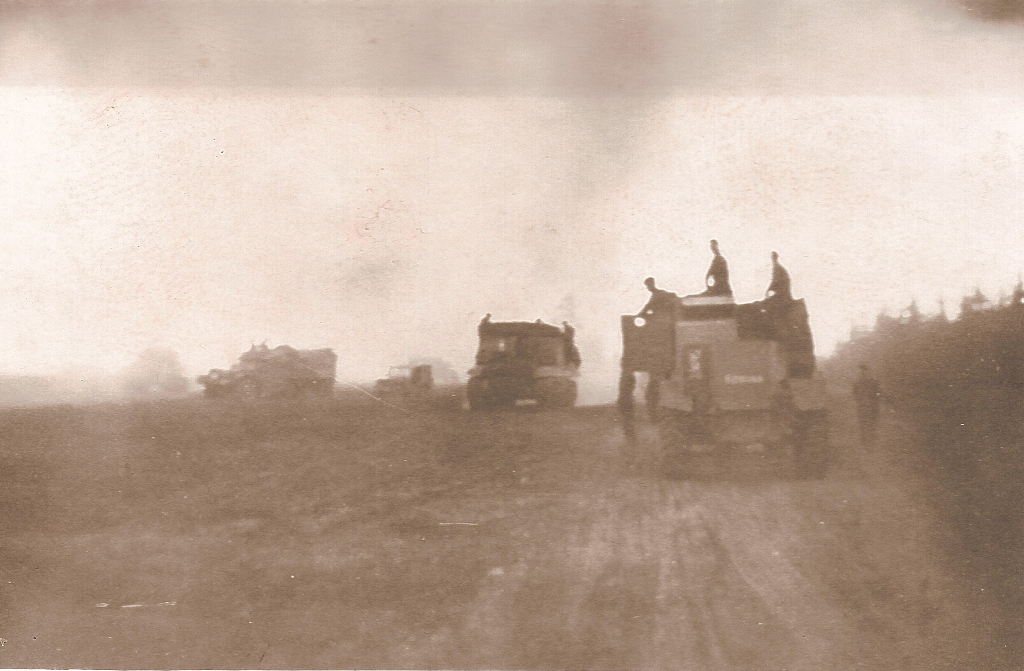
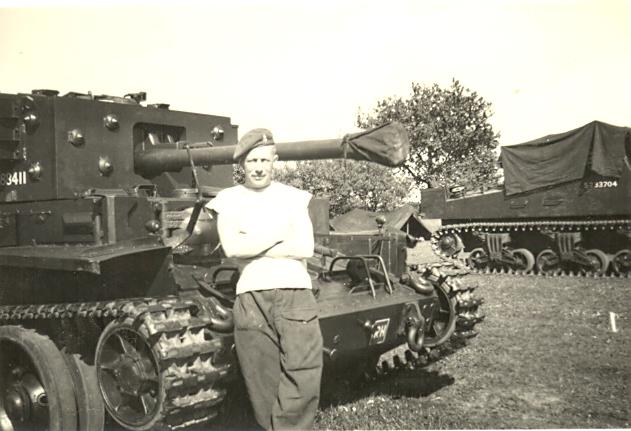
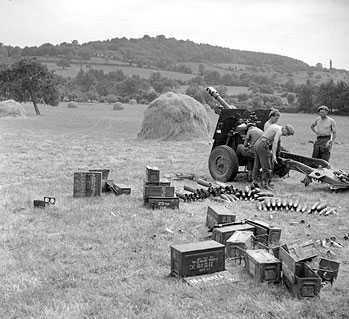
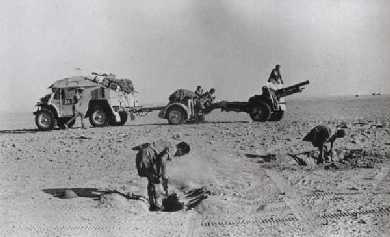
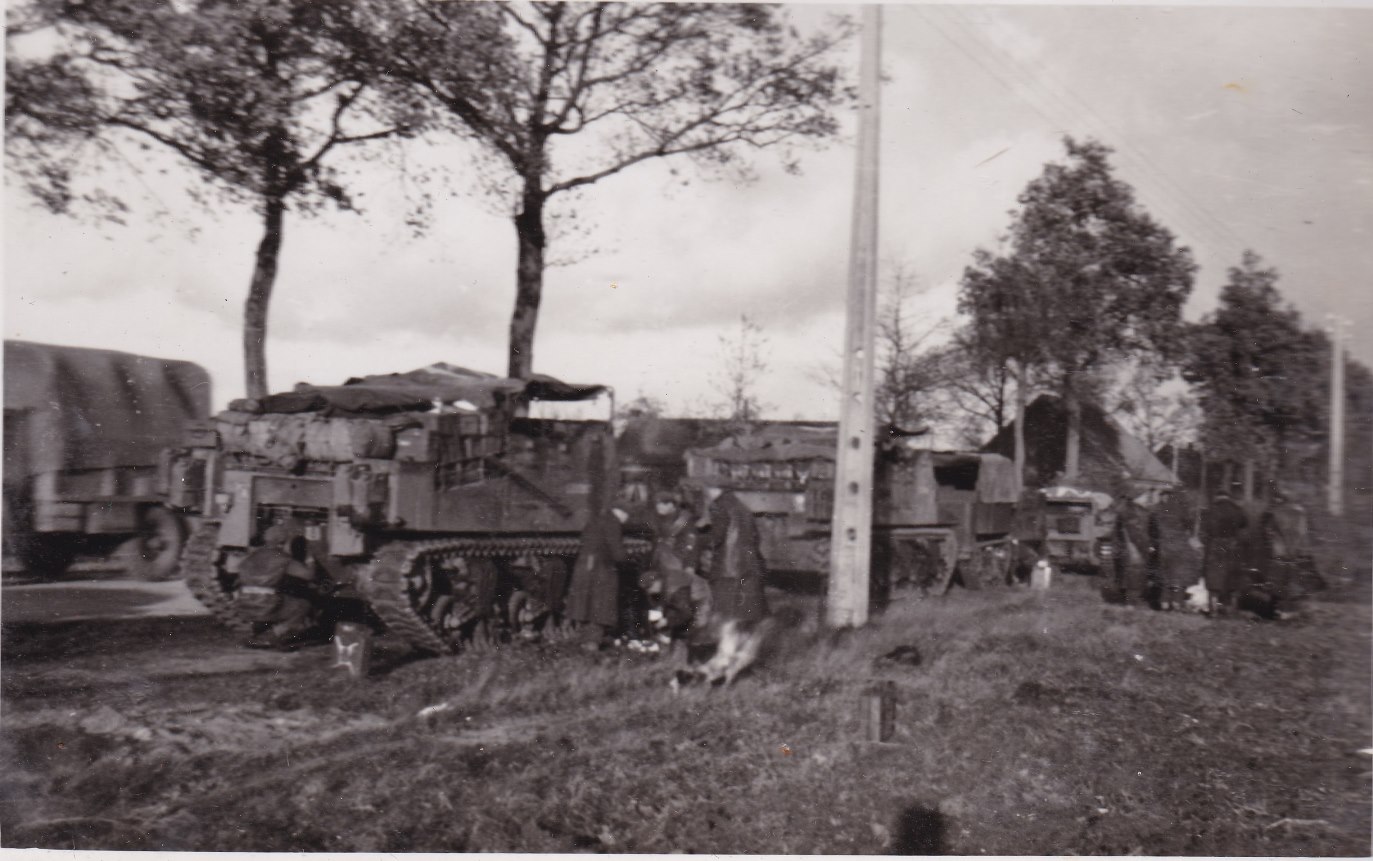
Sextons, Half-tracks and an Armoured Ammunition Truck in the field, from K Battery 5th RHA. Courtesy of 'Jock' (Rob) Lerche (K Bty) and Barry Forbes.
|
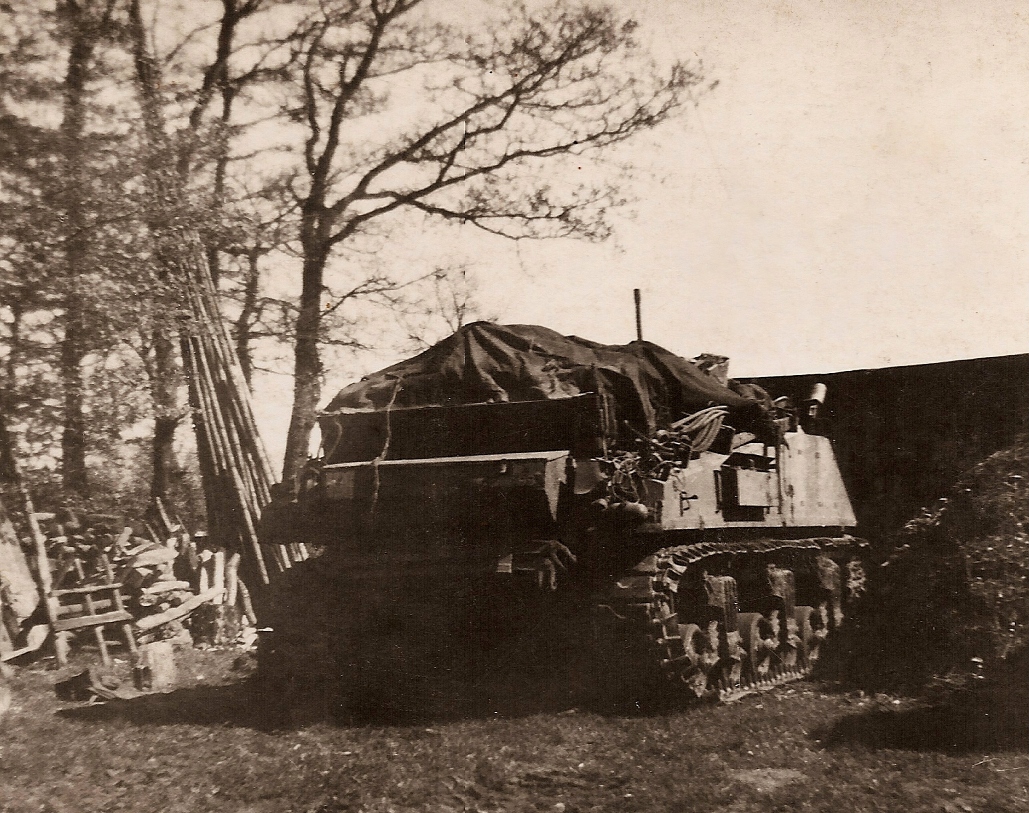
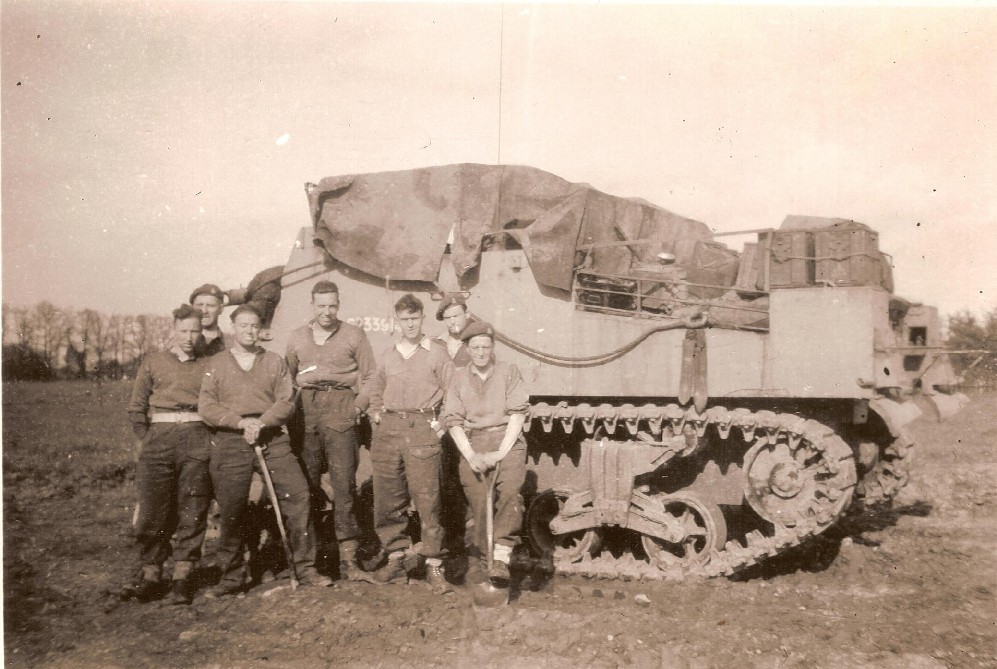
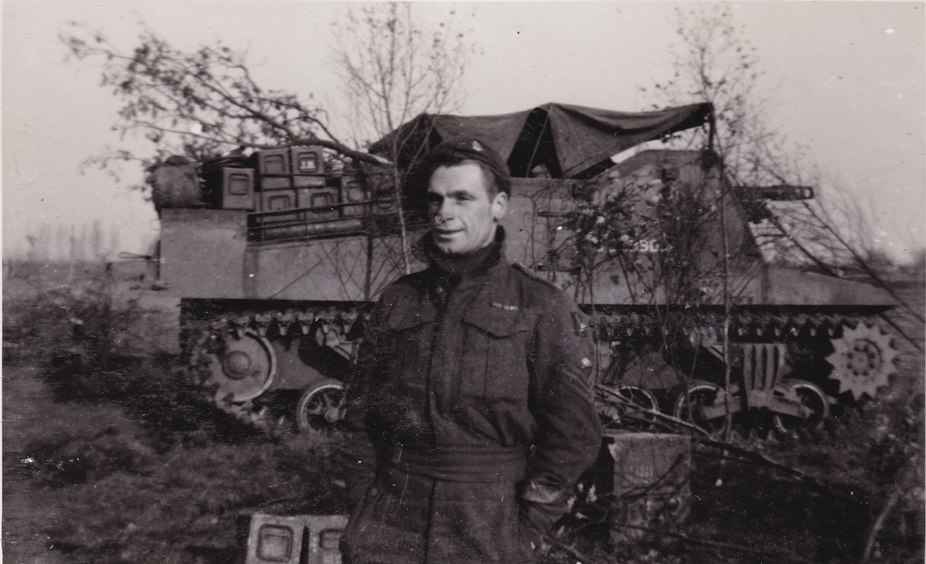
Sexton from K Battery, 5th RHA. Courtesy of 'Jock' (Rob) Lerche (K Bty) and Barry Forbes.
|
|
|
|
|
|
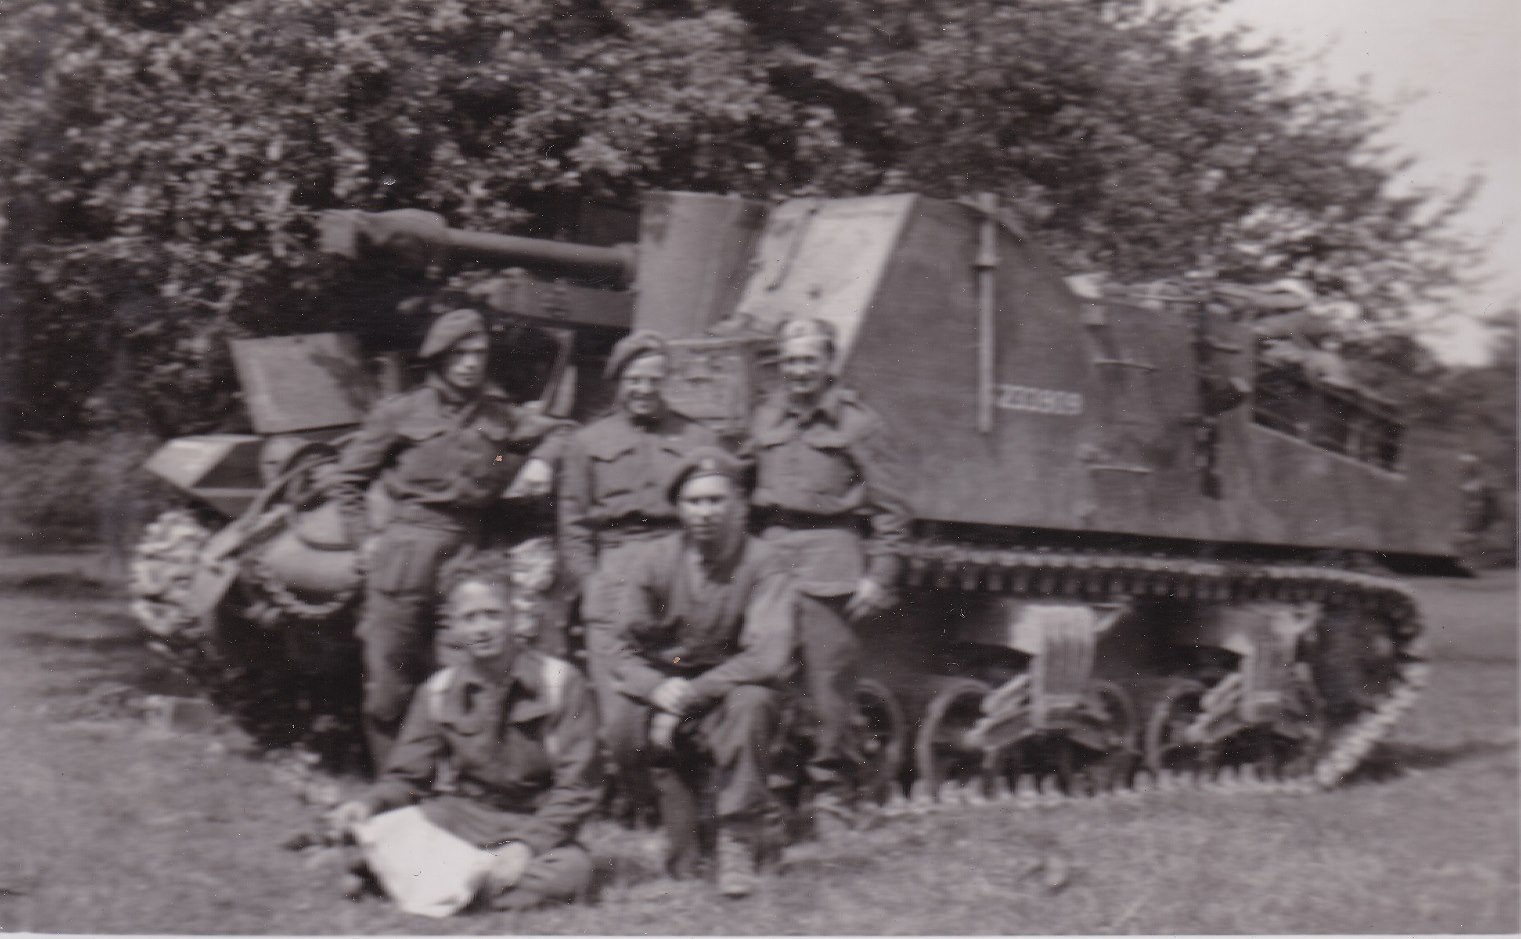
A Sexton SPG and Creew from K Battery, 5th RHA.
|
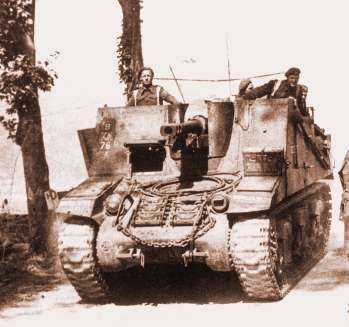
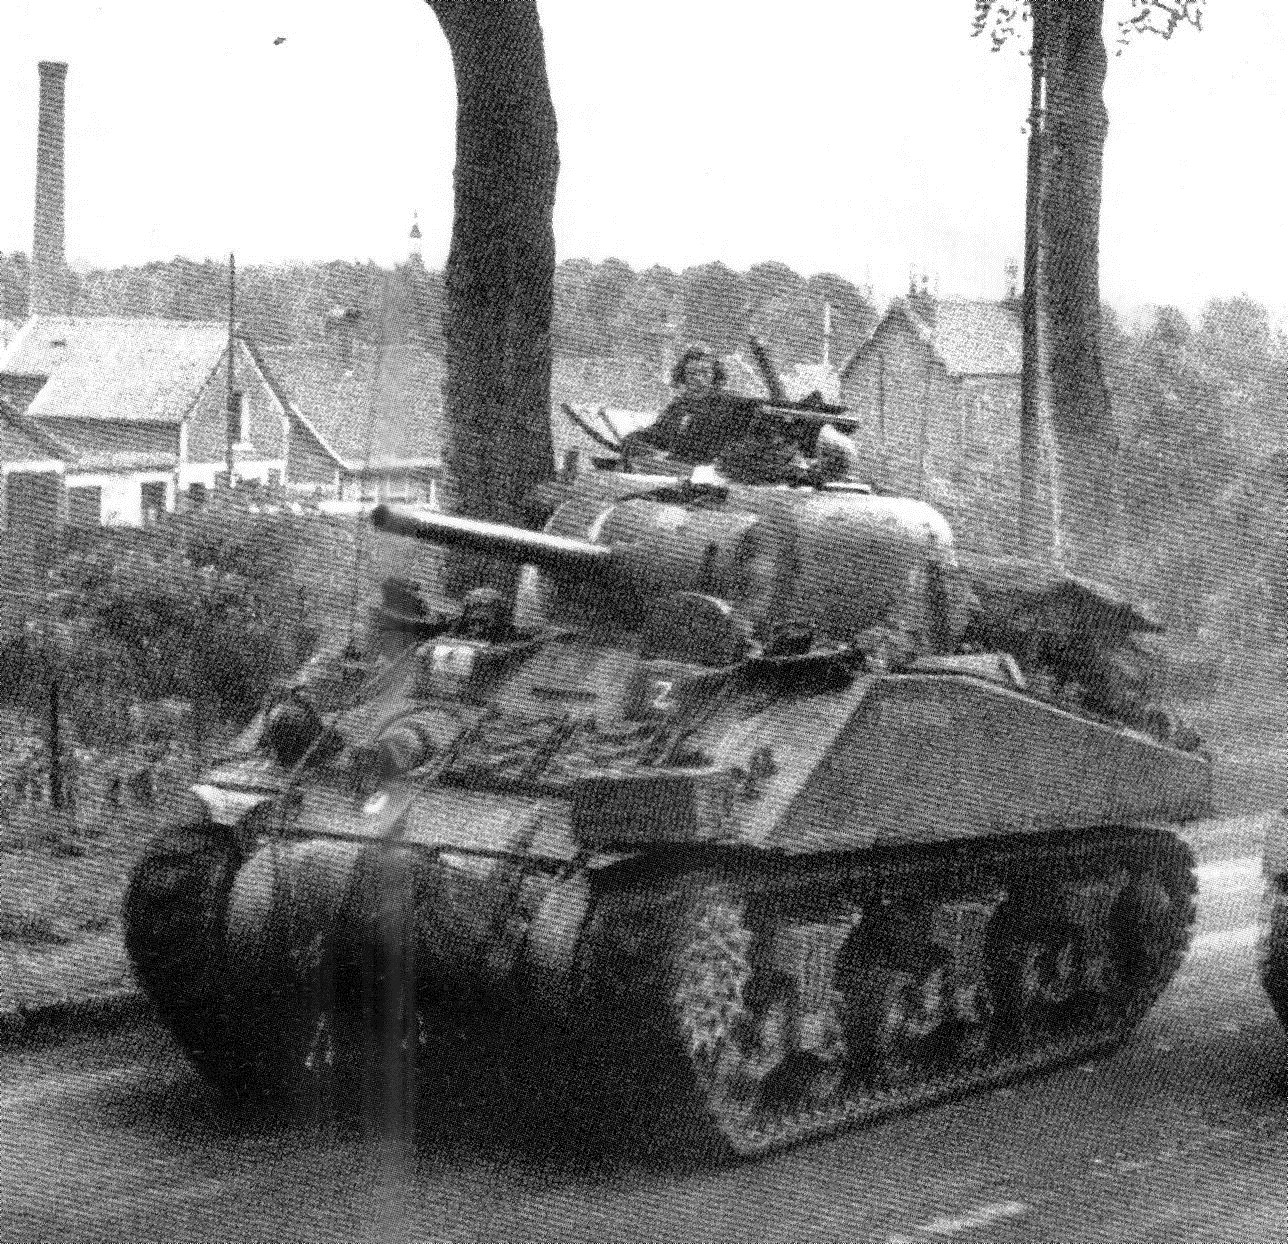
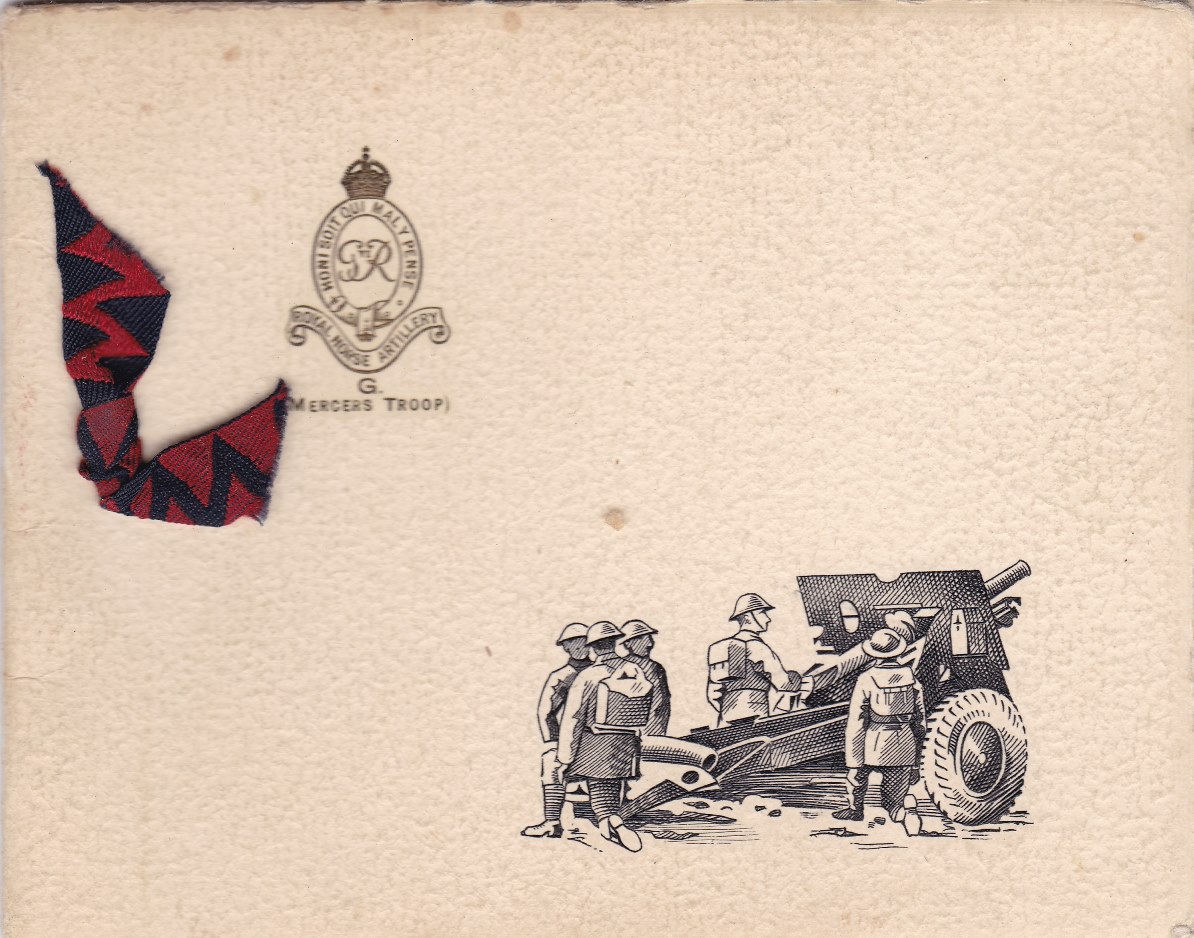
Sexton 5 RHA Europe 1944, named Bubbles III, from 'B' Troop, 'G' Battery
(Mercers Troop). NB. It is the '76' below the Divisional TAC sign, above the drivers hatch, which denotes that it as a Sexton from 5th RHA
|
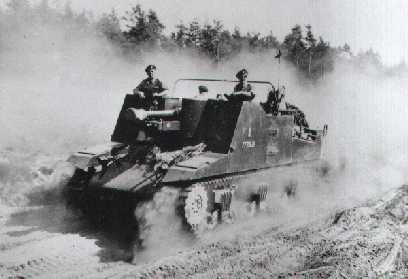
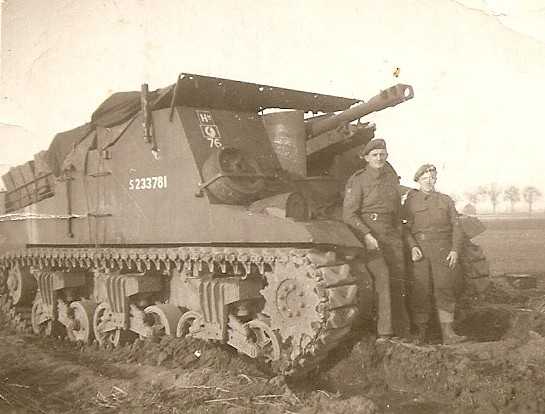
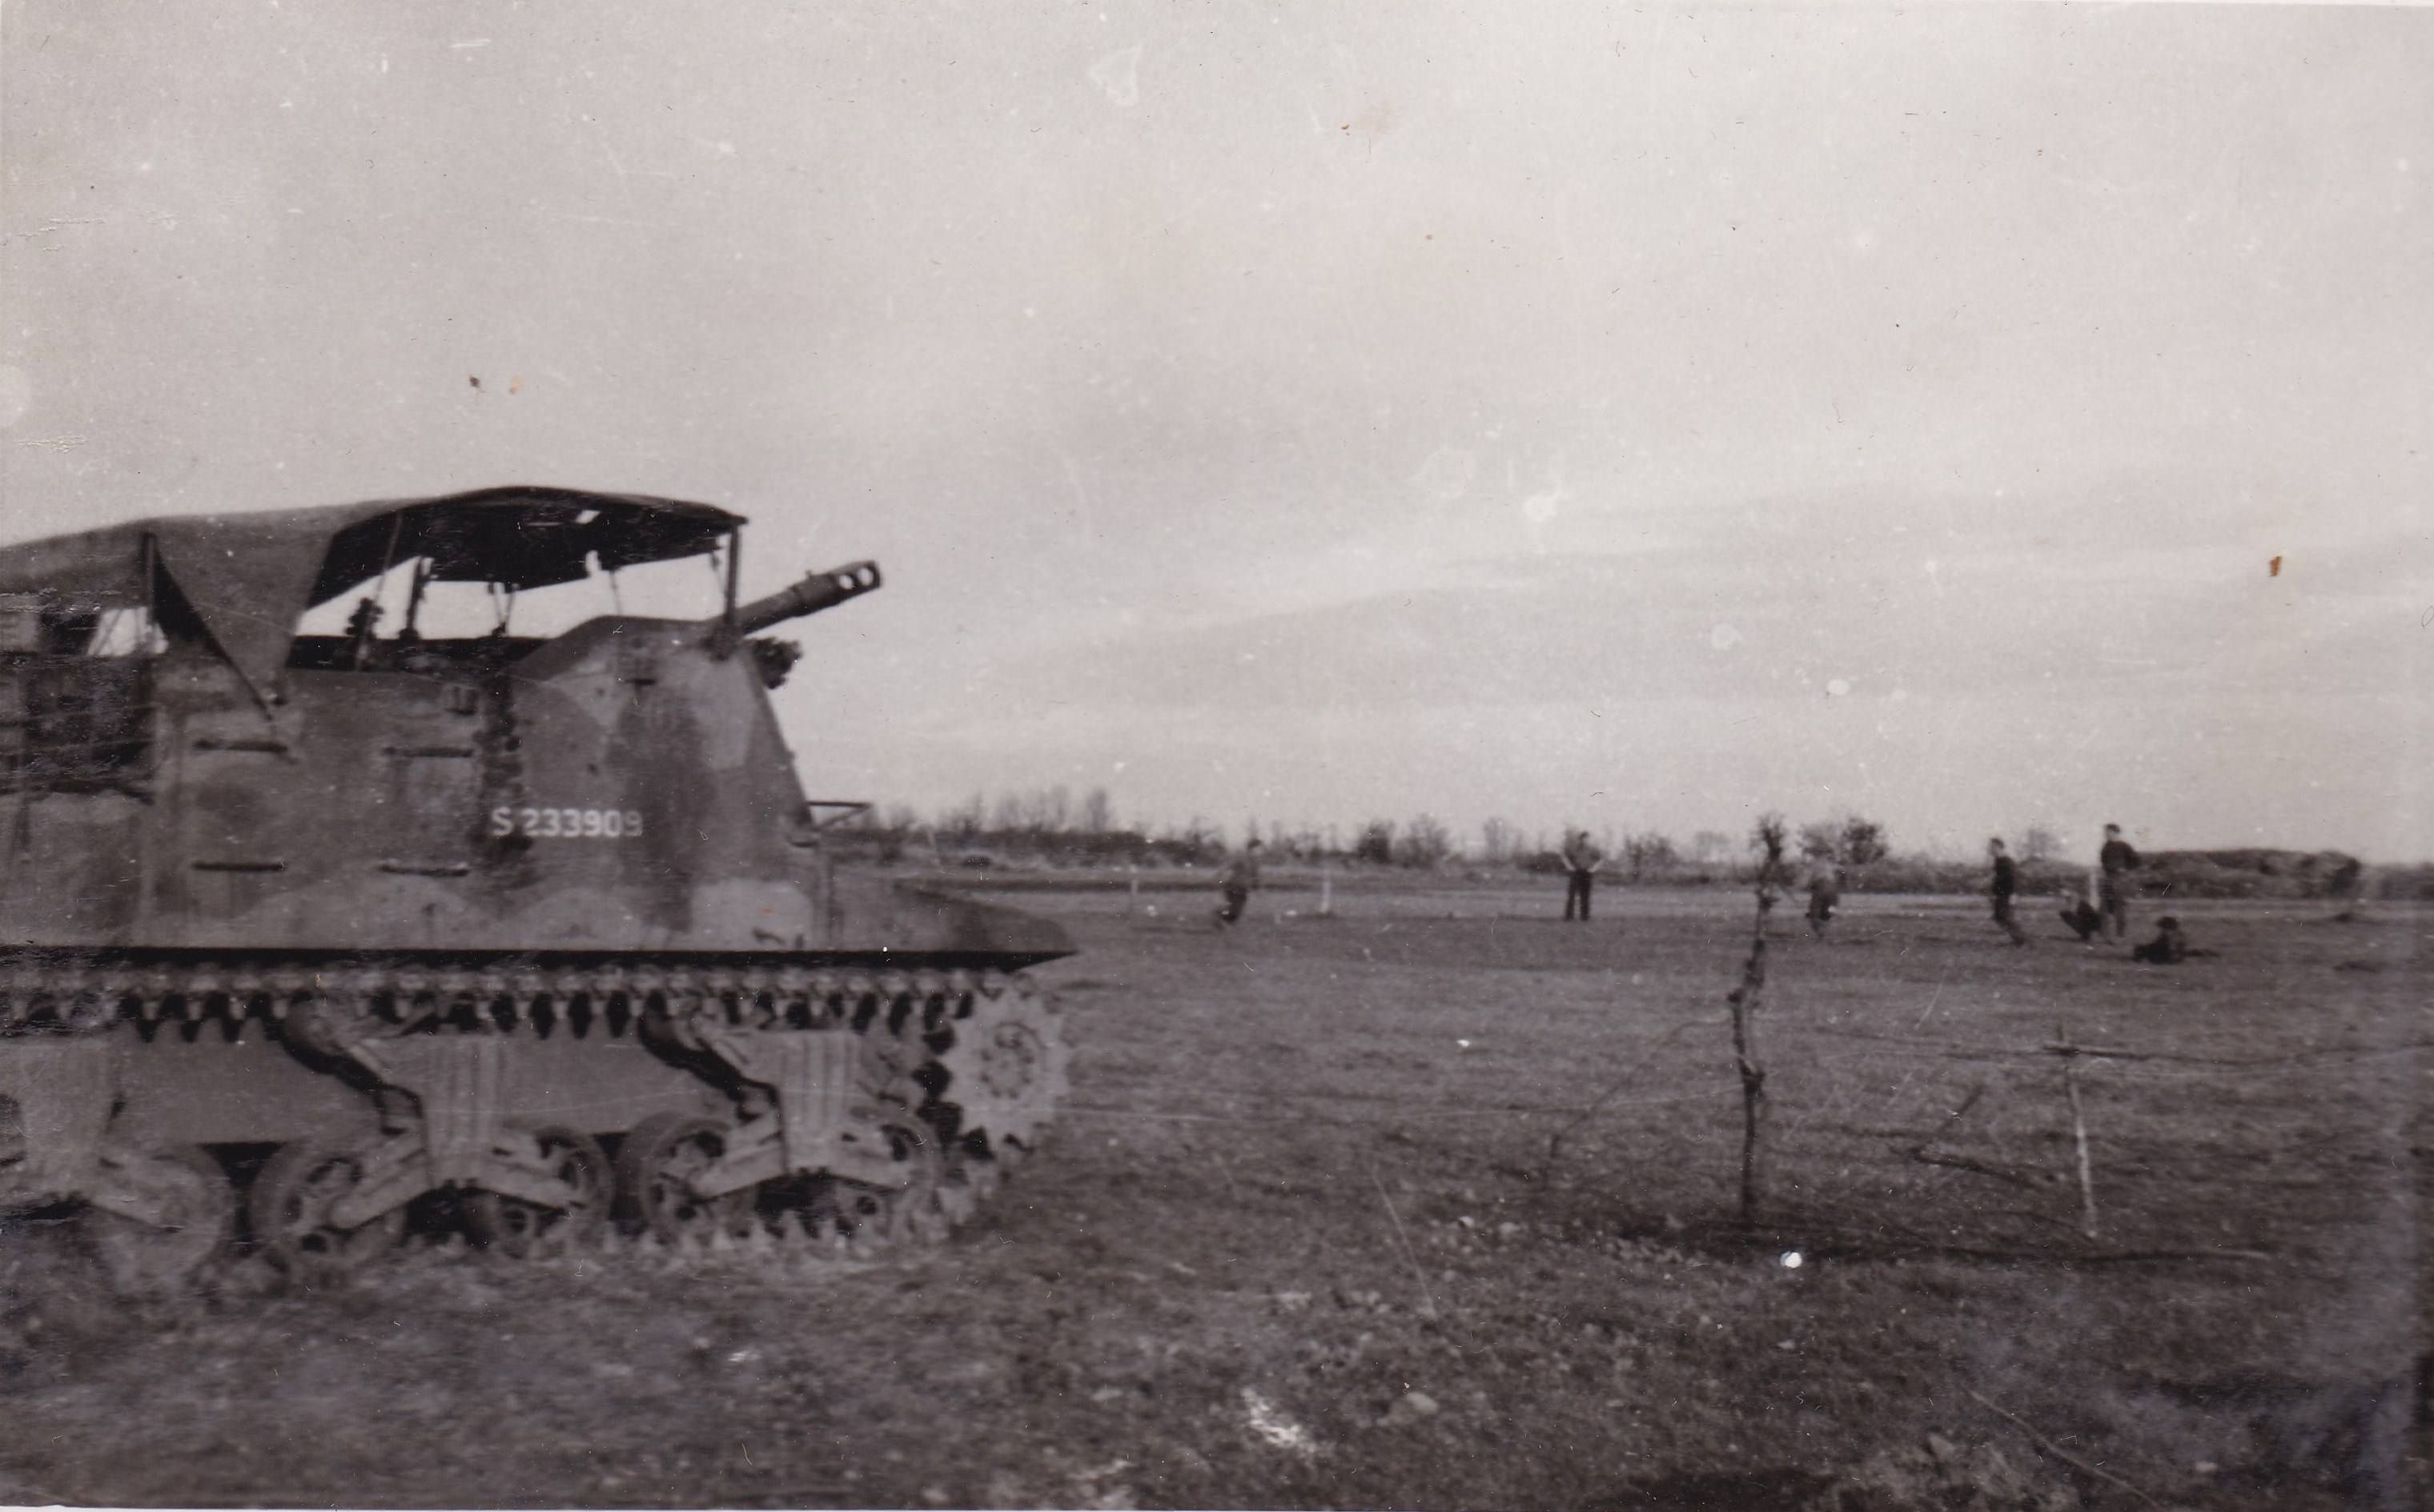
5th RHA Sexton from K
Battery, in action near Sittard.
|
|
|
|
|
Men of CC Battery in Sains en
Gohelle, France 1944 |
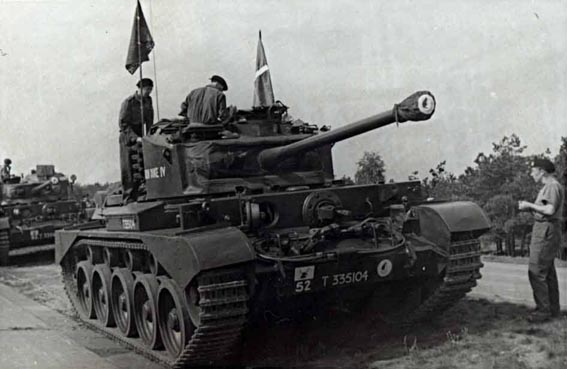
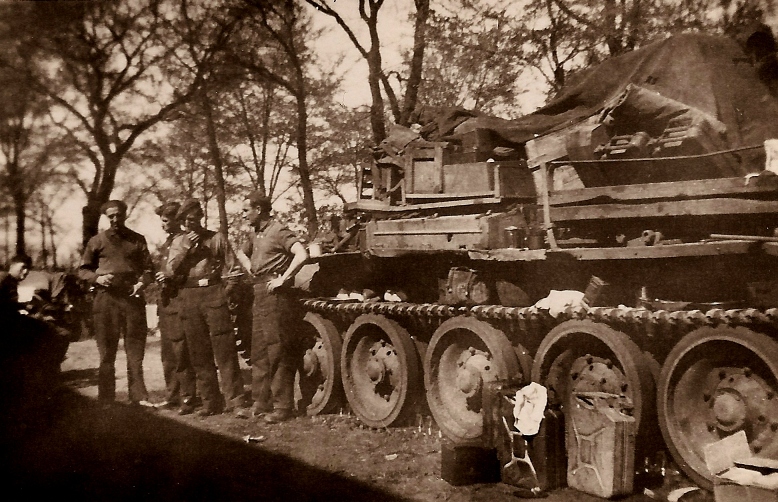
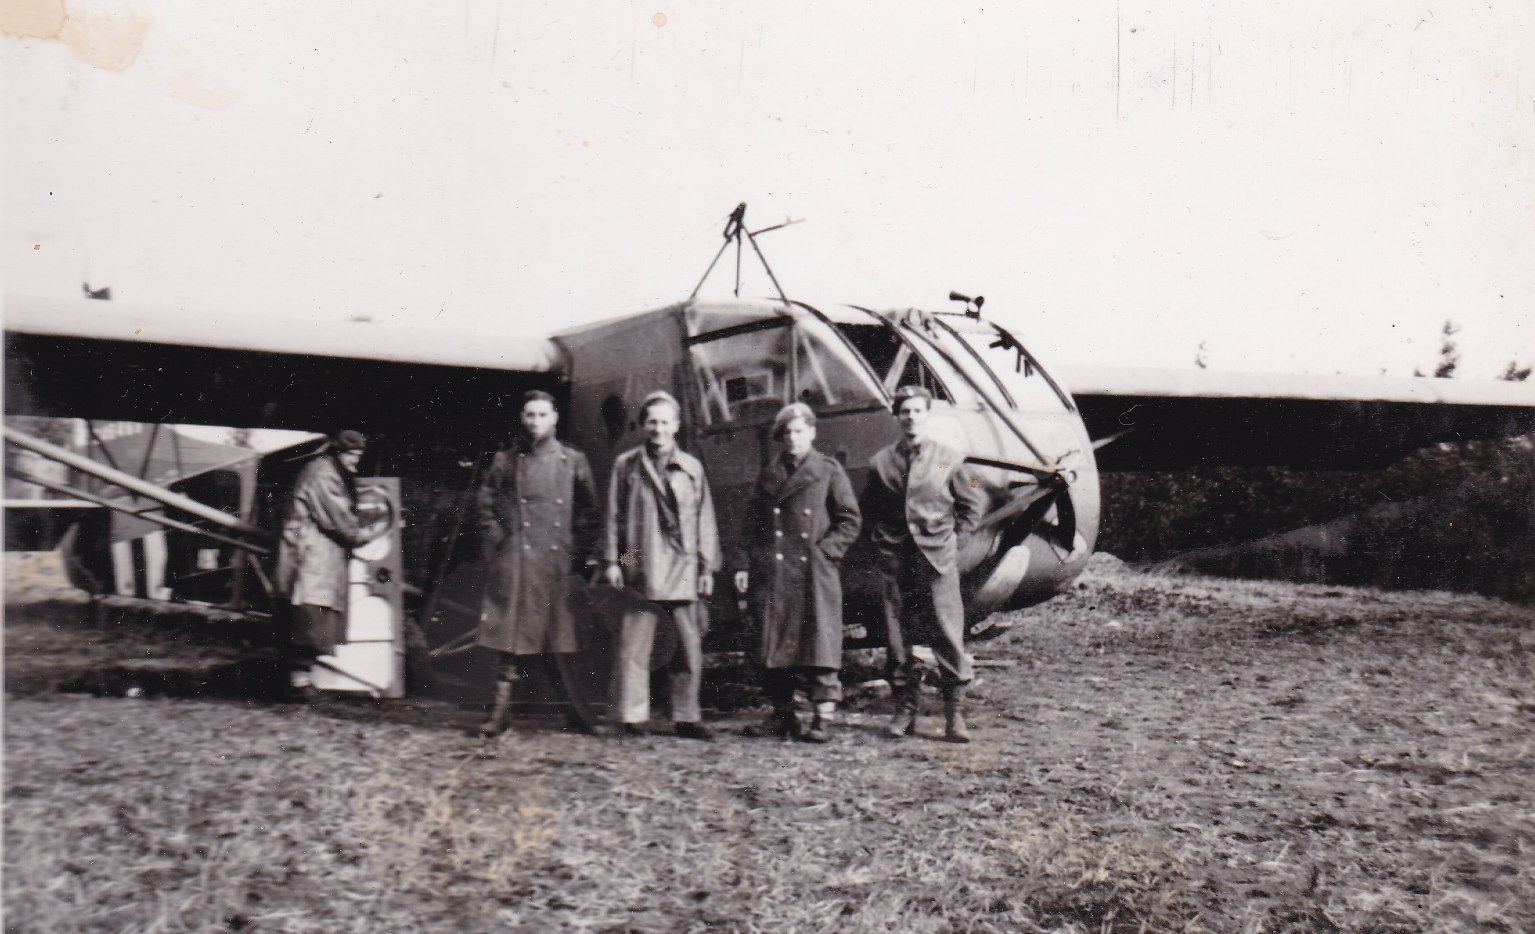
AOP Cromwell, Hollenstadt, Germany 1945
|
|
|

|
|
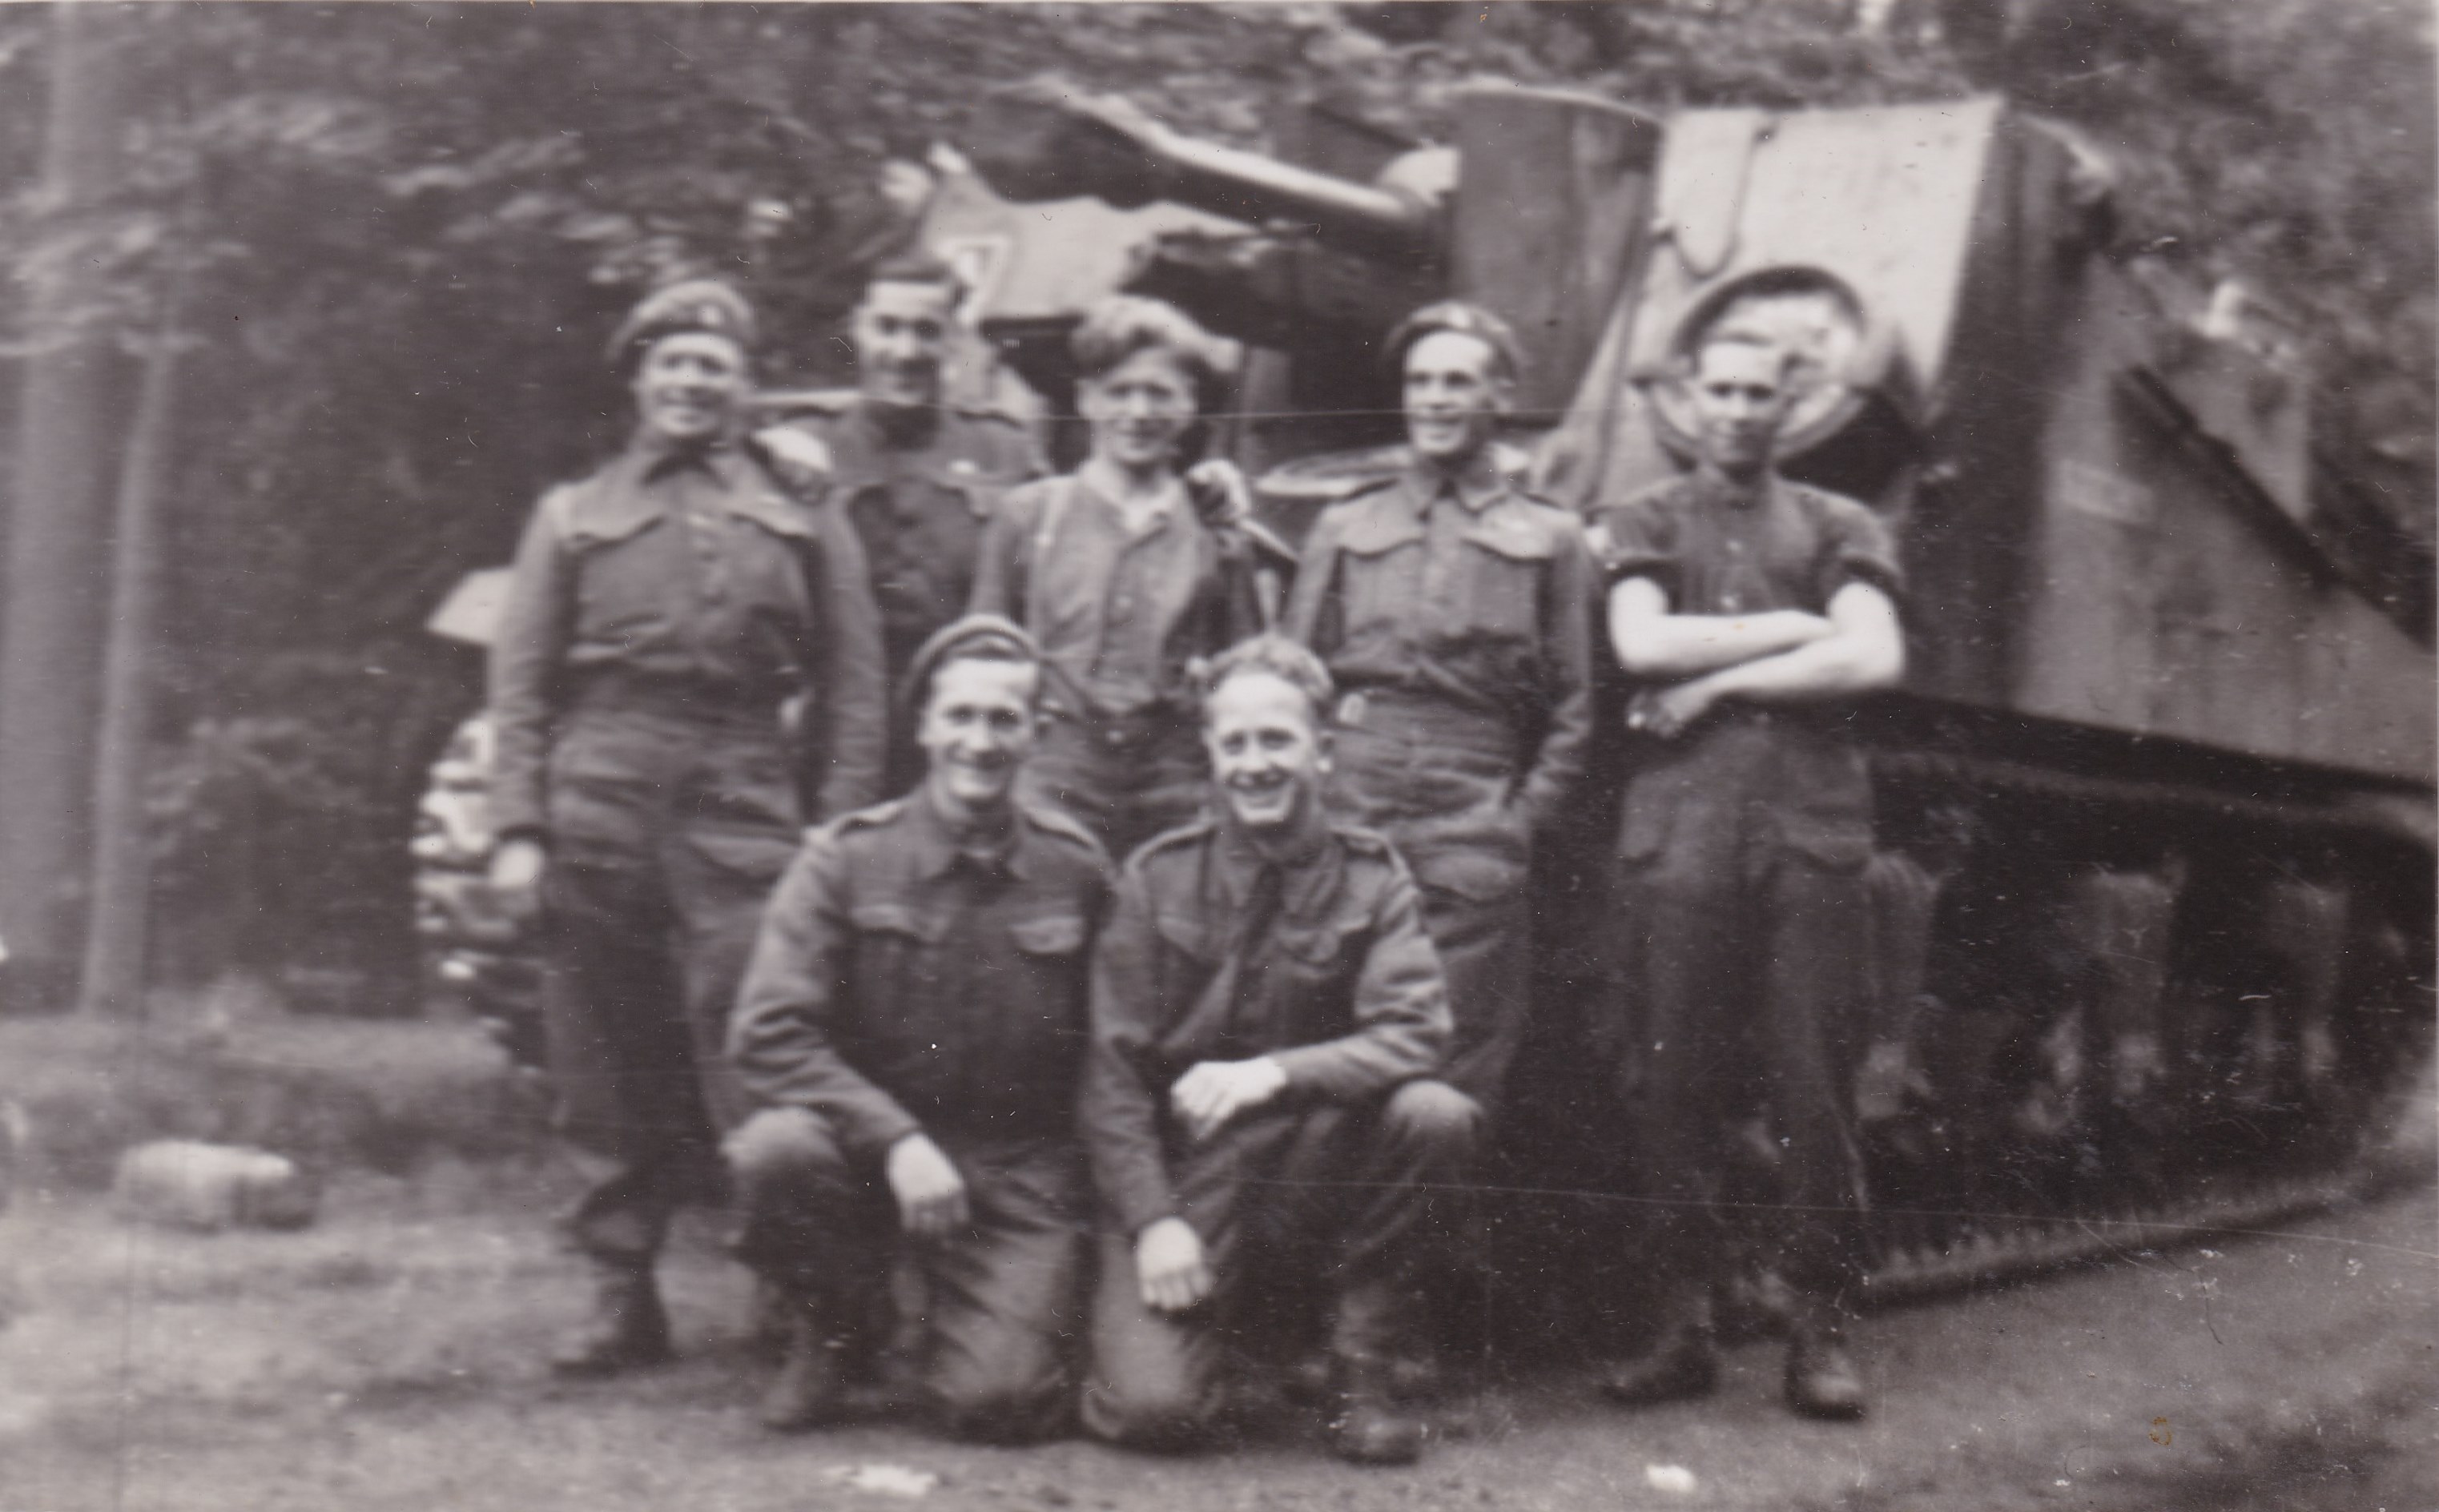
K Battery AOP Cromwell and crew 29th November 1994.
(James Allen is second from right). Courtesy of James Allen & David
Allen..
|
K Battery Sexton called 'Dagwood'.
|
|
|

|
|
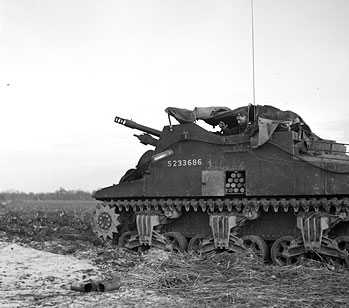
Sexton 5 RHA Europe 1944, from 'H' Troop, 'CC' Battery. NB. It is the '76' below the Divisional TAC sign, above the drivers hatch that denotes it as 5 RHA. The 'H' above denotes the troop which is different to normal practice. Courtesy of William Parfitt & Mark Smith.
|
Another Sexton from 'H' Troop, CC Battery, showing the compartment cover and the various items stowed above the engine
|
|

|
|
|
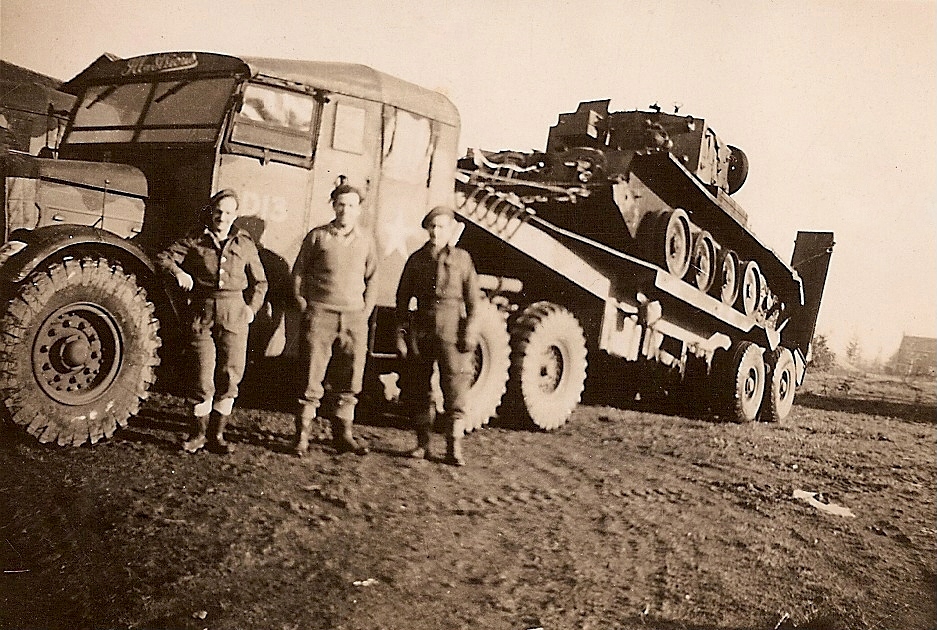
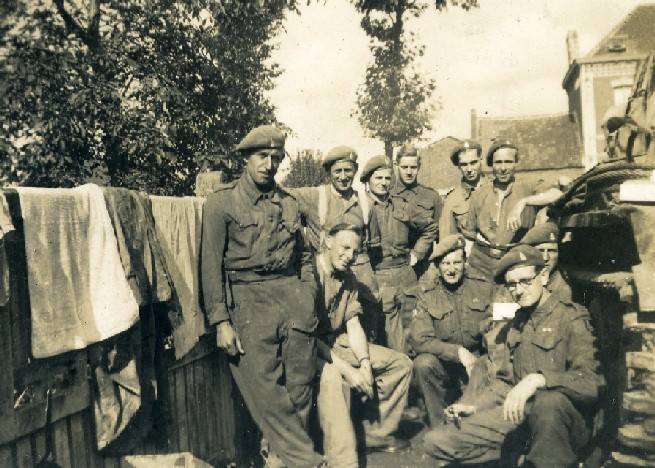
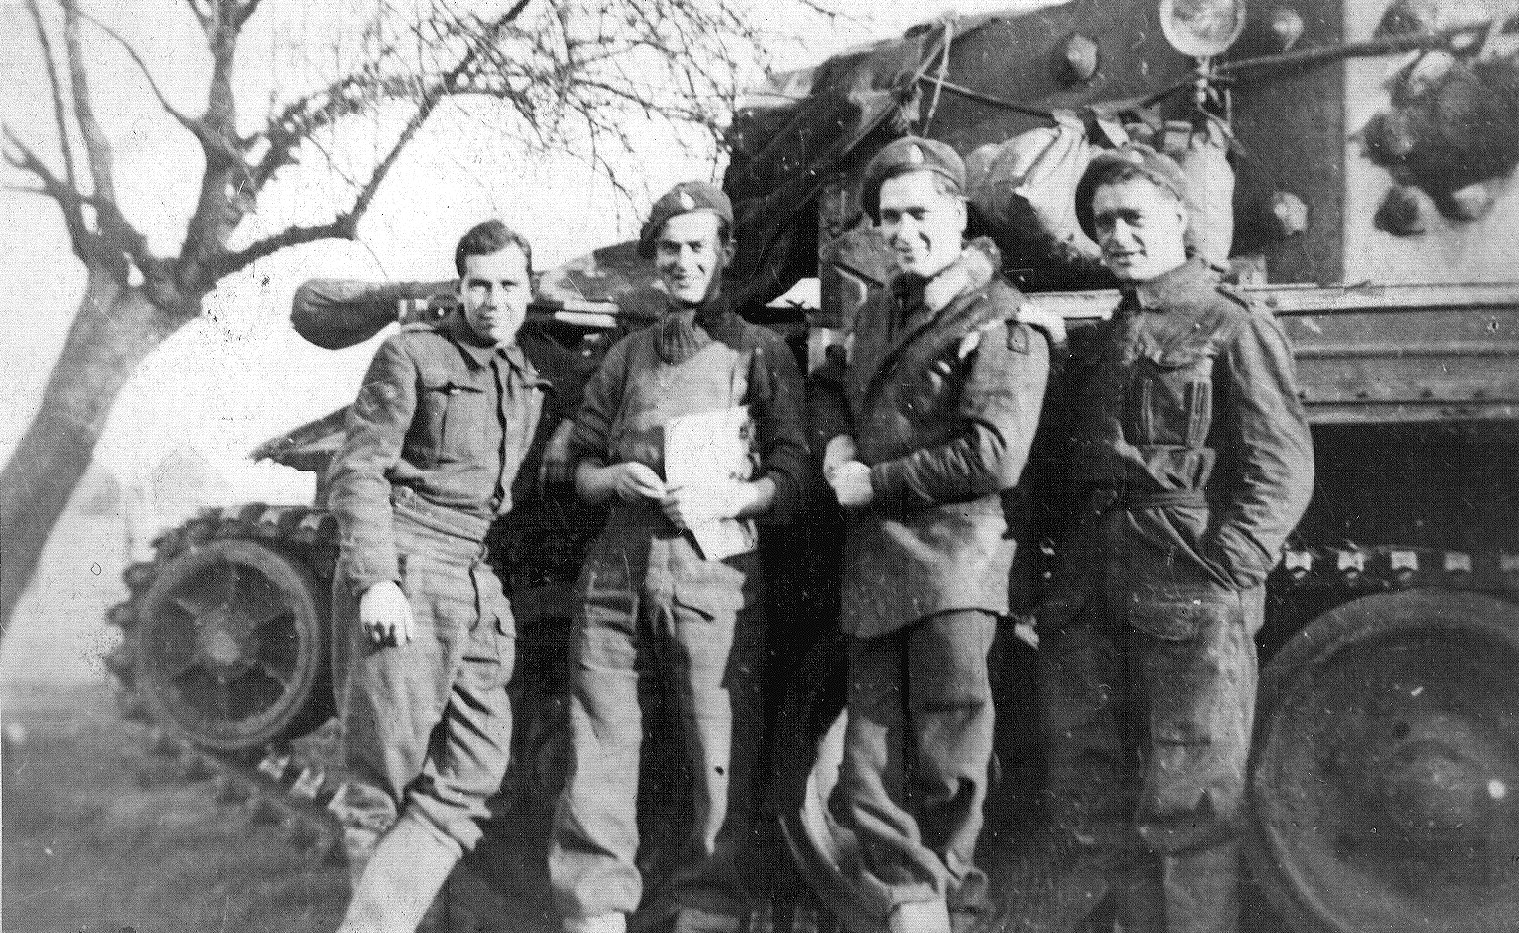
Men from the Light Aid Detachment for 5 RHA, Holland December 1944. Courtesy of William Parfitt & Mark
Smith
|
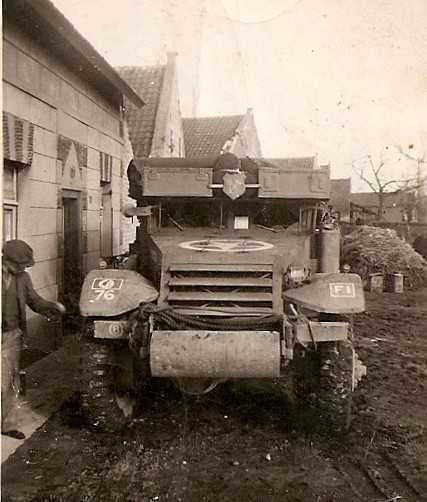
Haltrack 'F1' with Articifiers sign above the cab from the Light Aid Detachment for 5 RHA, Holland December 1944. Courtesy of William Parfitt & Mark Smith.
|
|
|

|
|
Men from CC Battery (most likely from 'H' Troop), 5 RHA, Europe 1944 or 1945, with a well laden lorry behind them. Courtesy of William Parfitt & Mark Smith.
|
Men from CC Battery (most likely from 'H' Troop), Hamburg 1945. Courtesy of William Parfitt & Mark Smith.
|
|

|

|
|
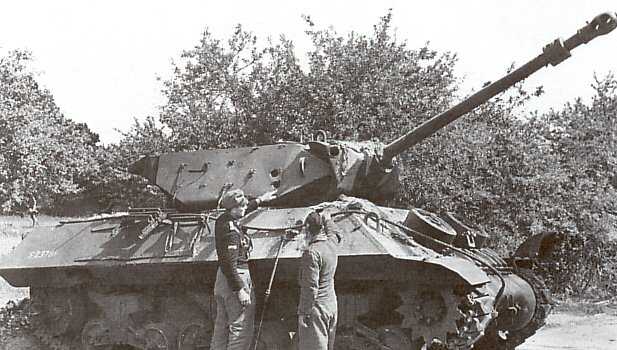
Sexton of Sub-section H, 'H' Troop, CC Battery, 5th RHA, denoted by the HH on the
AoS. Photograph from Leonard Smith, courtesy of his family.
|
Picture of same Sexton S234682, showing the CC Battery badge on the side. Photo Leonard Smith and courtesy of his family.
|
|
|

|
|
OP Cromwell from H Troop, CC Battery. 5 RHA somewhere in Germany 1945. Behind it is the same Sexton as in top right, second row down S233704. Photograph from Leonard Smith, courtesy of his family.
|
H Troop, CC Battery, 5th RHA somewhere in Germany in 1945. Note AOP Cromwell in the foreground and Sextons behind it, some with their covers in place. Photo Leonard Smith and courtesy of his family.
|
|
|
|
|
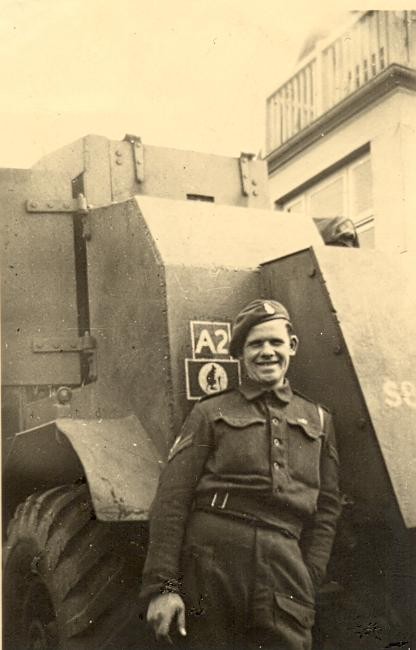
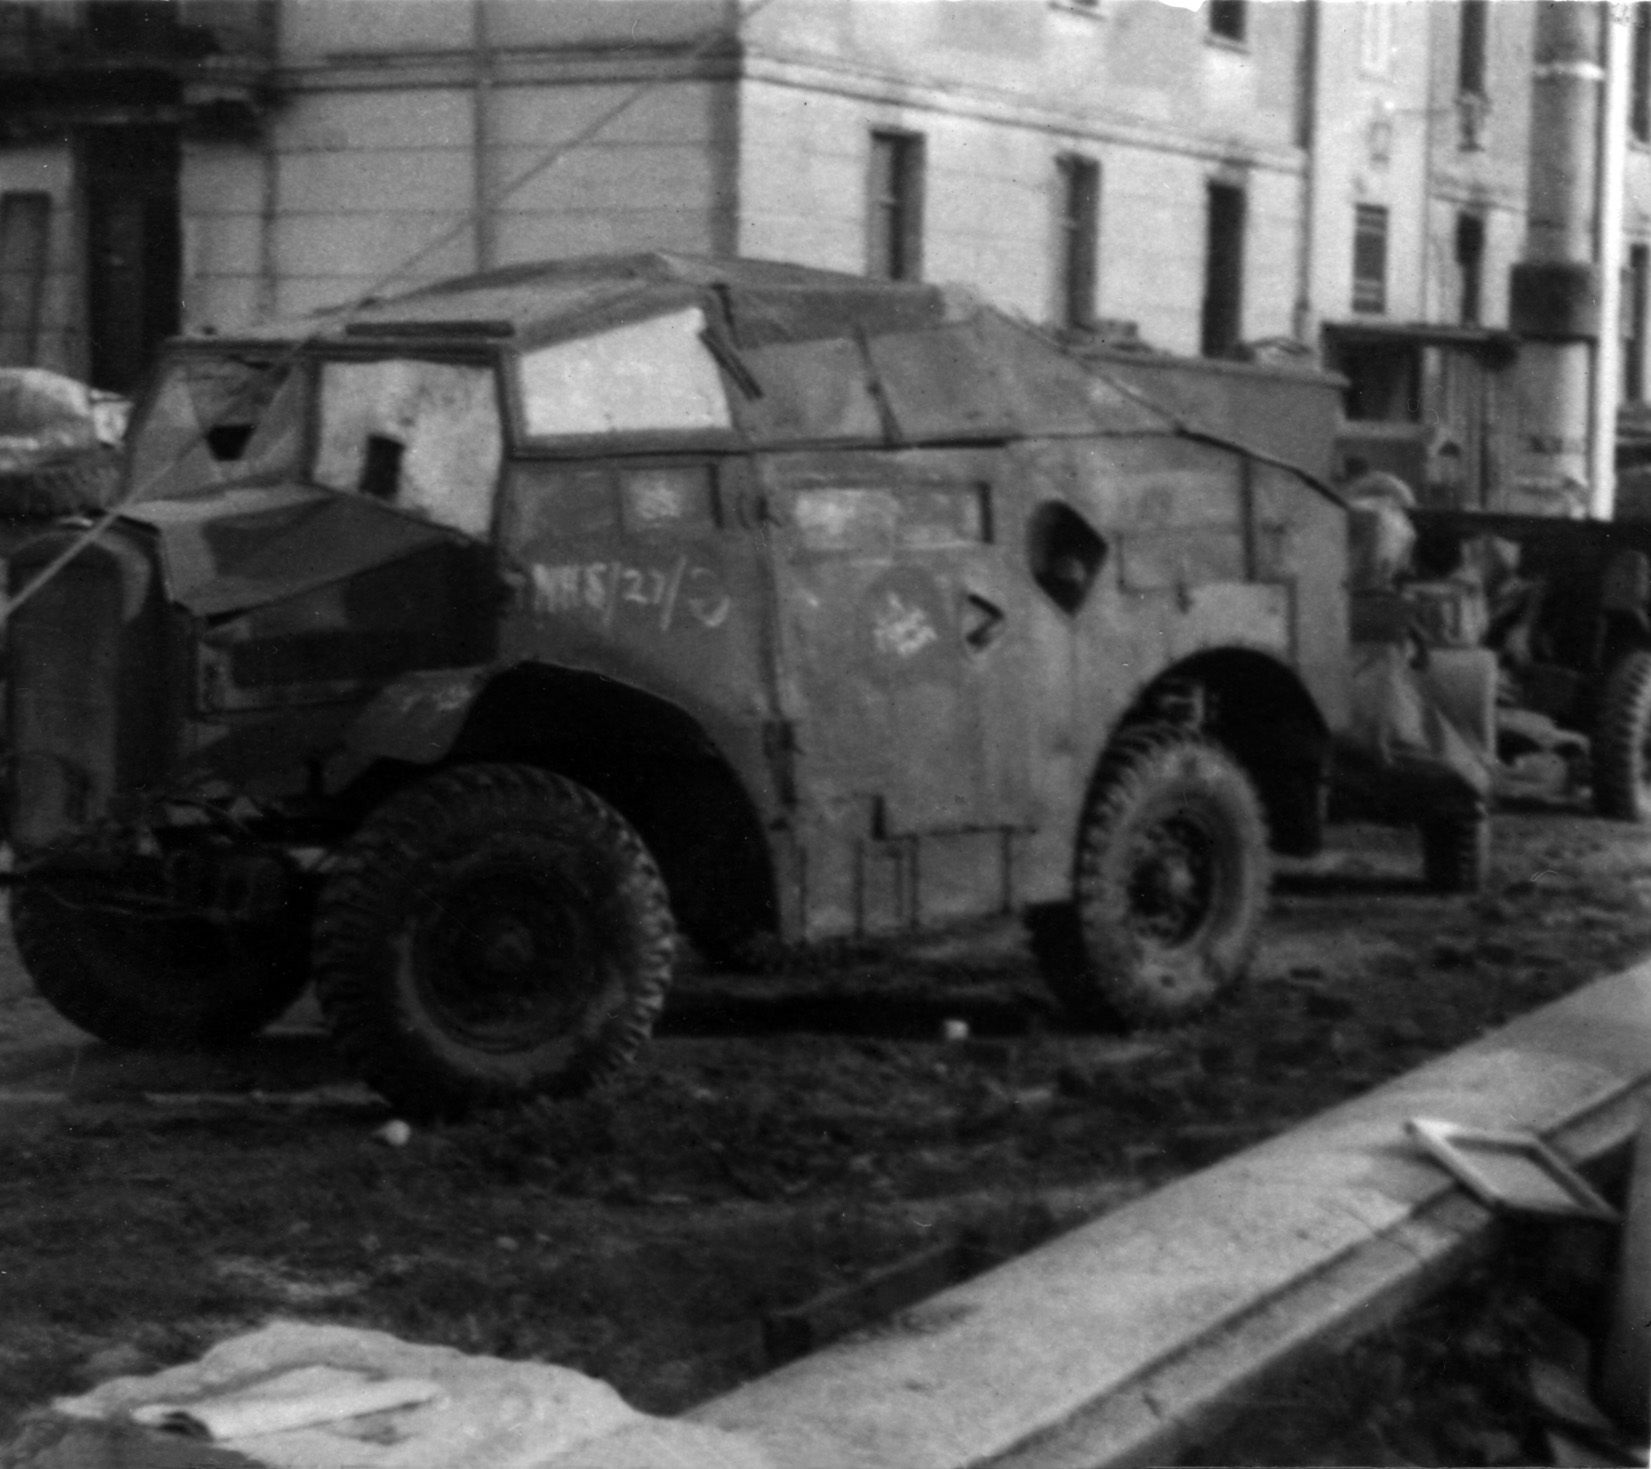
The A2 Ammunition Lorry from
H Troop, CC Battery, 5 RHA, complete with armour. This is in the background of the above right Troop photo. Photo Leonard Smith and courtesy of his family.
|
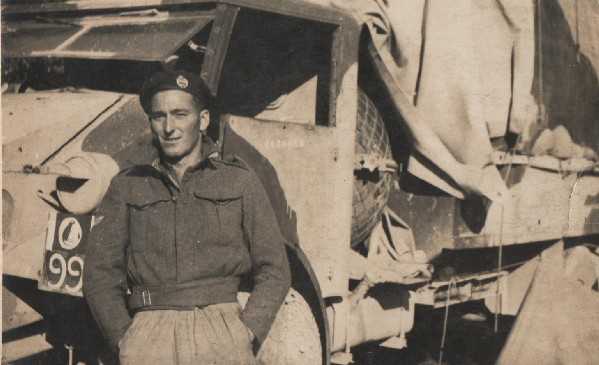
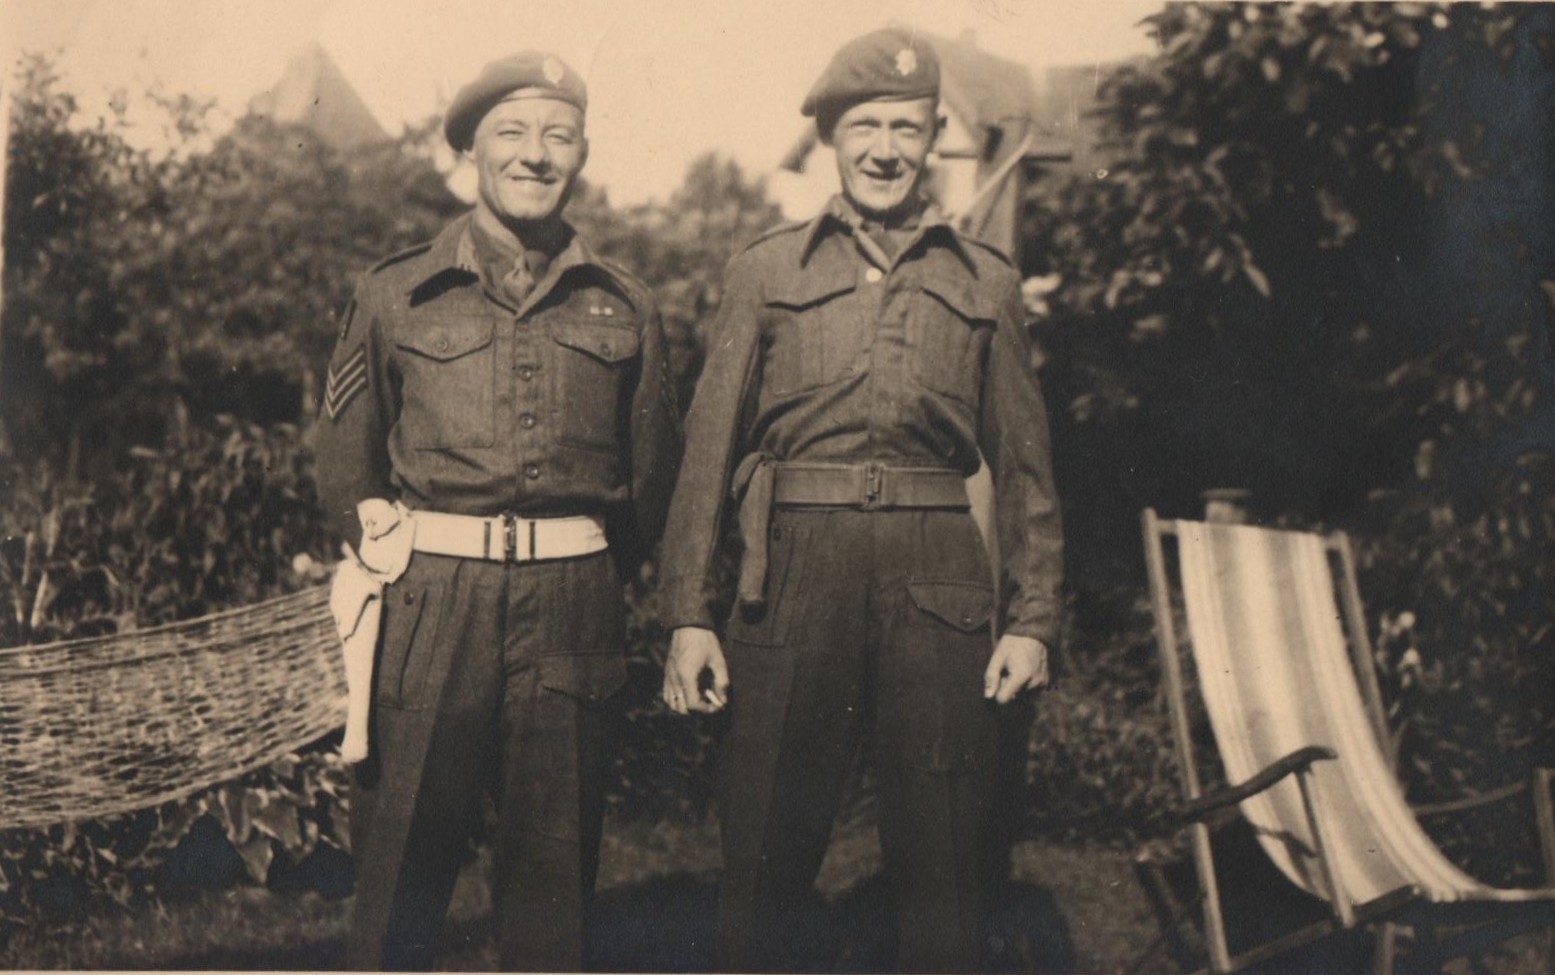
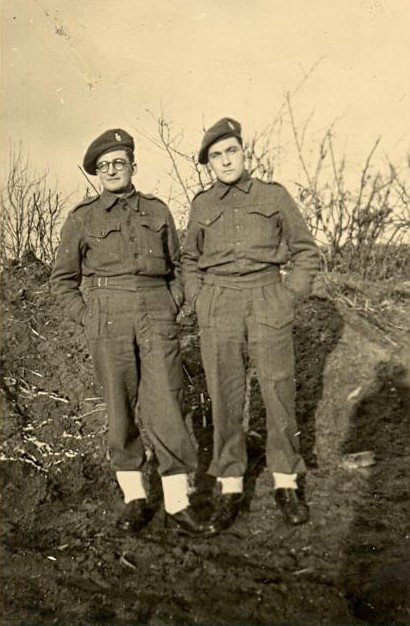
Two men from H Troop, CC Battery, 5 RHA probably in 1945. Photo Leonard Smith and courtesy of his family.
|
|
|
|
|
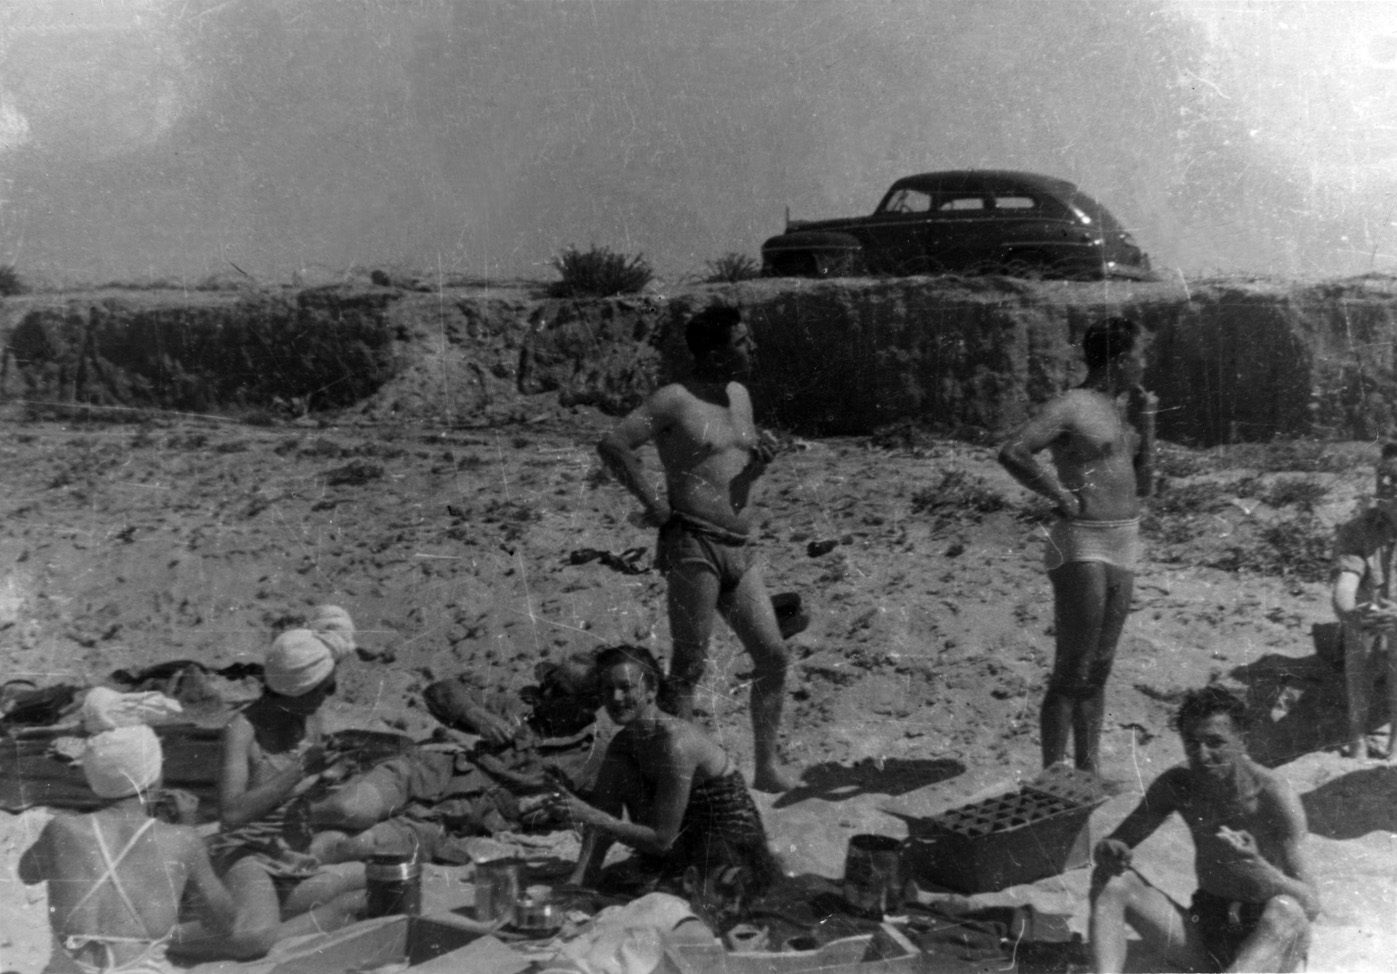
A member of H Troop, CC Battery, 5 RHA probably in 1945. Photo Leonard Smith and courtesy of his family.
|
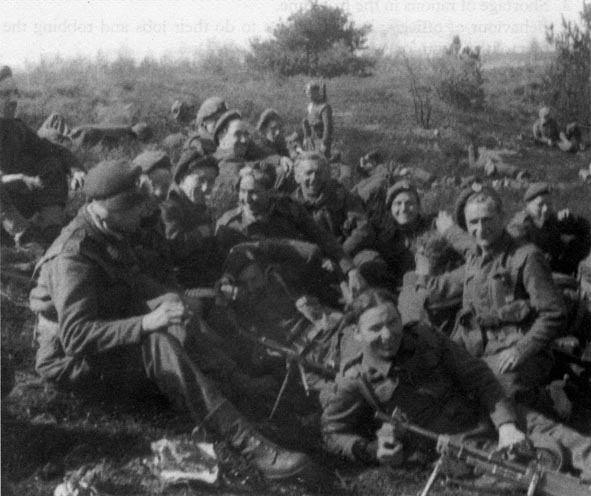
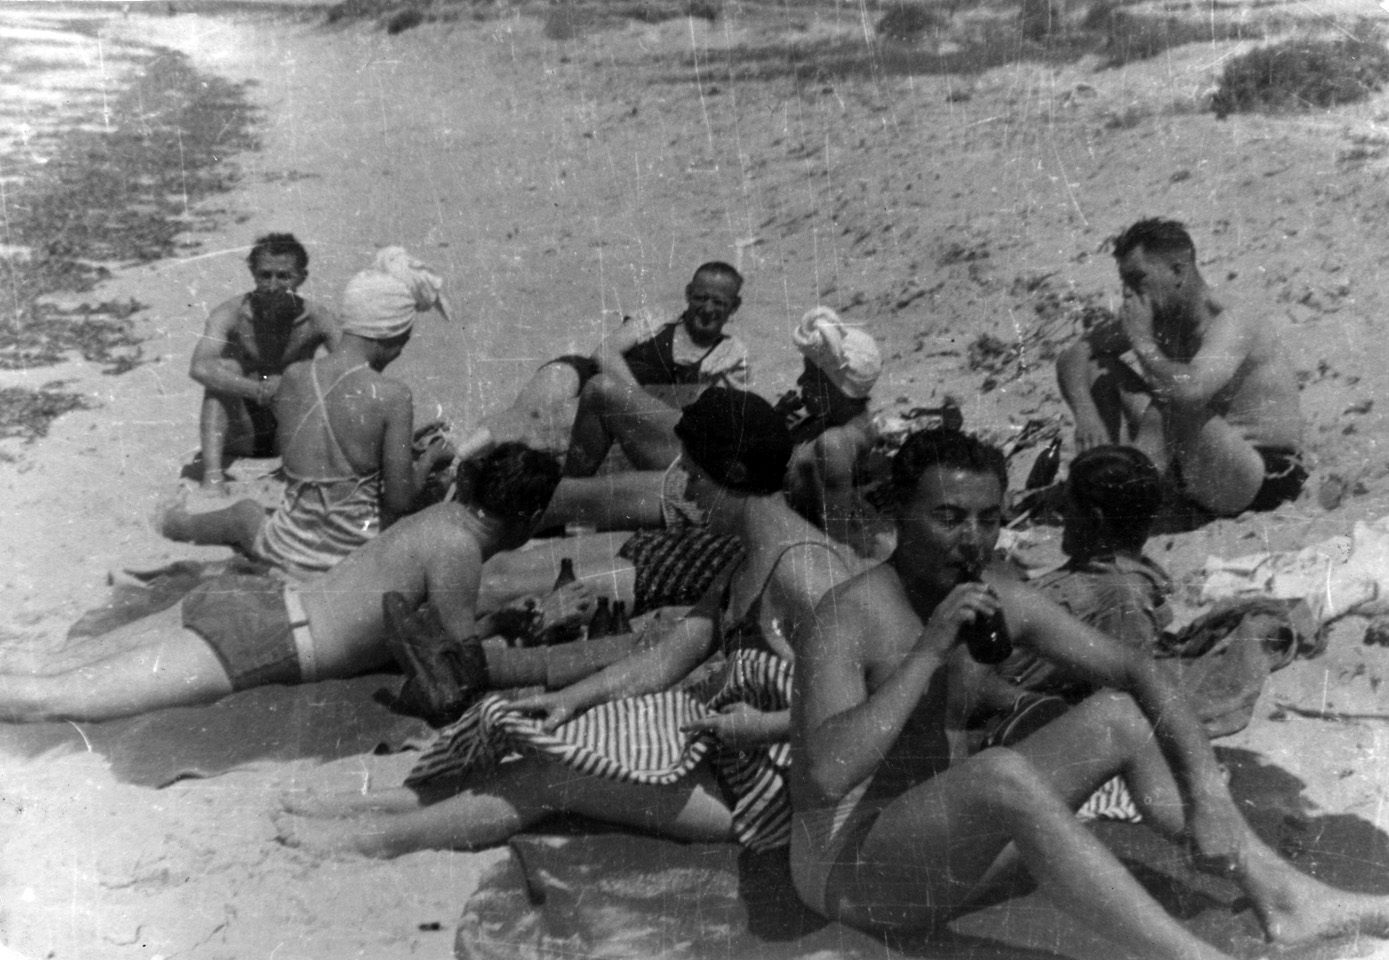
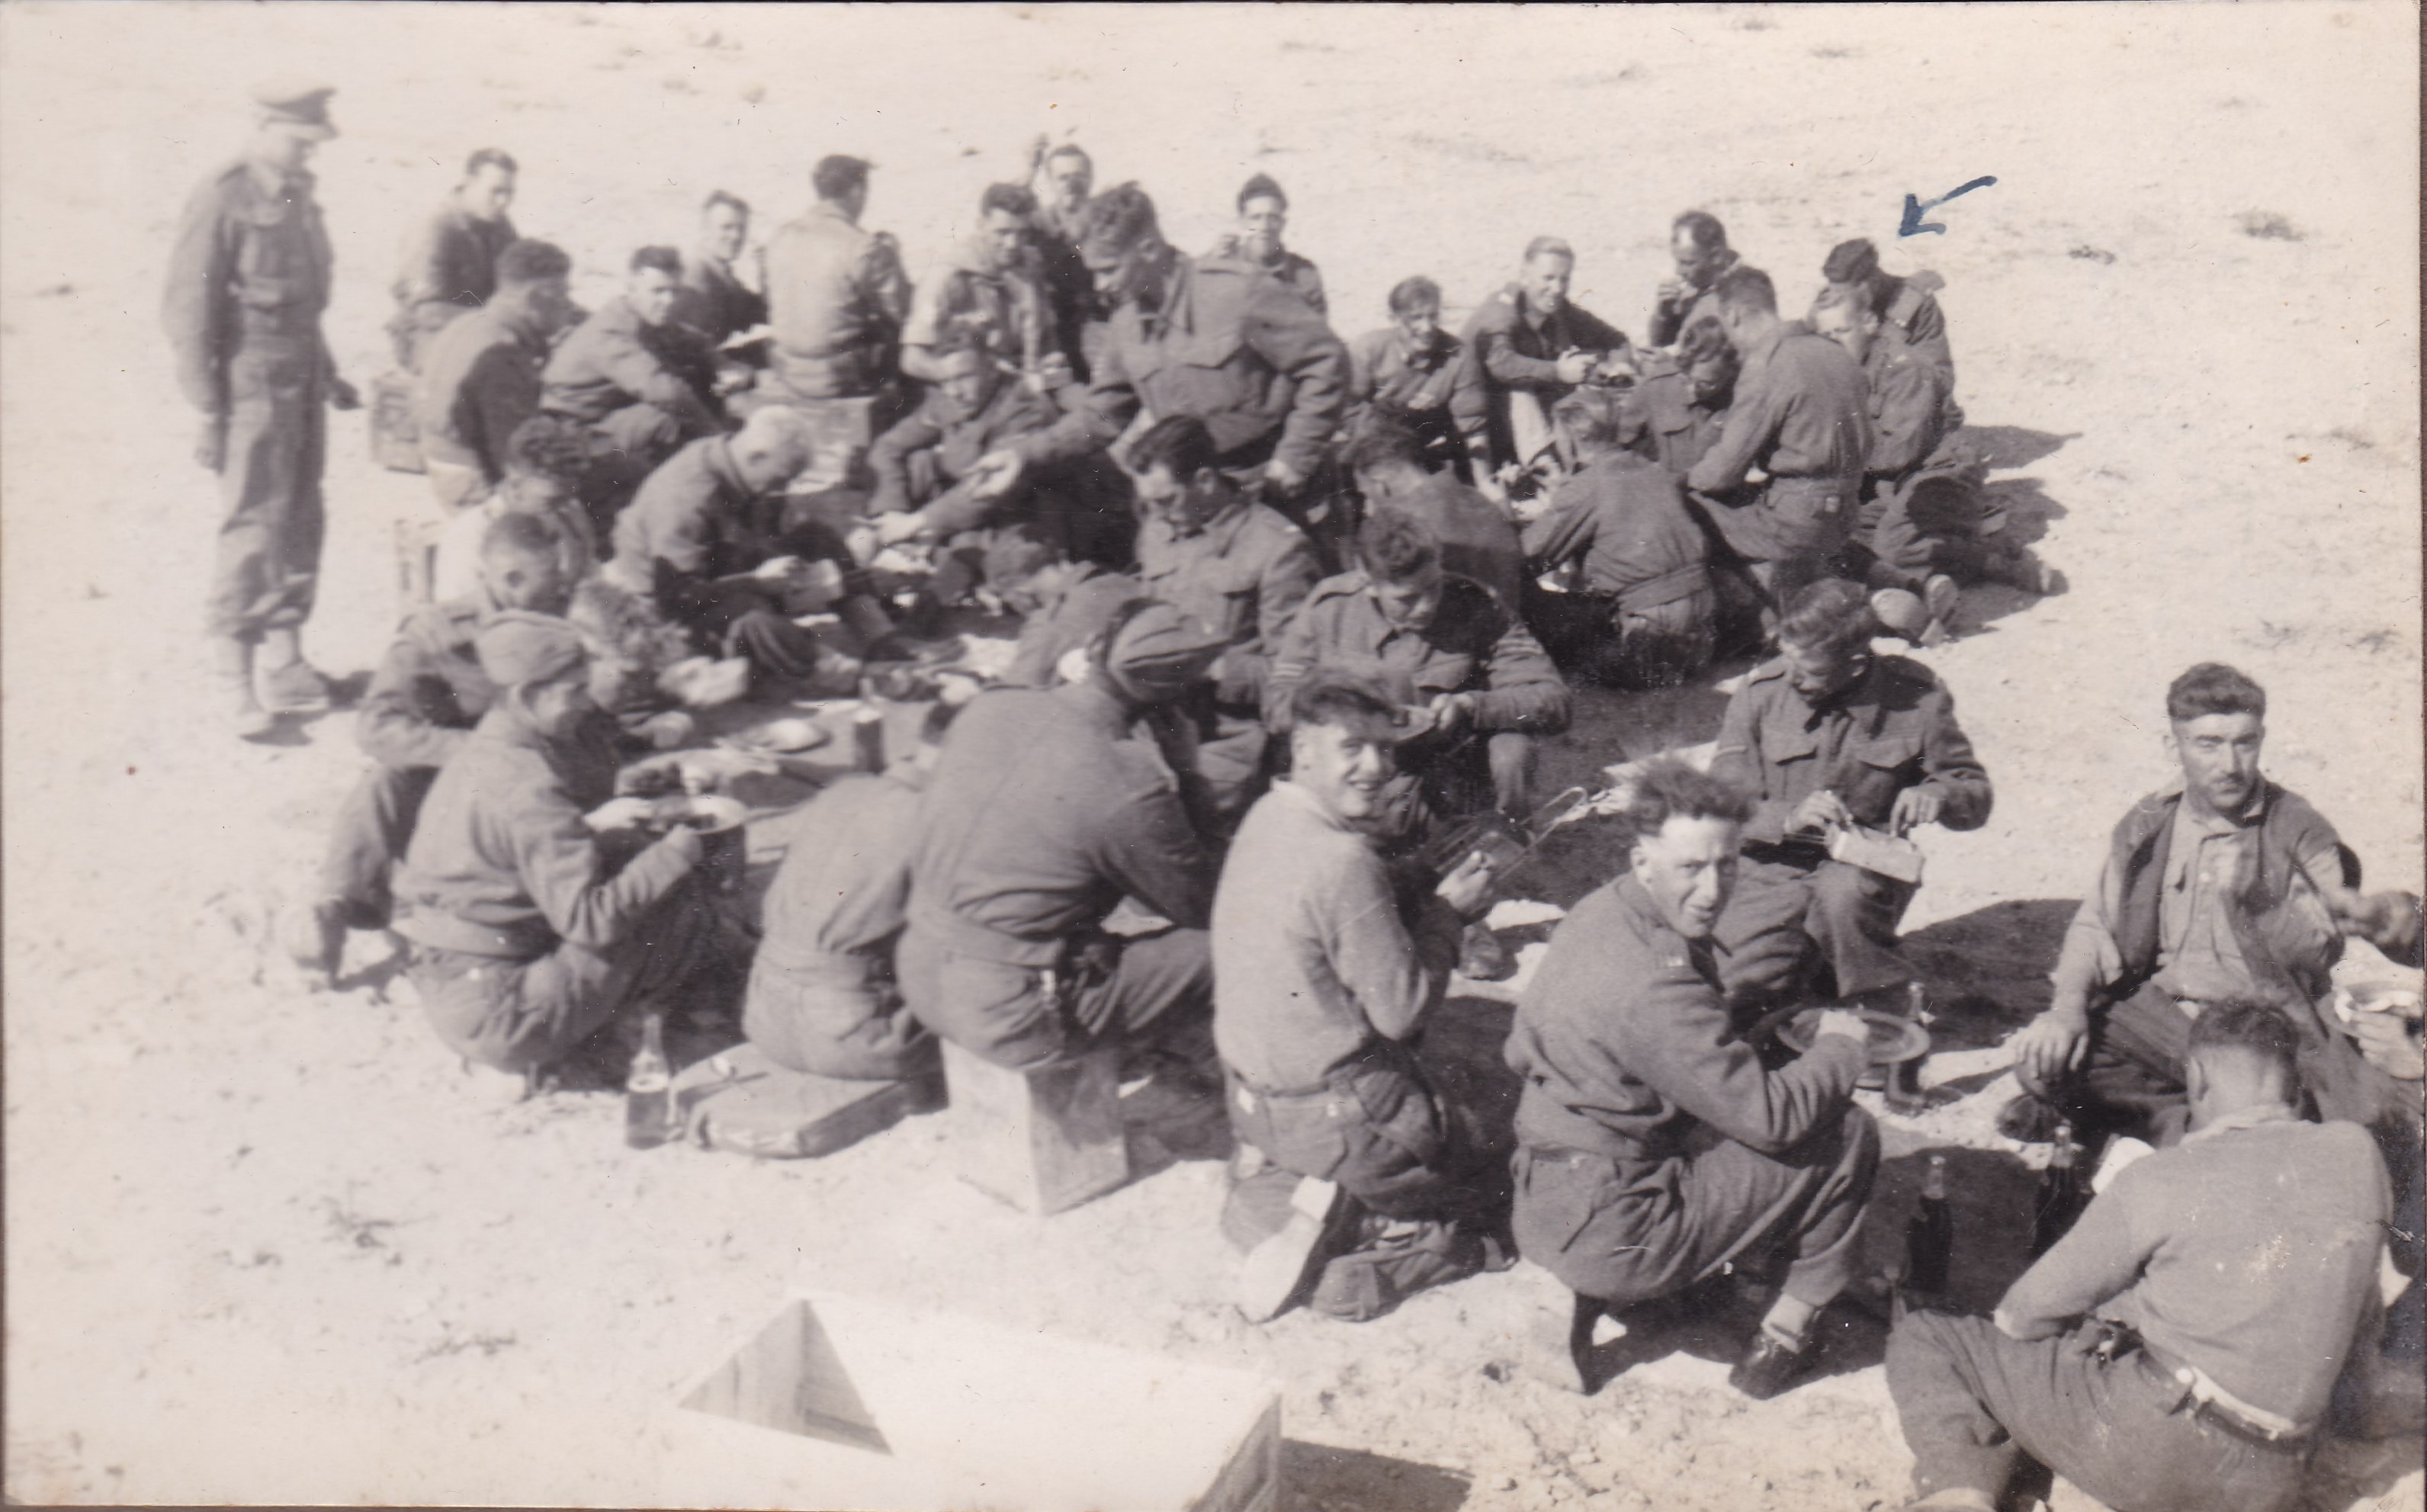
Men of CC Battery, 5 RHA enjoying a 'picnic' probably in 1945. Photo Leonard Smith and courtesy of his family.
|
|
|
|
|
|
|
|
|
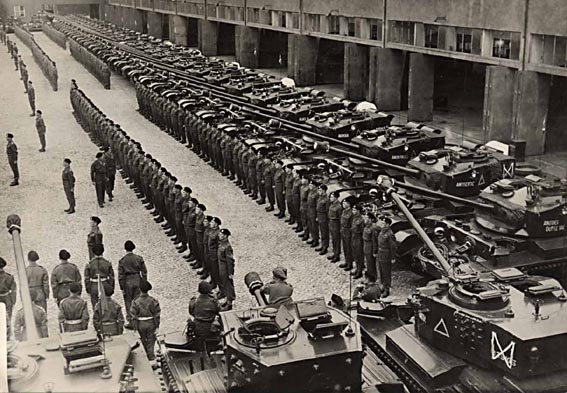
The crew of a Sexton from H Troop, CC Battery, 5 RHA, preparing for the Victory Parade in July 1945. Second from left in the photo is Leonard Smith and the photograph is courtesy of his family.
|
Two of the same crew in a less formal pose before the Victory Parade in July 1945. Photo Leonard Smith and courtesy of his family.
|
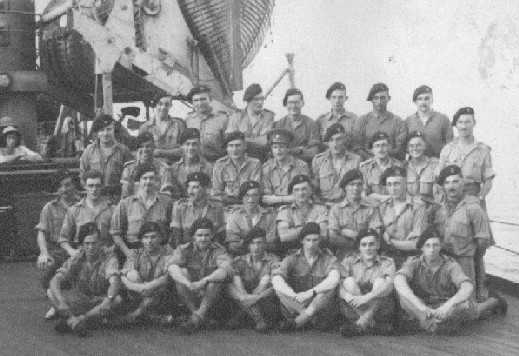
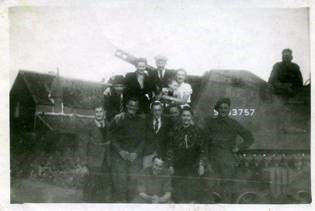
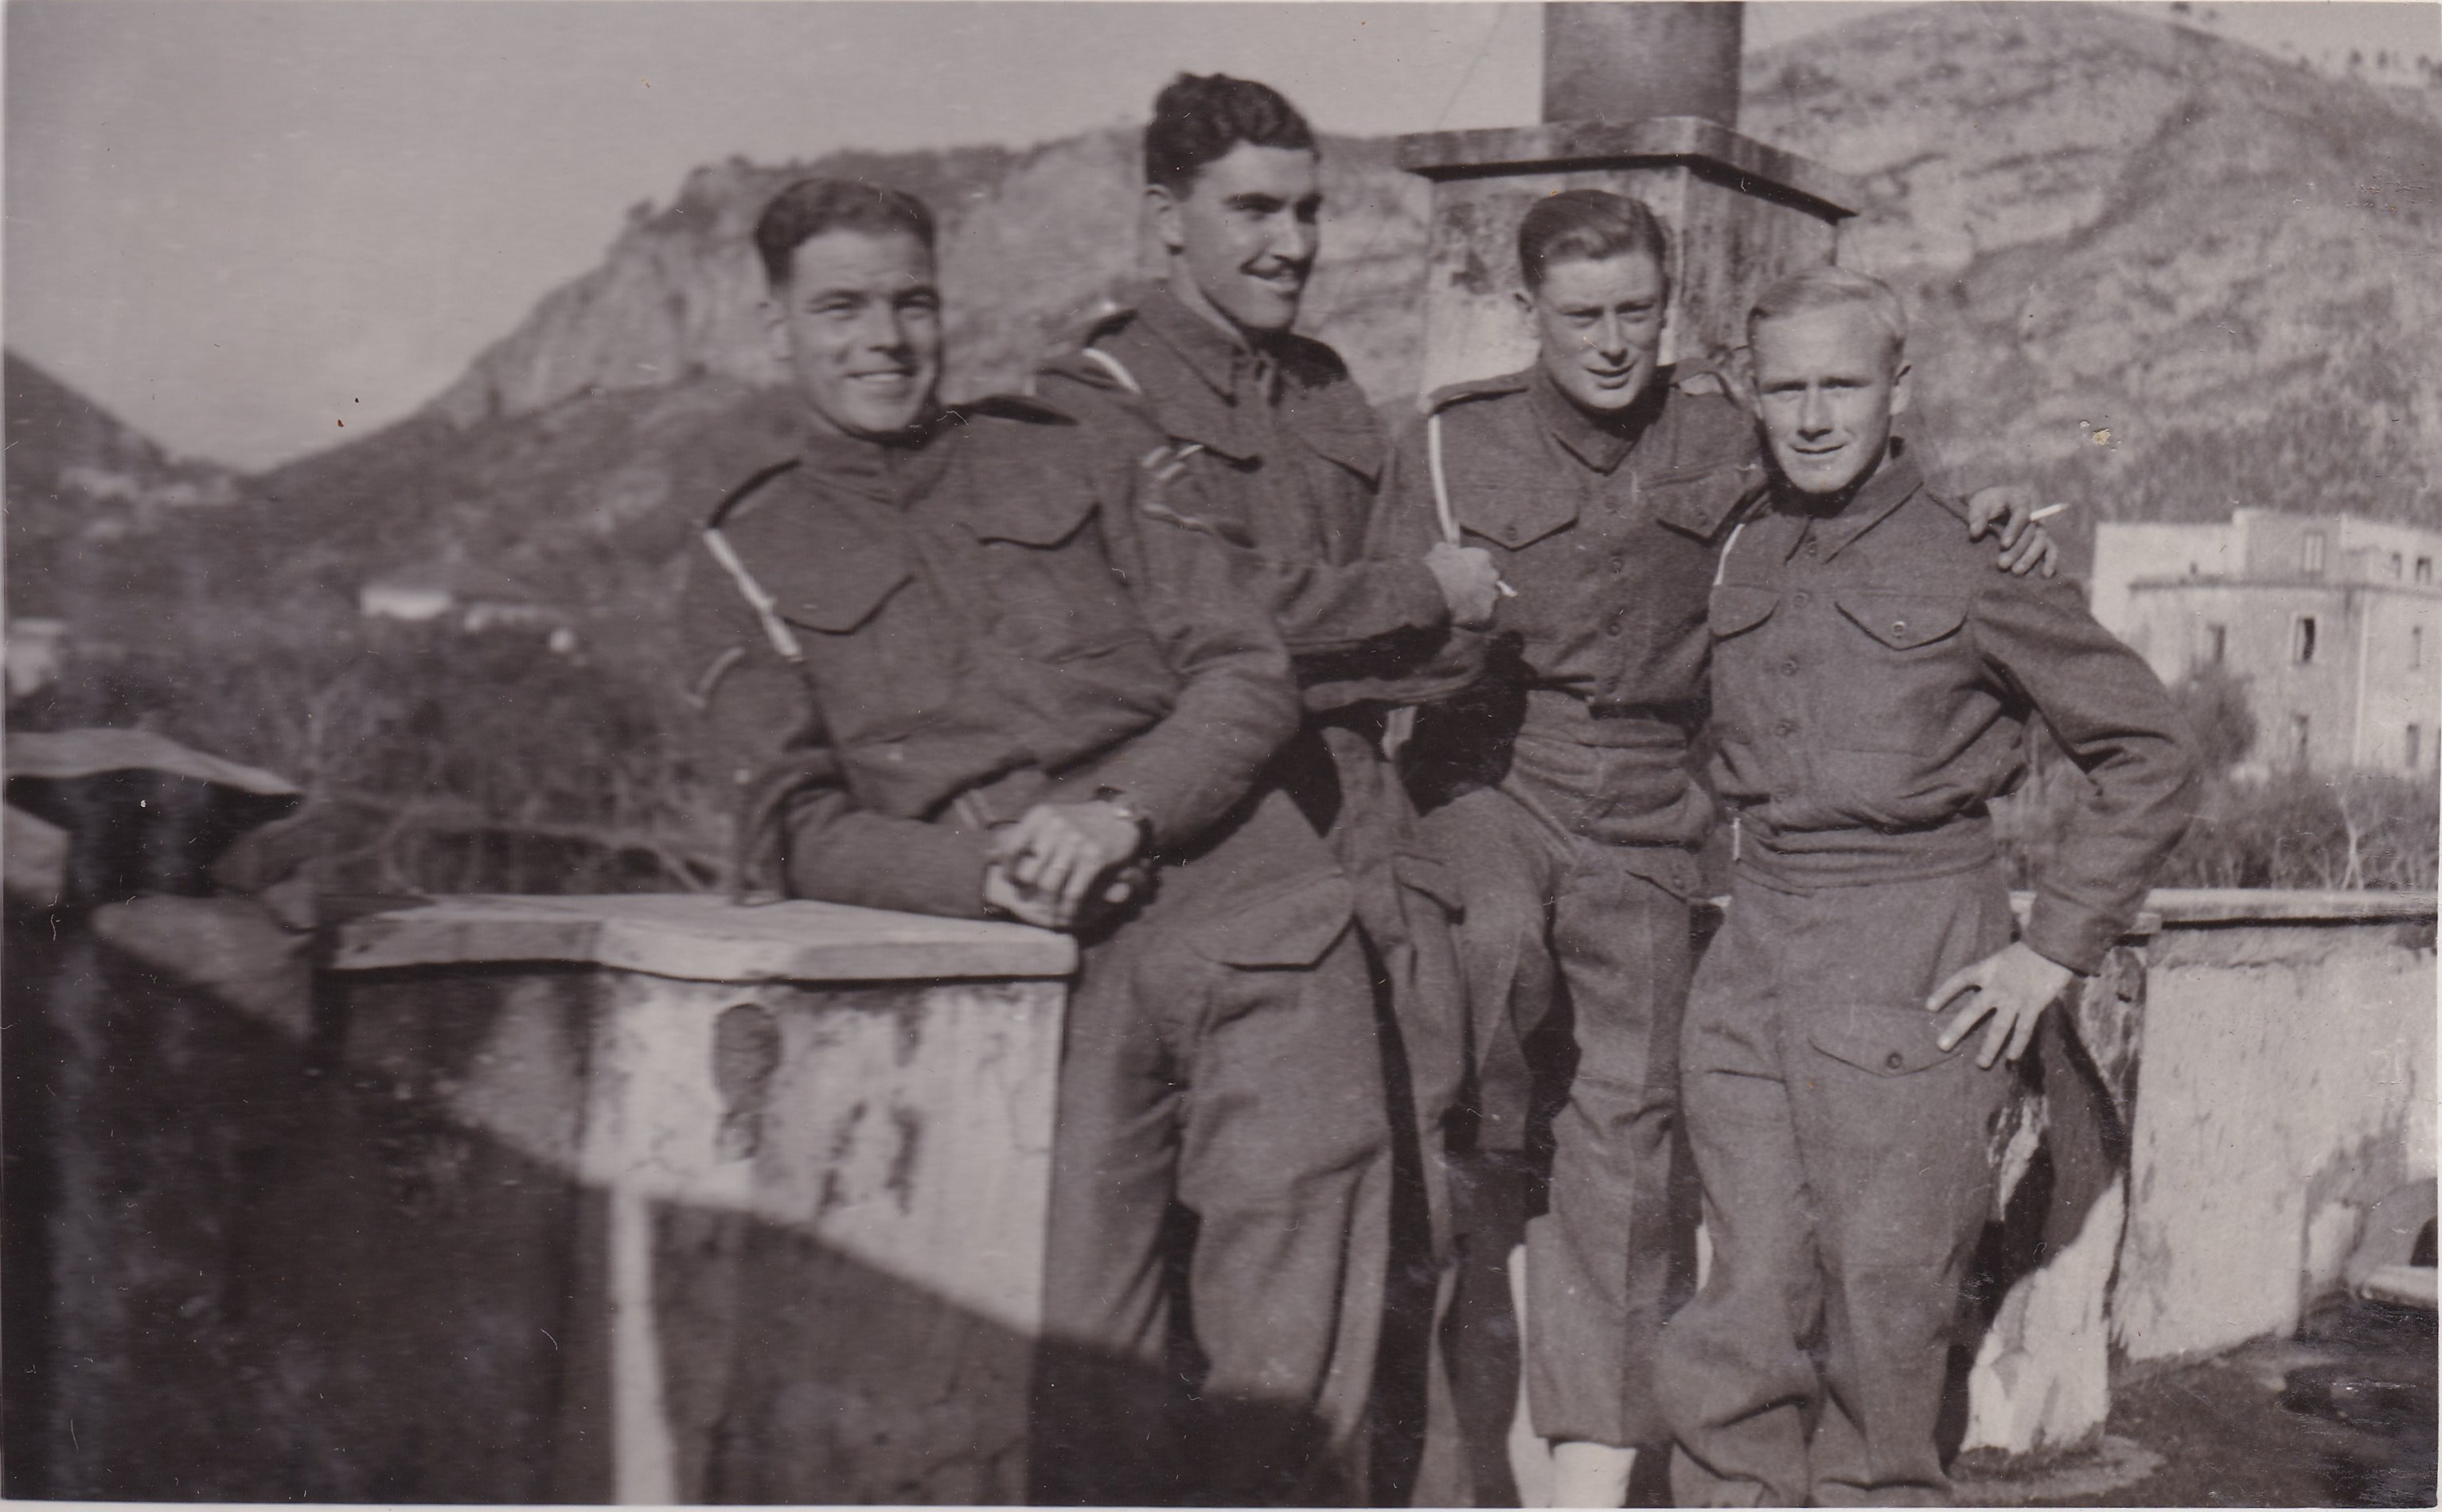
Men of K Battery, 5th RHA at the Olympic Stadium, Berlin 1945. Top Left: Sgt (Dodger) Green, Top Right: Bdr Colin Tovey
(Toska), Bottom Left: L/Bdr Johnny Gallon, Bottom Right: Sgt Guy Lewis. Courtesy of 'Jock' (Rob) Lerche (K Bty) and Barry Forbes
|
|
|
|
|
|

|
|
|
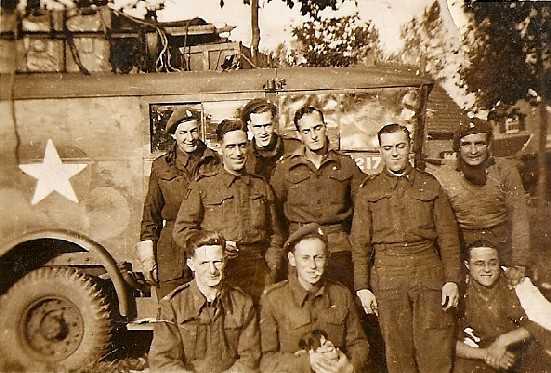
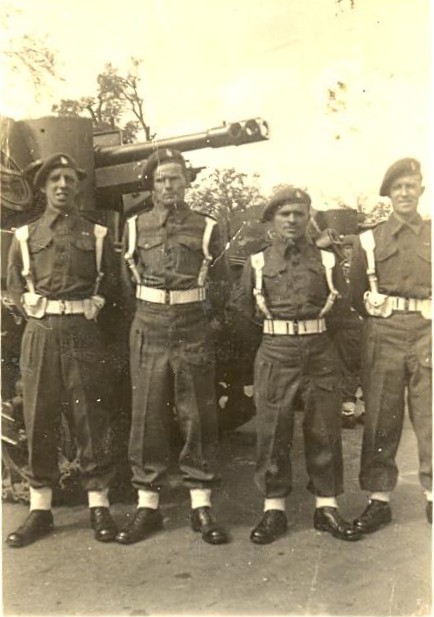
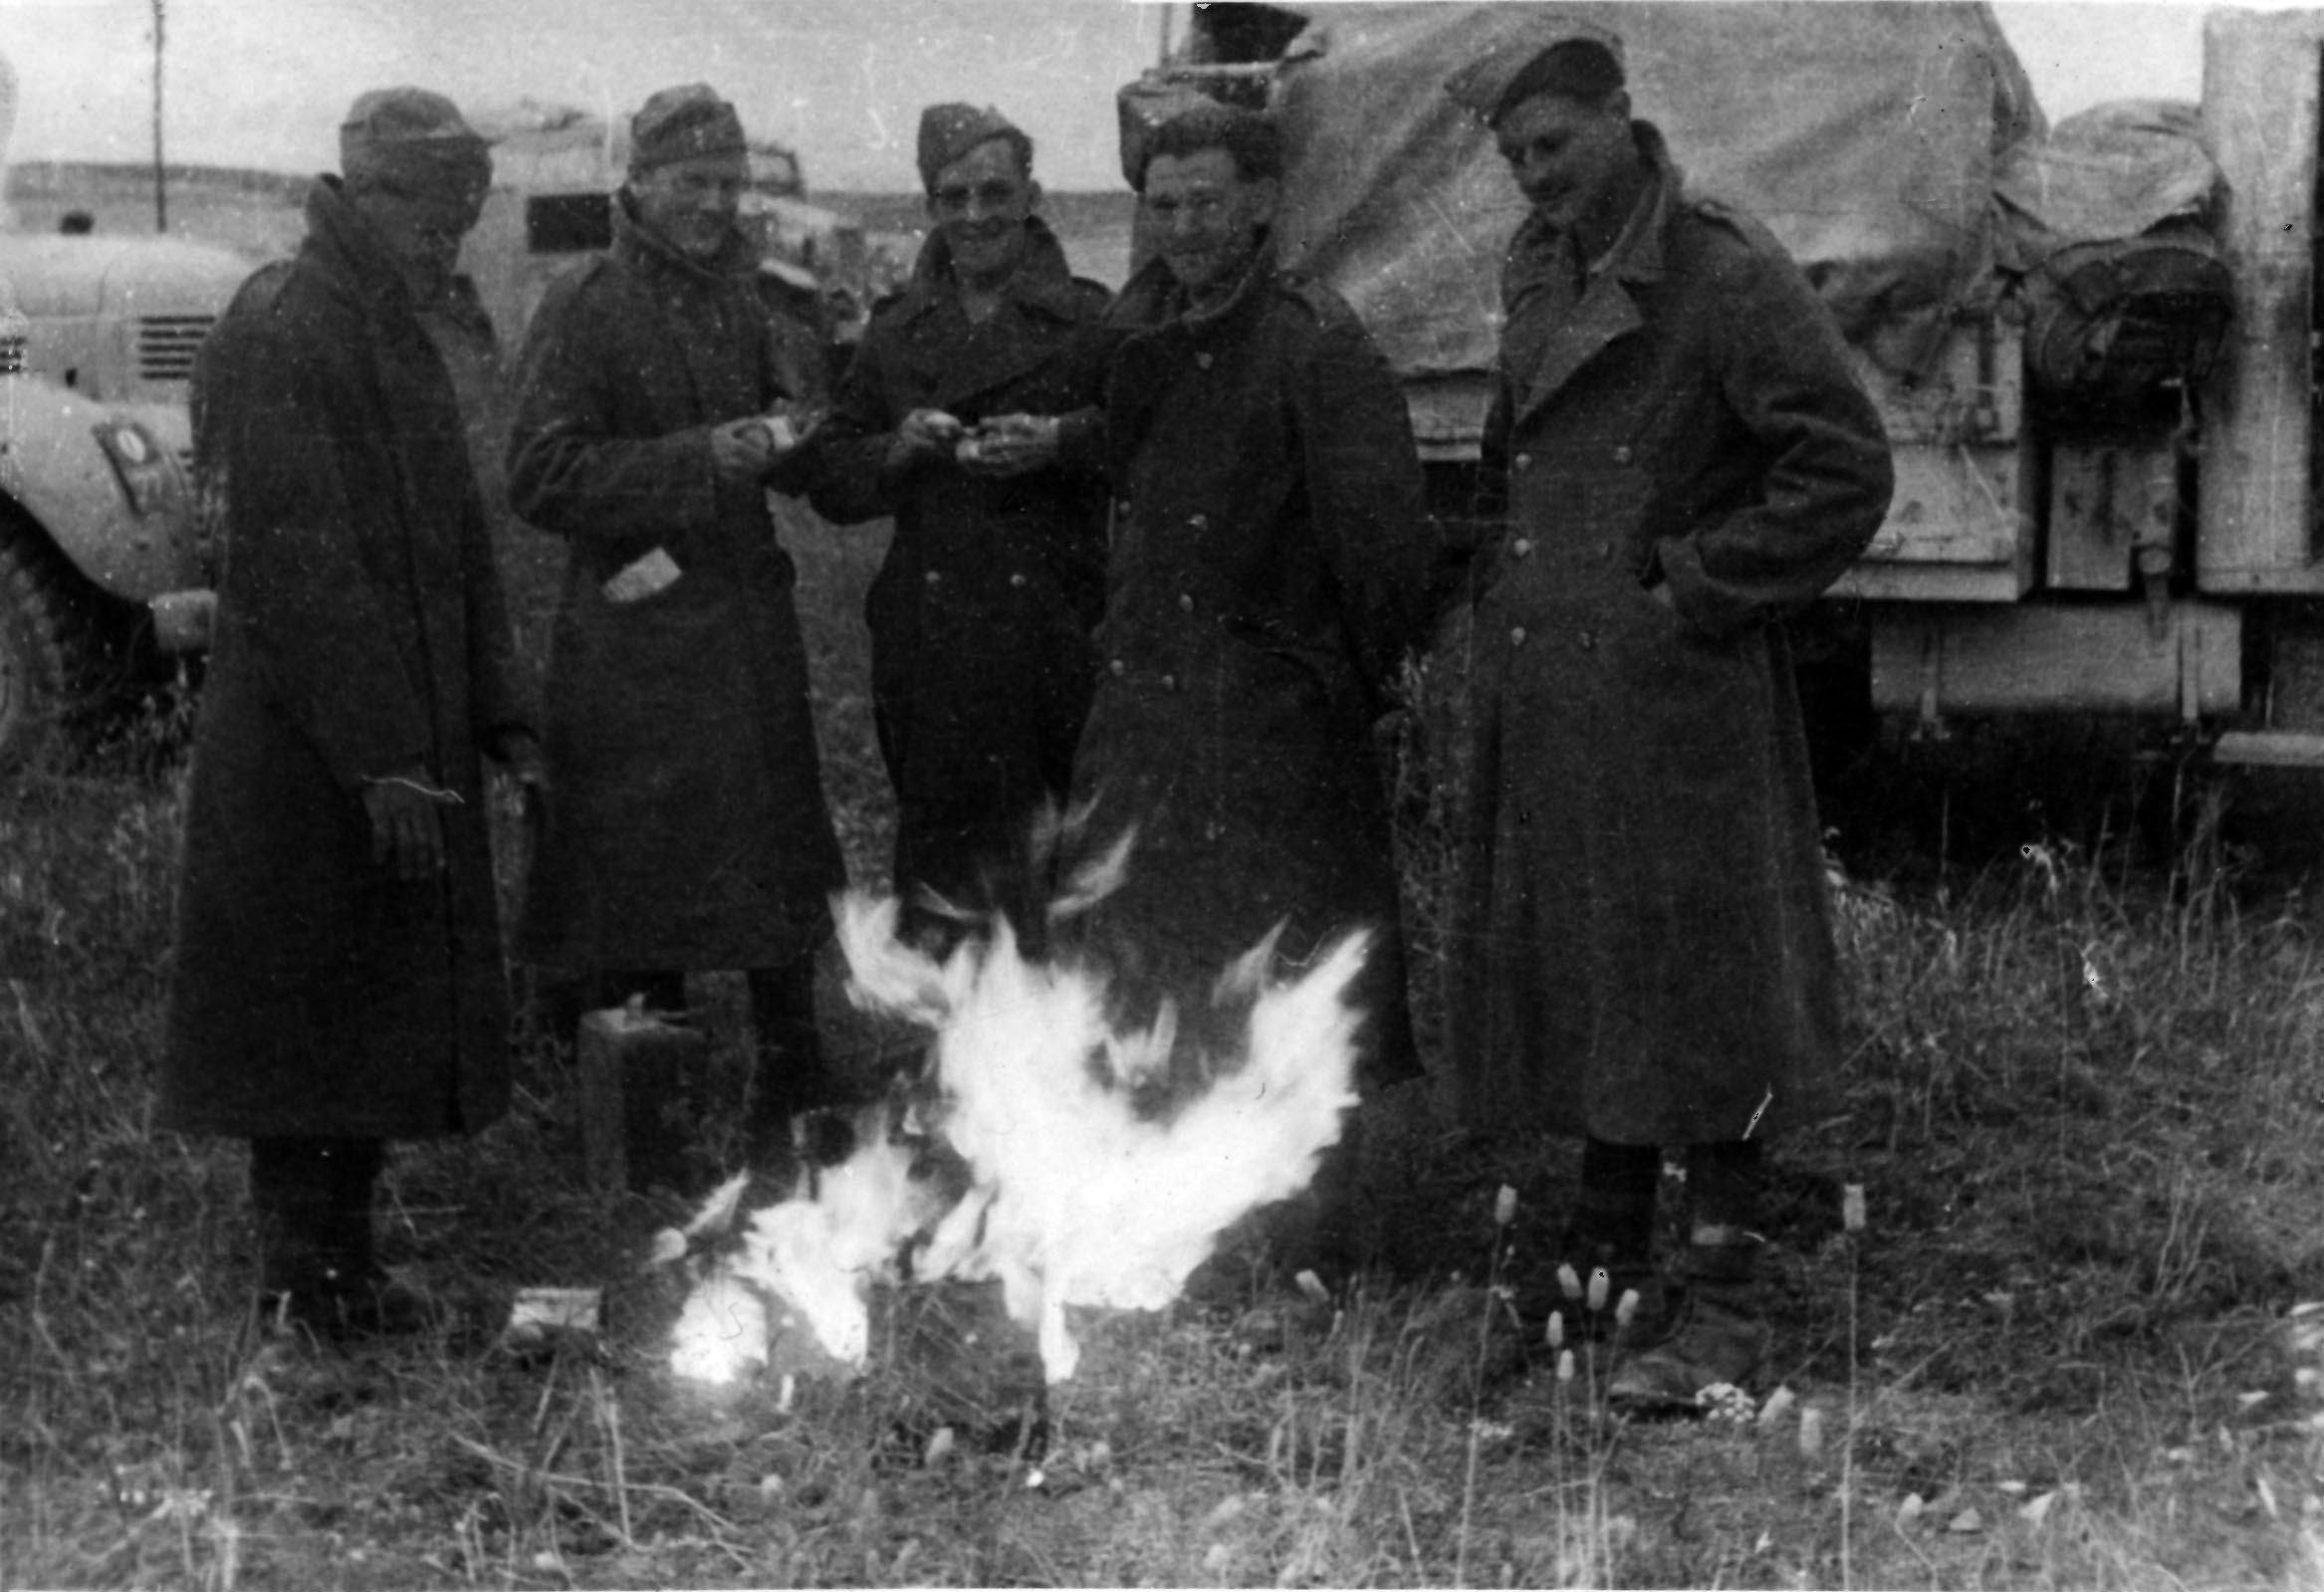
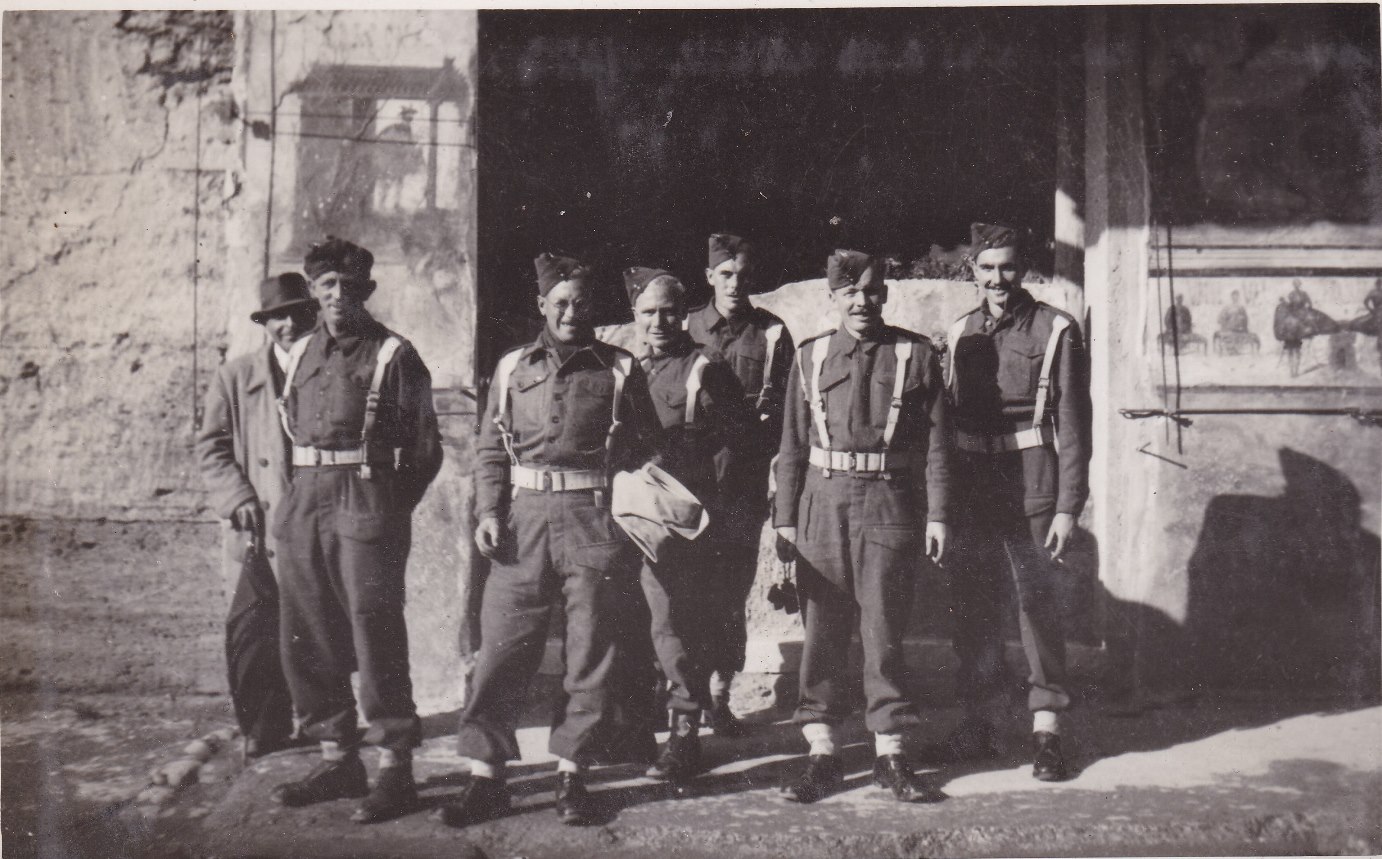
Men of K Battery, 5 RHA, before the Berlin Victory Parade. Courtesy of 'Jock' (Rob) Lerche (K Bty) and Barry Forbes.
|
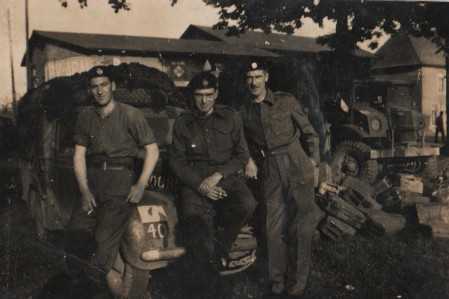
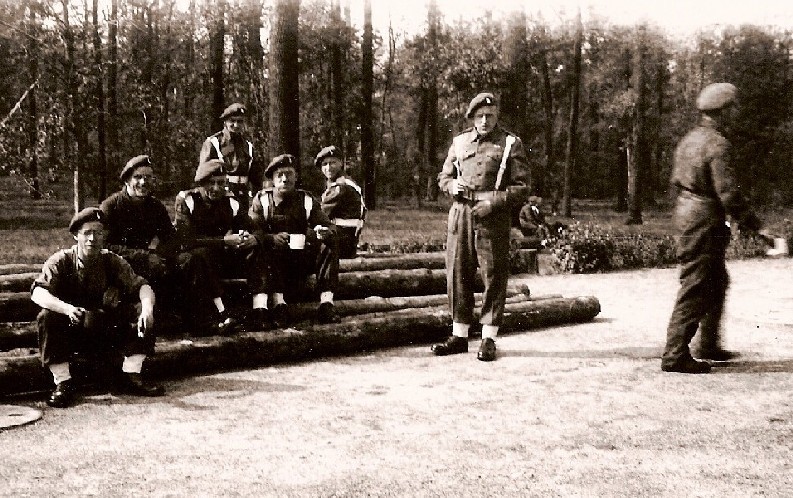
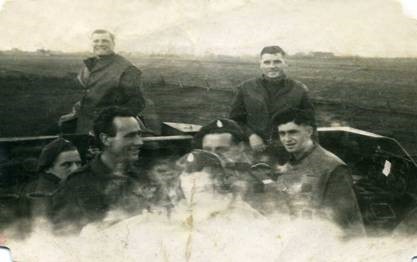
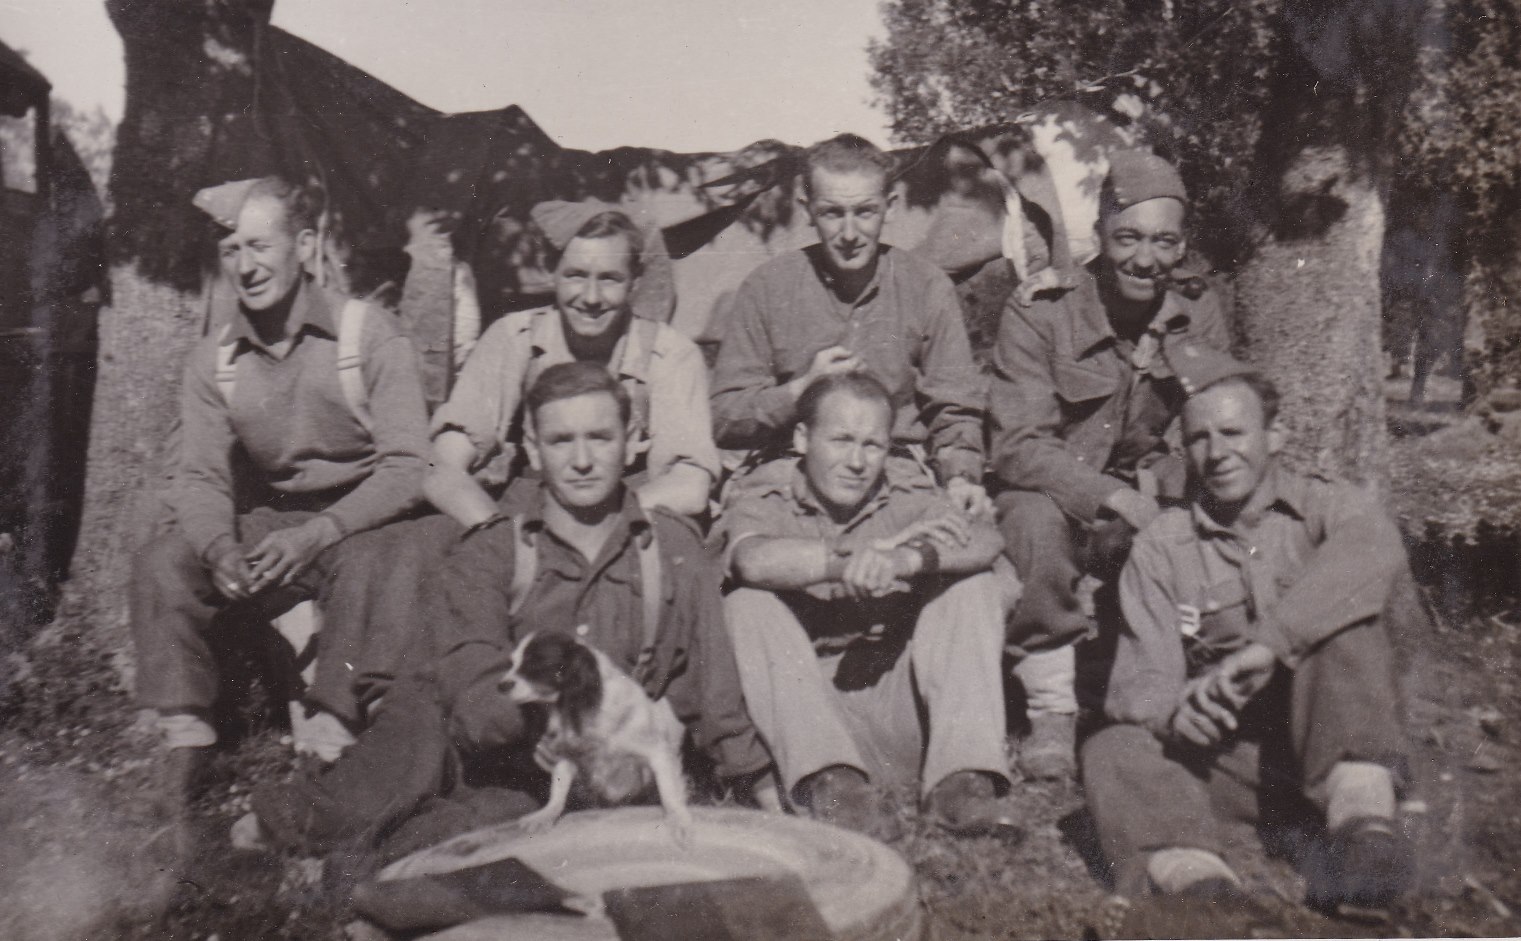
Men of K Battery, 5 RHA, relaxing on some logs before the Berlin Victory Parade. Courtesy of 'Jock' (Rob) Lerche (K Bty) and Barry Forbes.
|
|
|
|
|
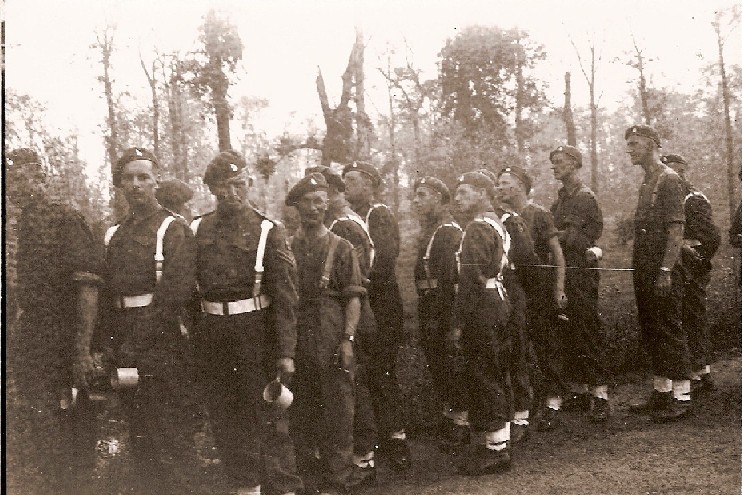
More men of K Battery, 5 RHA, before the Berlin Victory Parade. Courtesy of 'Jock' (Rob) Lerche (K Bty) and Barry Forbes.
|
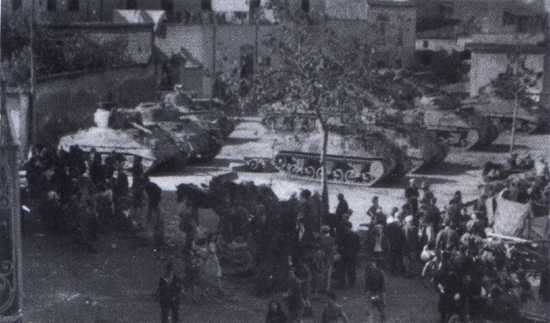
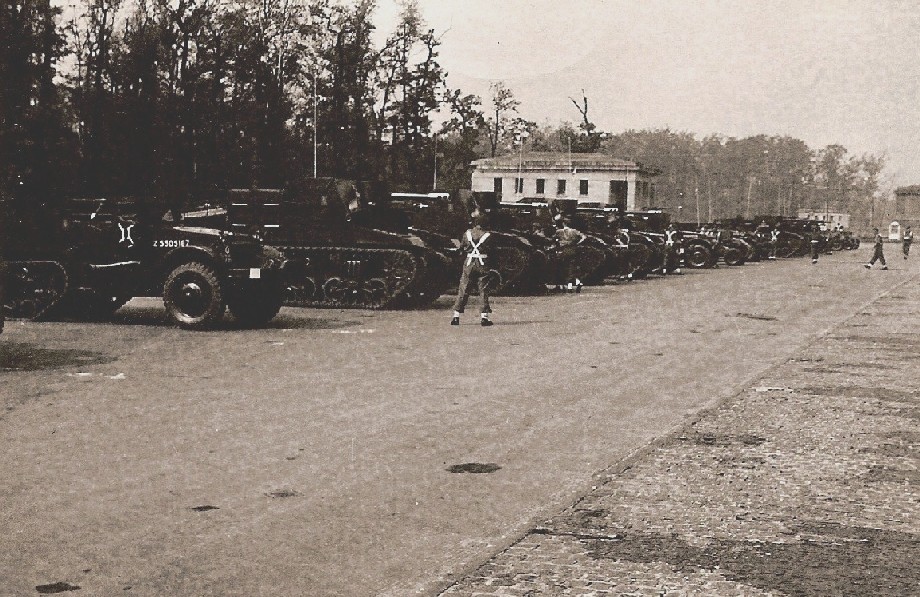
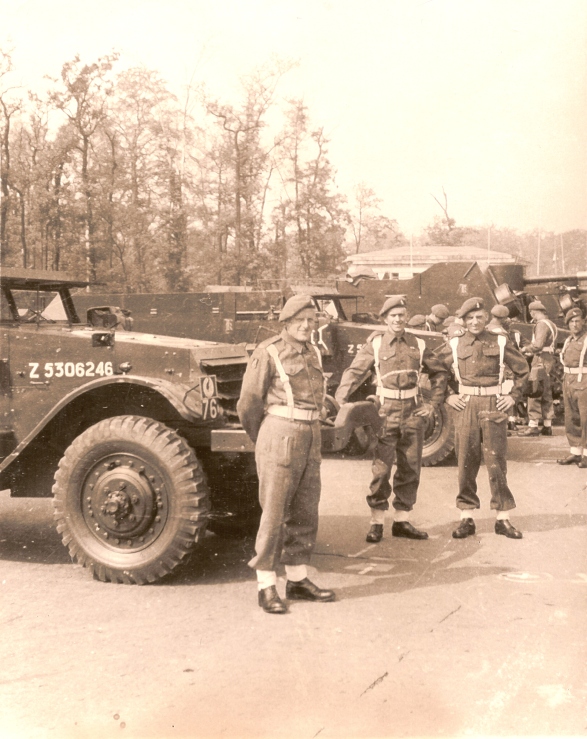
Sextons and Half-tracks probably from K Battery, 5 RHA, before the Berlin Victory Parade. Courtesy of 'Jock' (Rob) Lerche (K Bty) and Barry Forbes.
|
|
|
|
|
The Troop Leader's Half
Track from 'E/F' Troop, K Battery, 5 RHA, (as denoted by the TLC marking)
before the Berlin Victory Parade. Courtesy of 'Jock' (Rob) Lerche (K Bty)
and Barry Forbes.
|
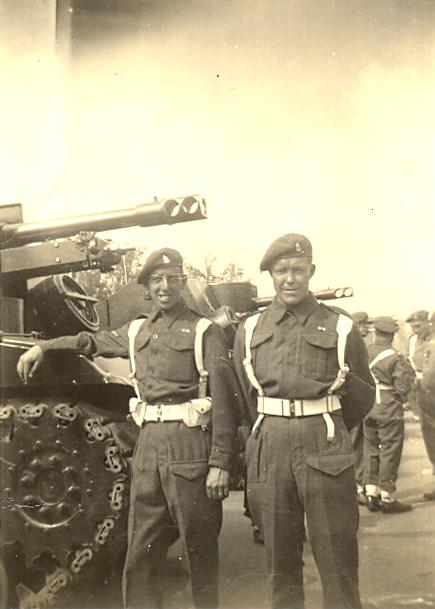
'Jock' (Rob) Lerche with
his Sexton and some of the crew, K Battery, 5 RHA, before the Berlin
Victory Parade. Courtesy of 'Jock' (Rob) Lerche (K Bty) and Barry Forbes.
|
|
|
|
|
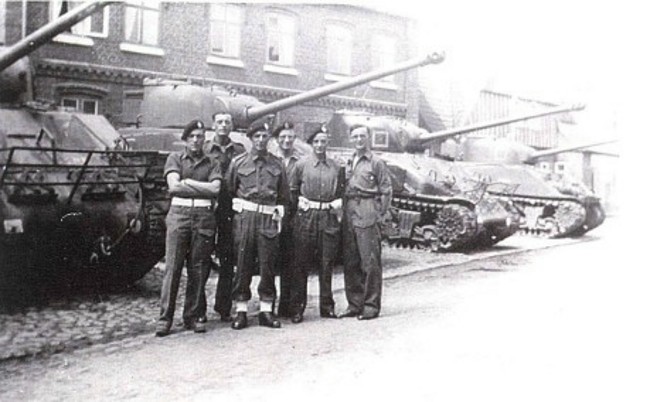
Men from K Battery, 5th RHA beside a Sexton. Courtesy of 'Jock' (Rob) Lerche (K Bty) and Barry Forbes.
|
Men from K Battery, 5th RHA beside a Half-tracks and Sextons during the Berlin Victory Parade 1945. Courtesy of 'Jock' (Rob) Lerche (K Bty) and Barry Forbes.
|
|
|
|
|
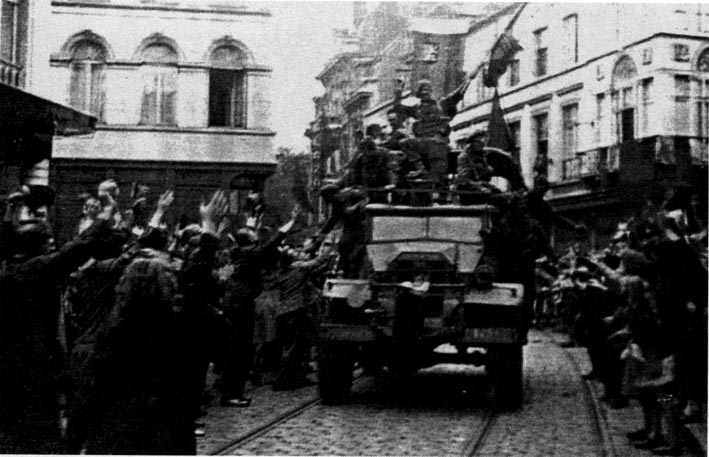
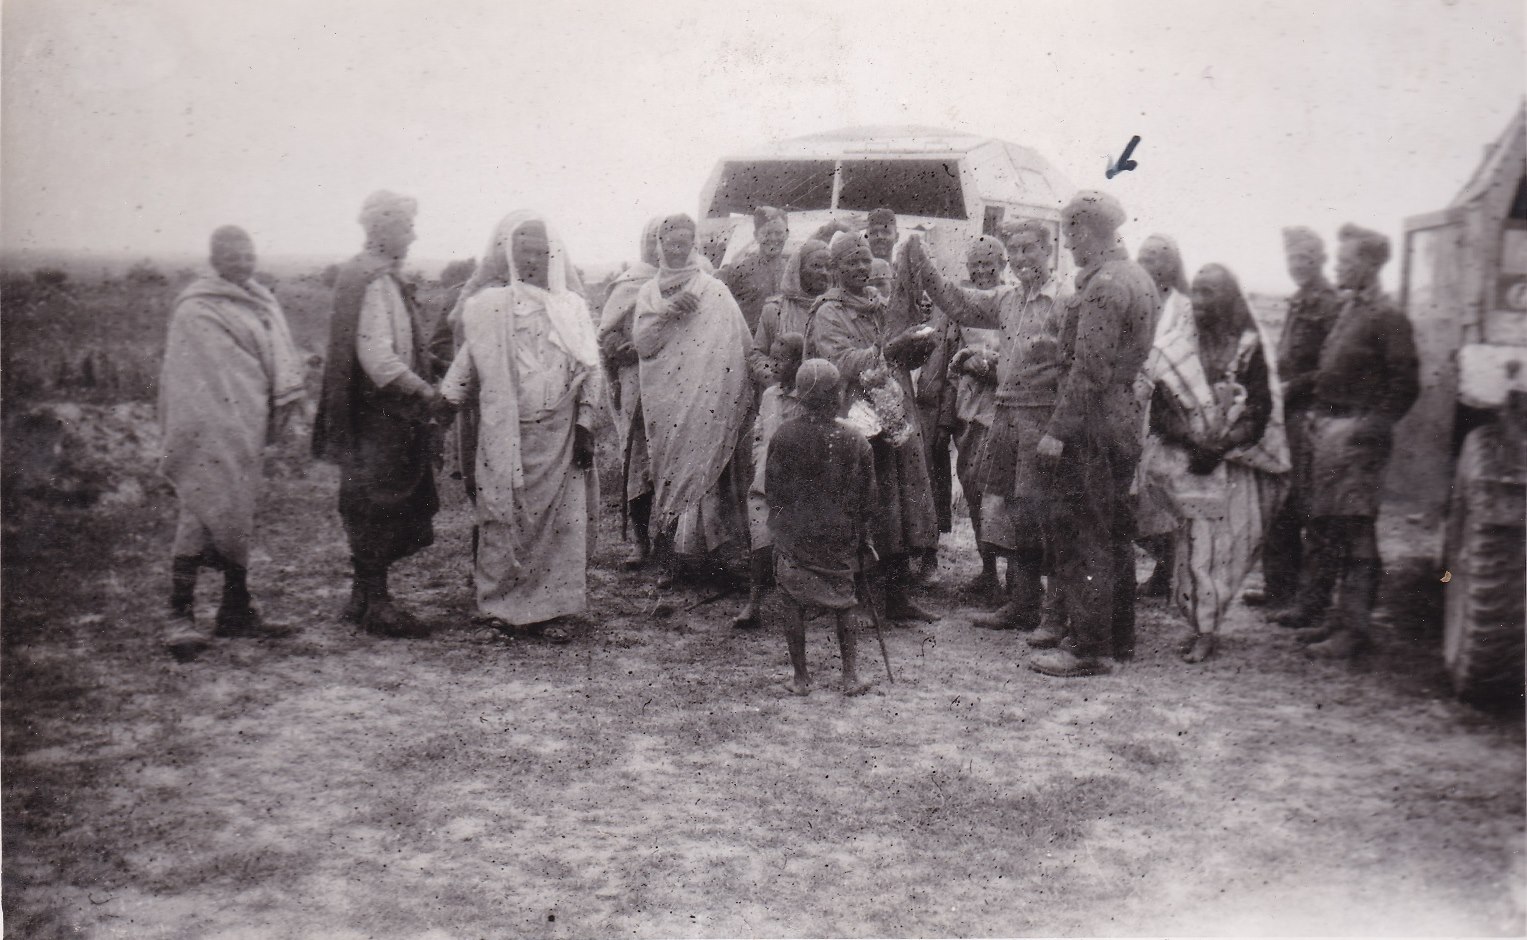
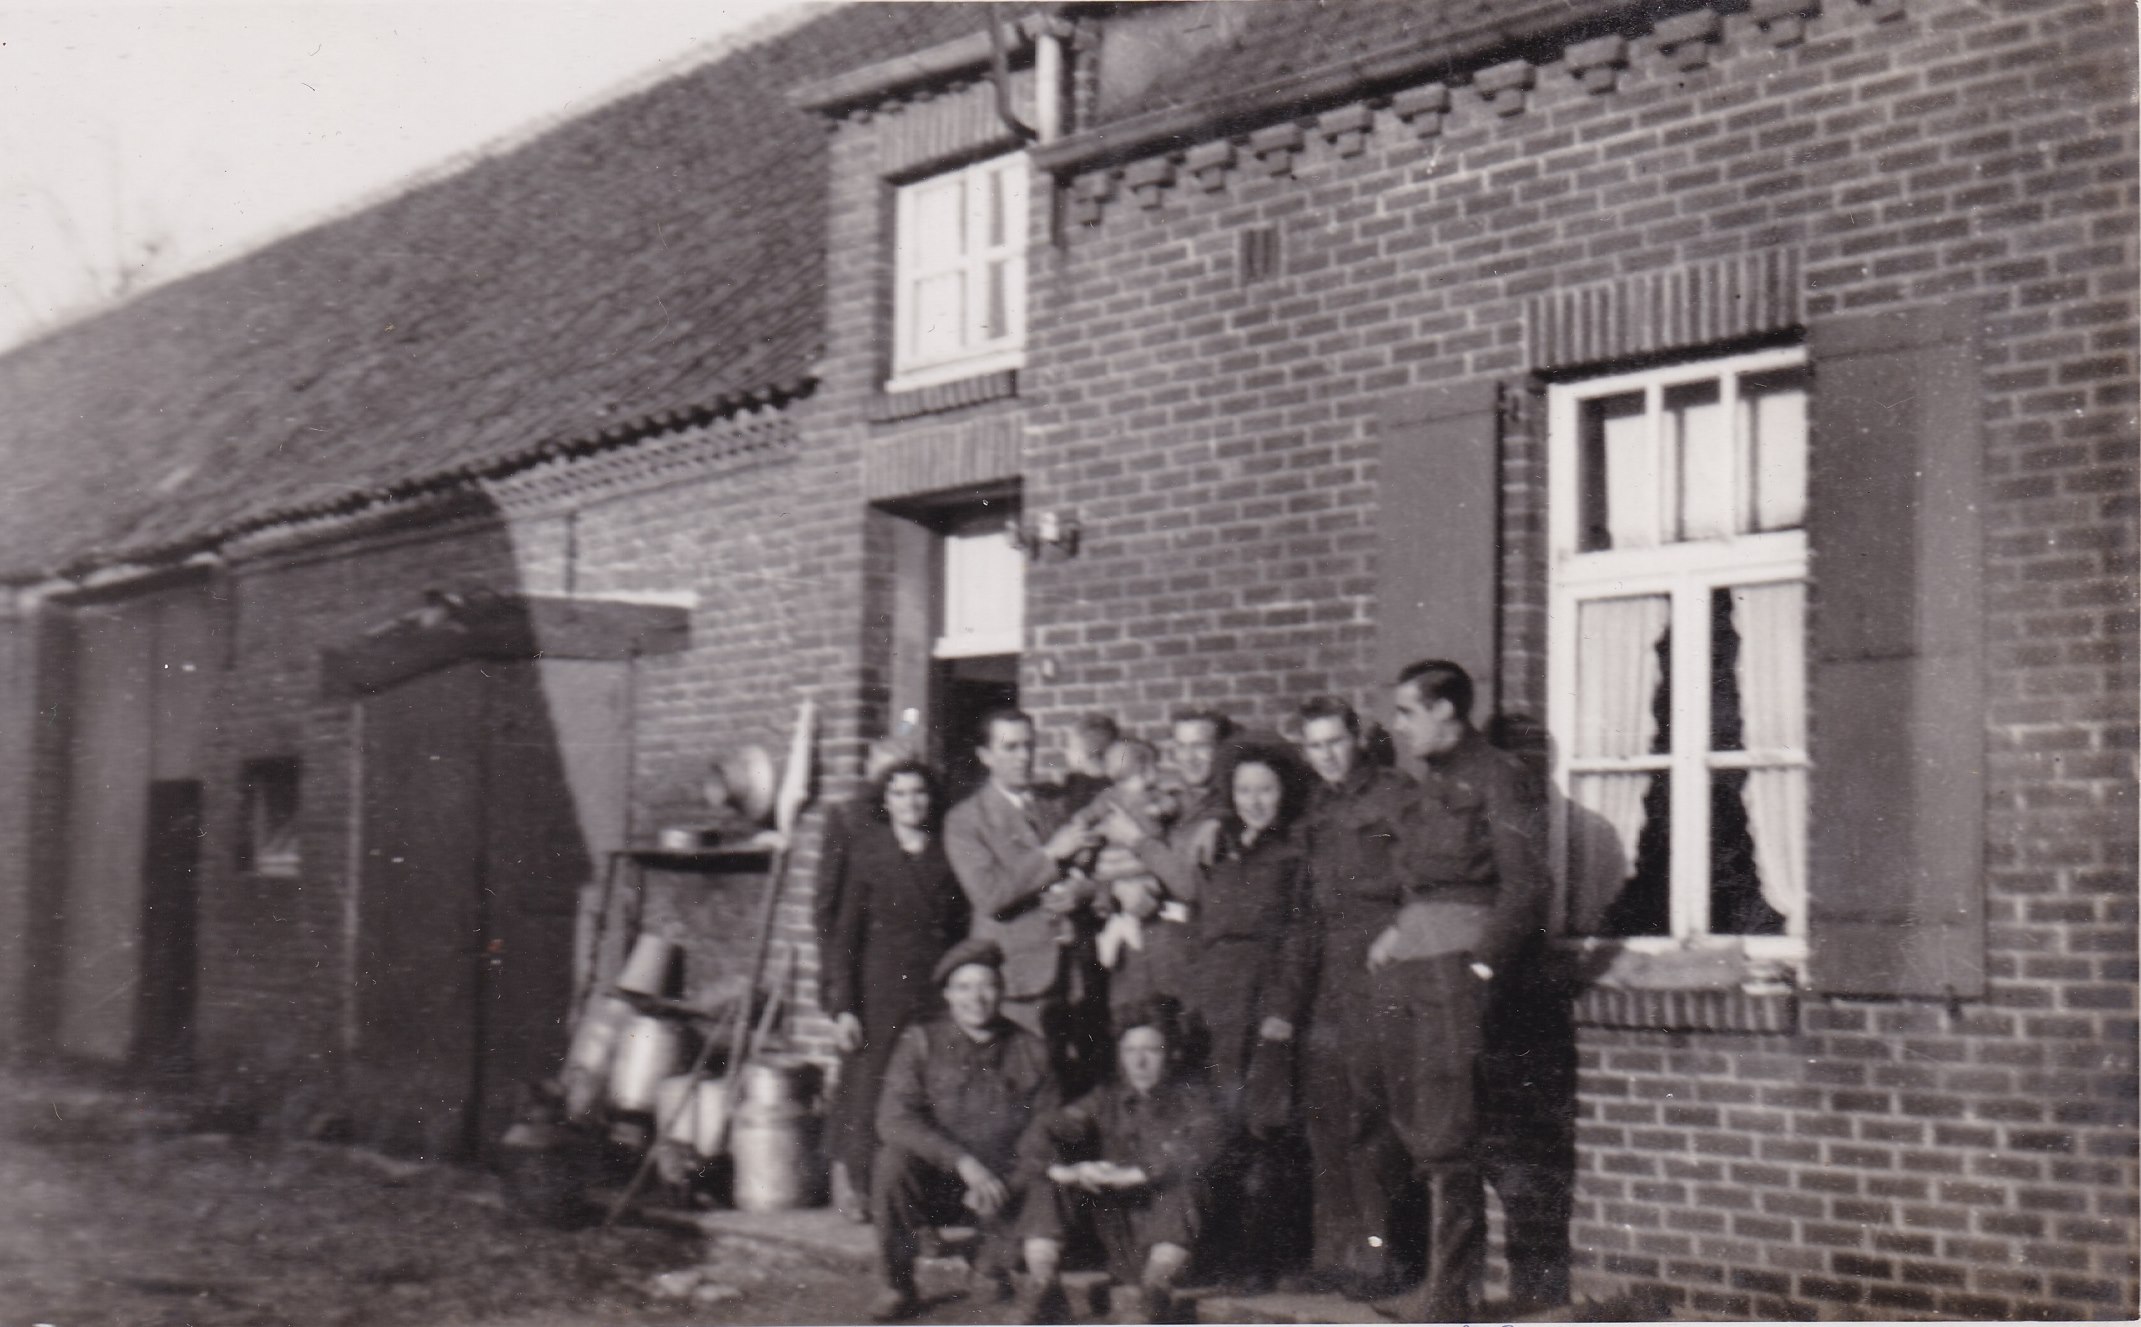
A group of recently liberated Belgiums with a Sexton of G Battery. Courtesy of Albert Burnikell and
his son Bryan Burnikell
|
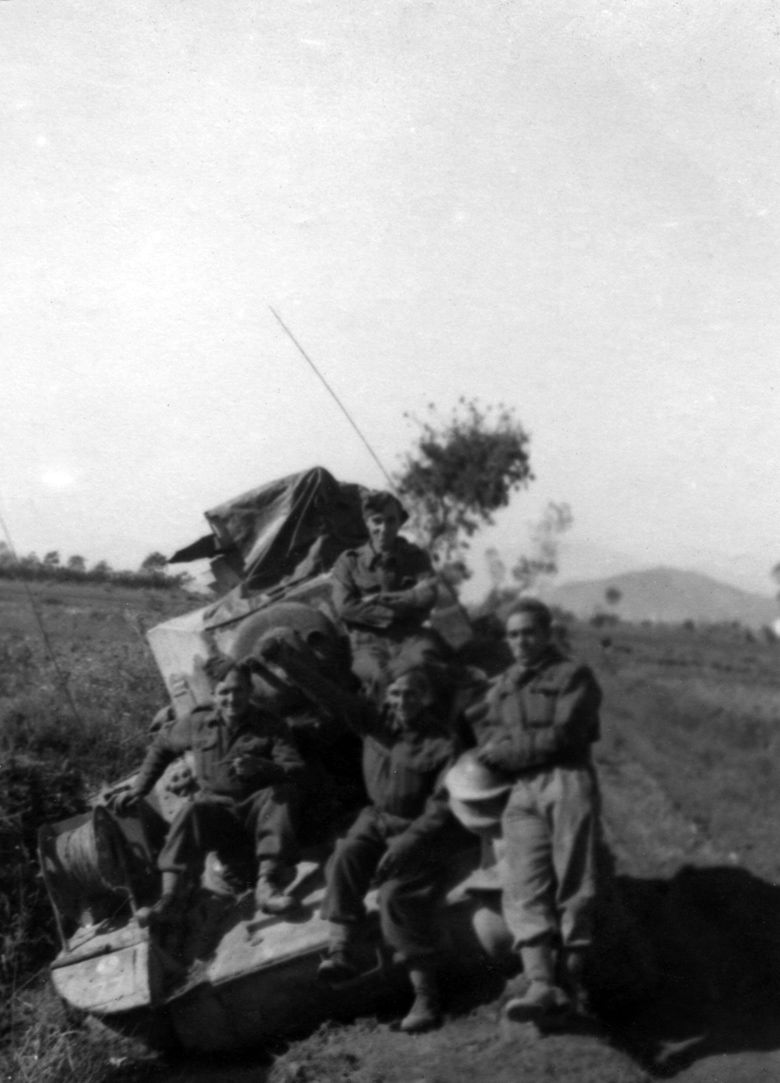
The crew of a Sexton from G Battery, with Albert Burnikell in the rear left.
Courtesy of Albert Burnikell and his son Bryan Burnikell
|
|
|

|
|
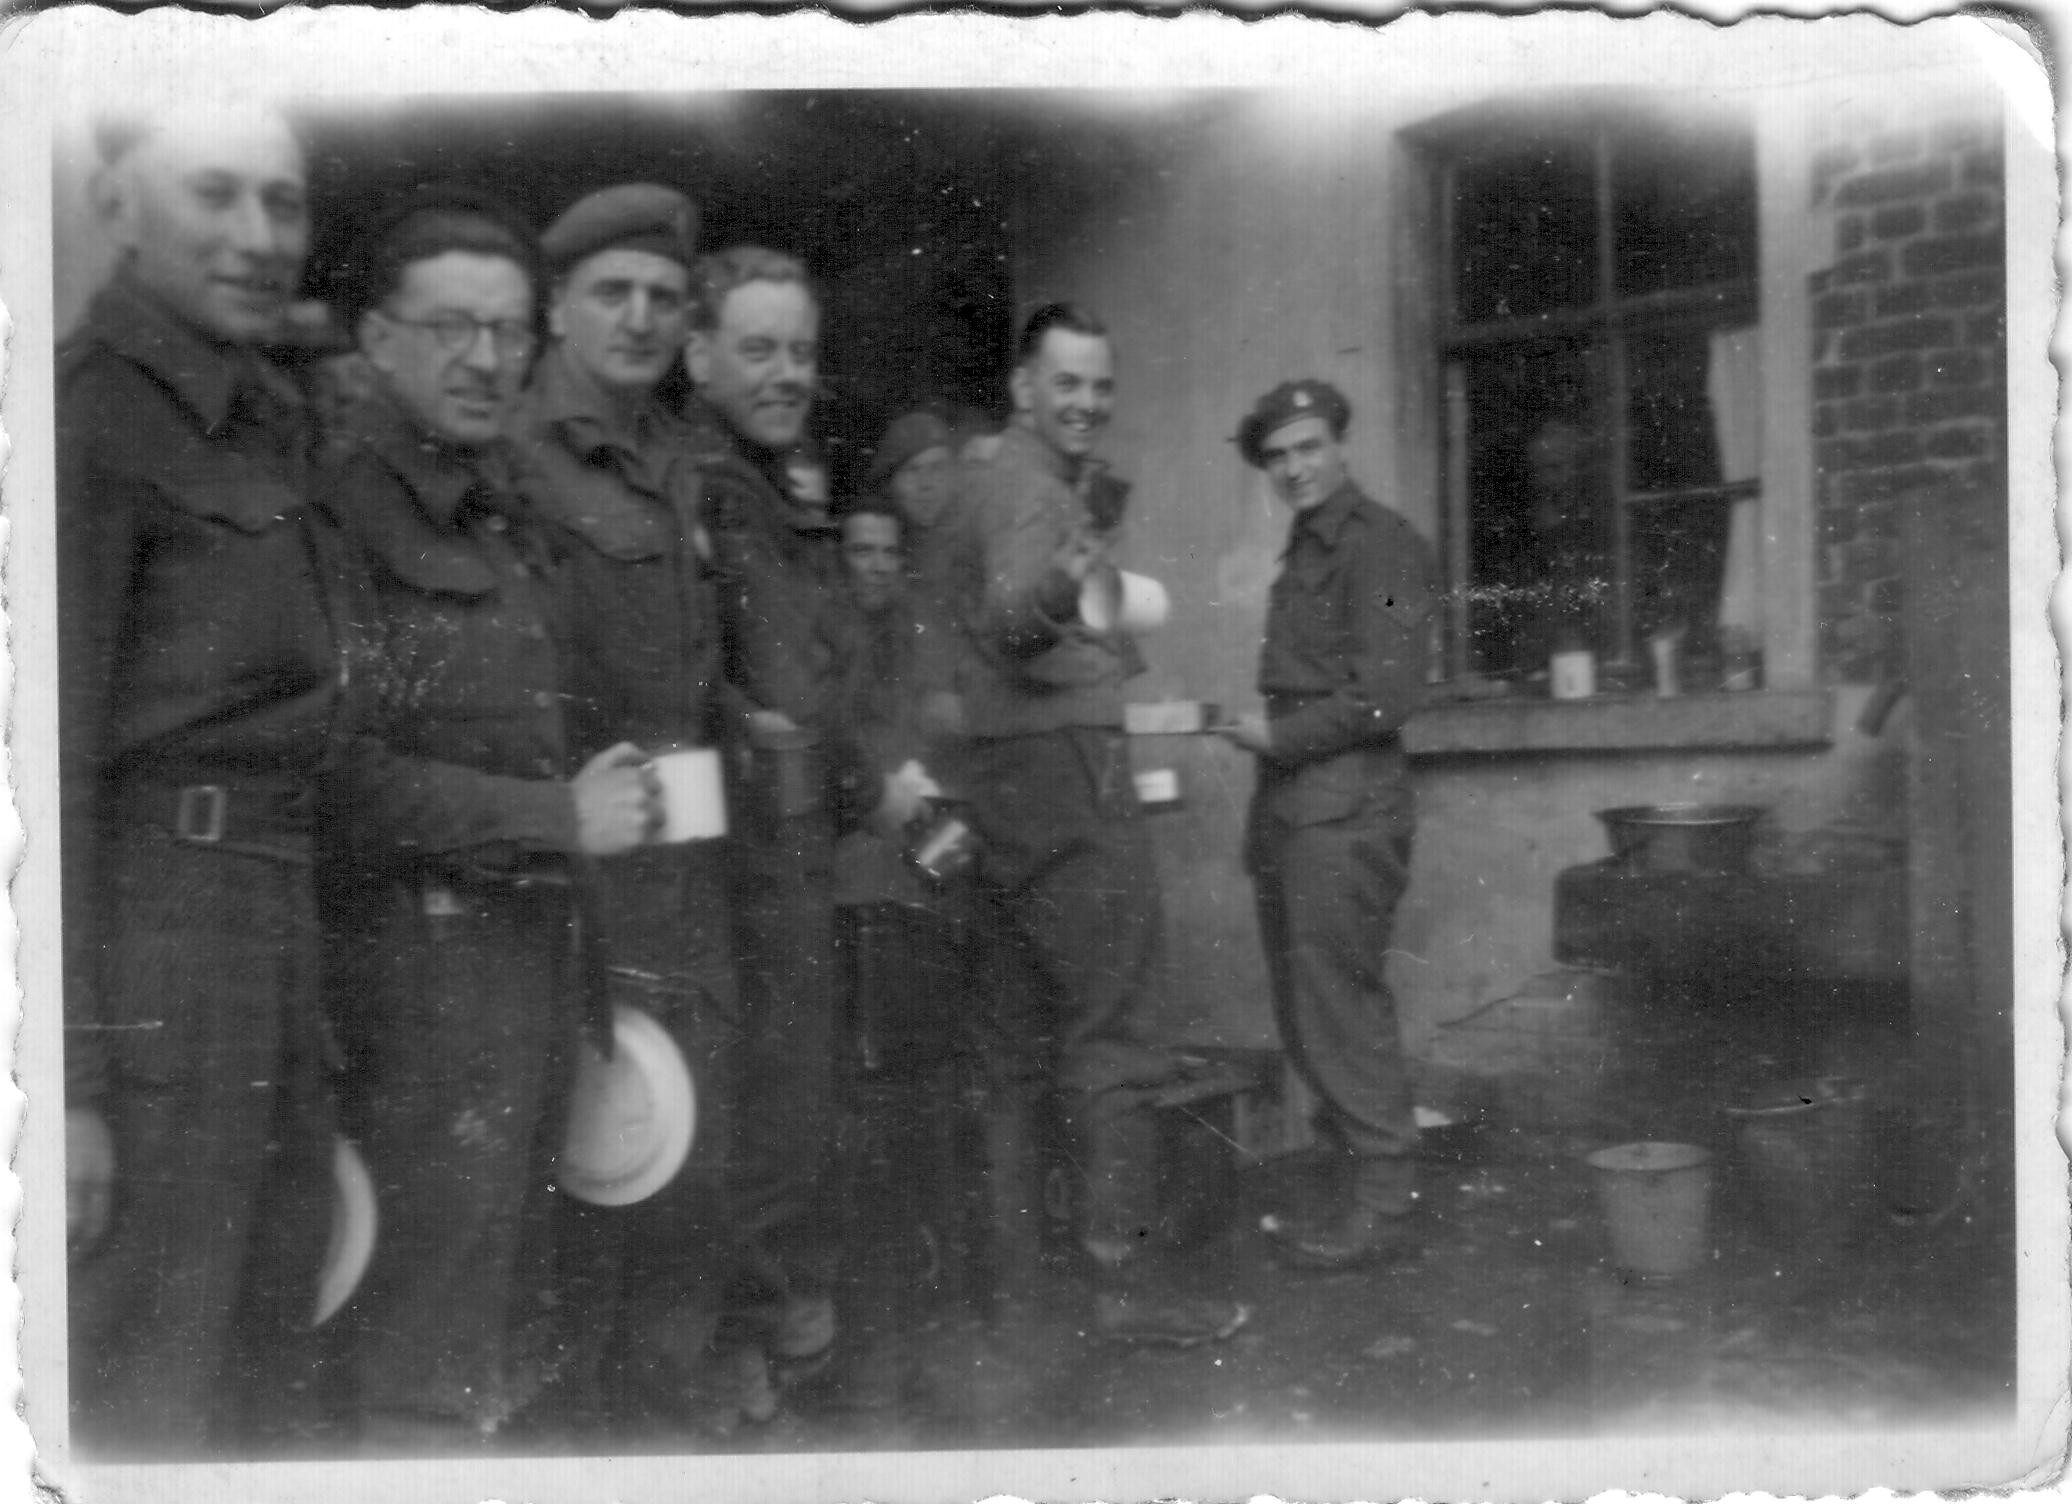
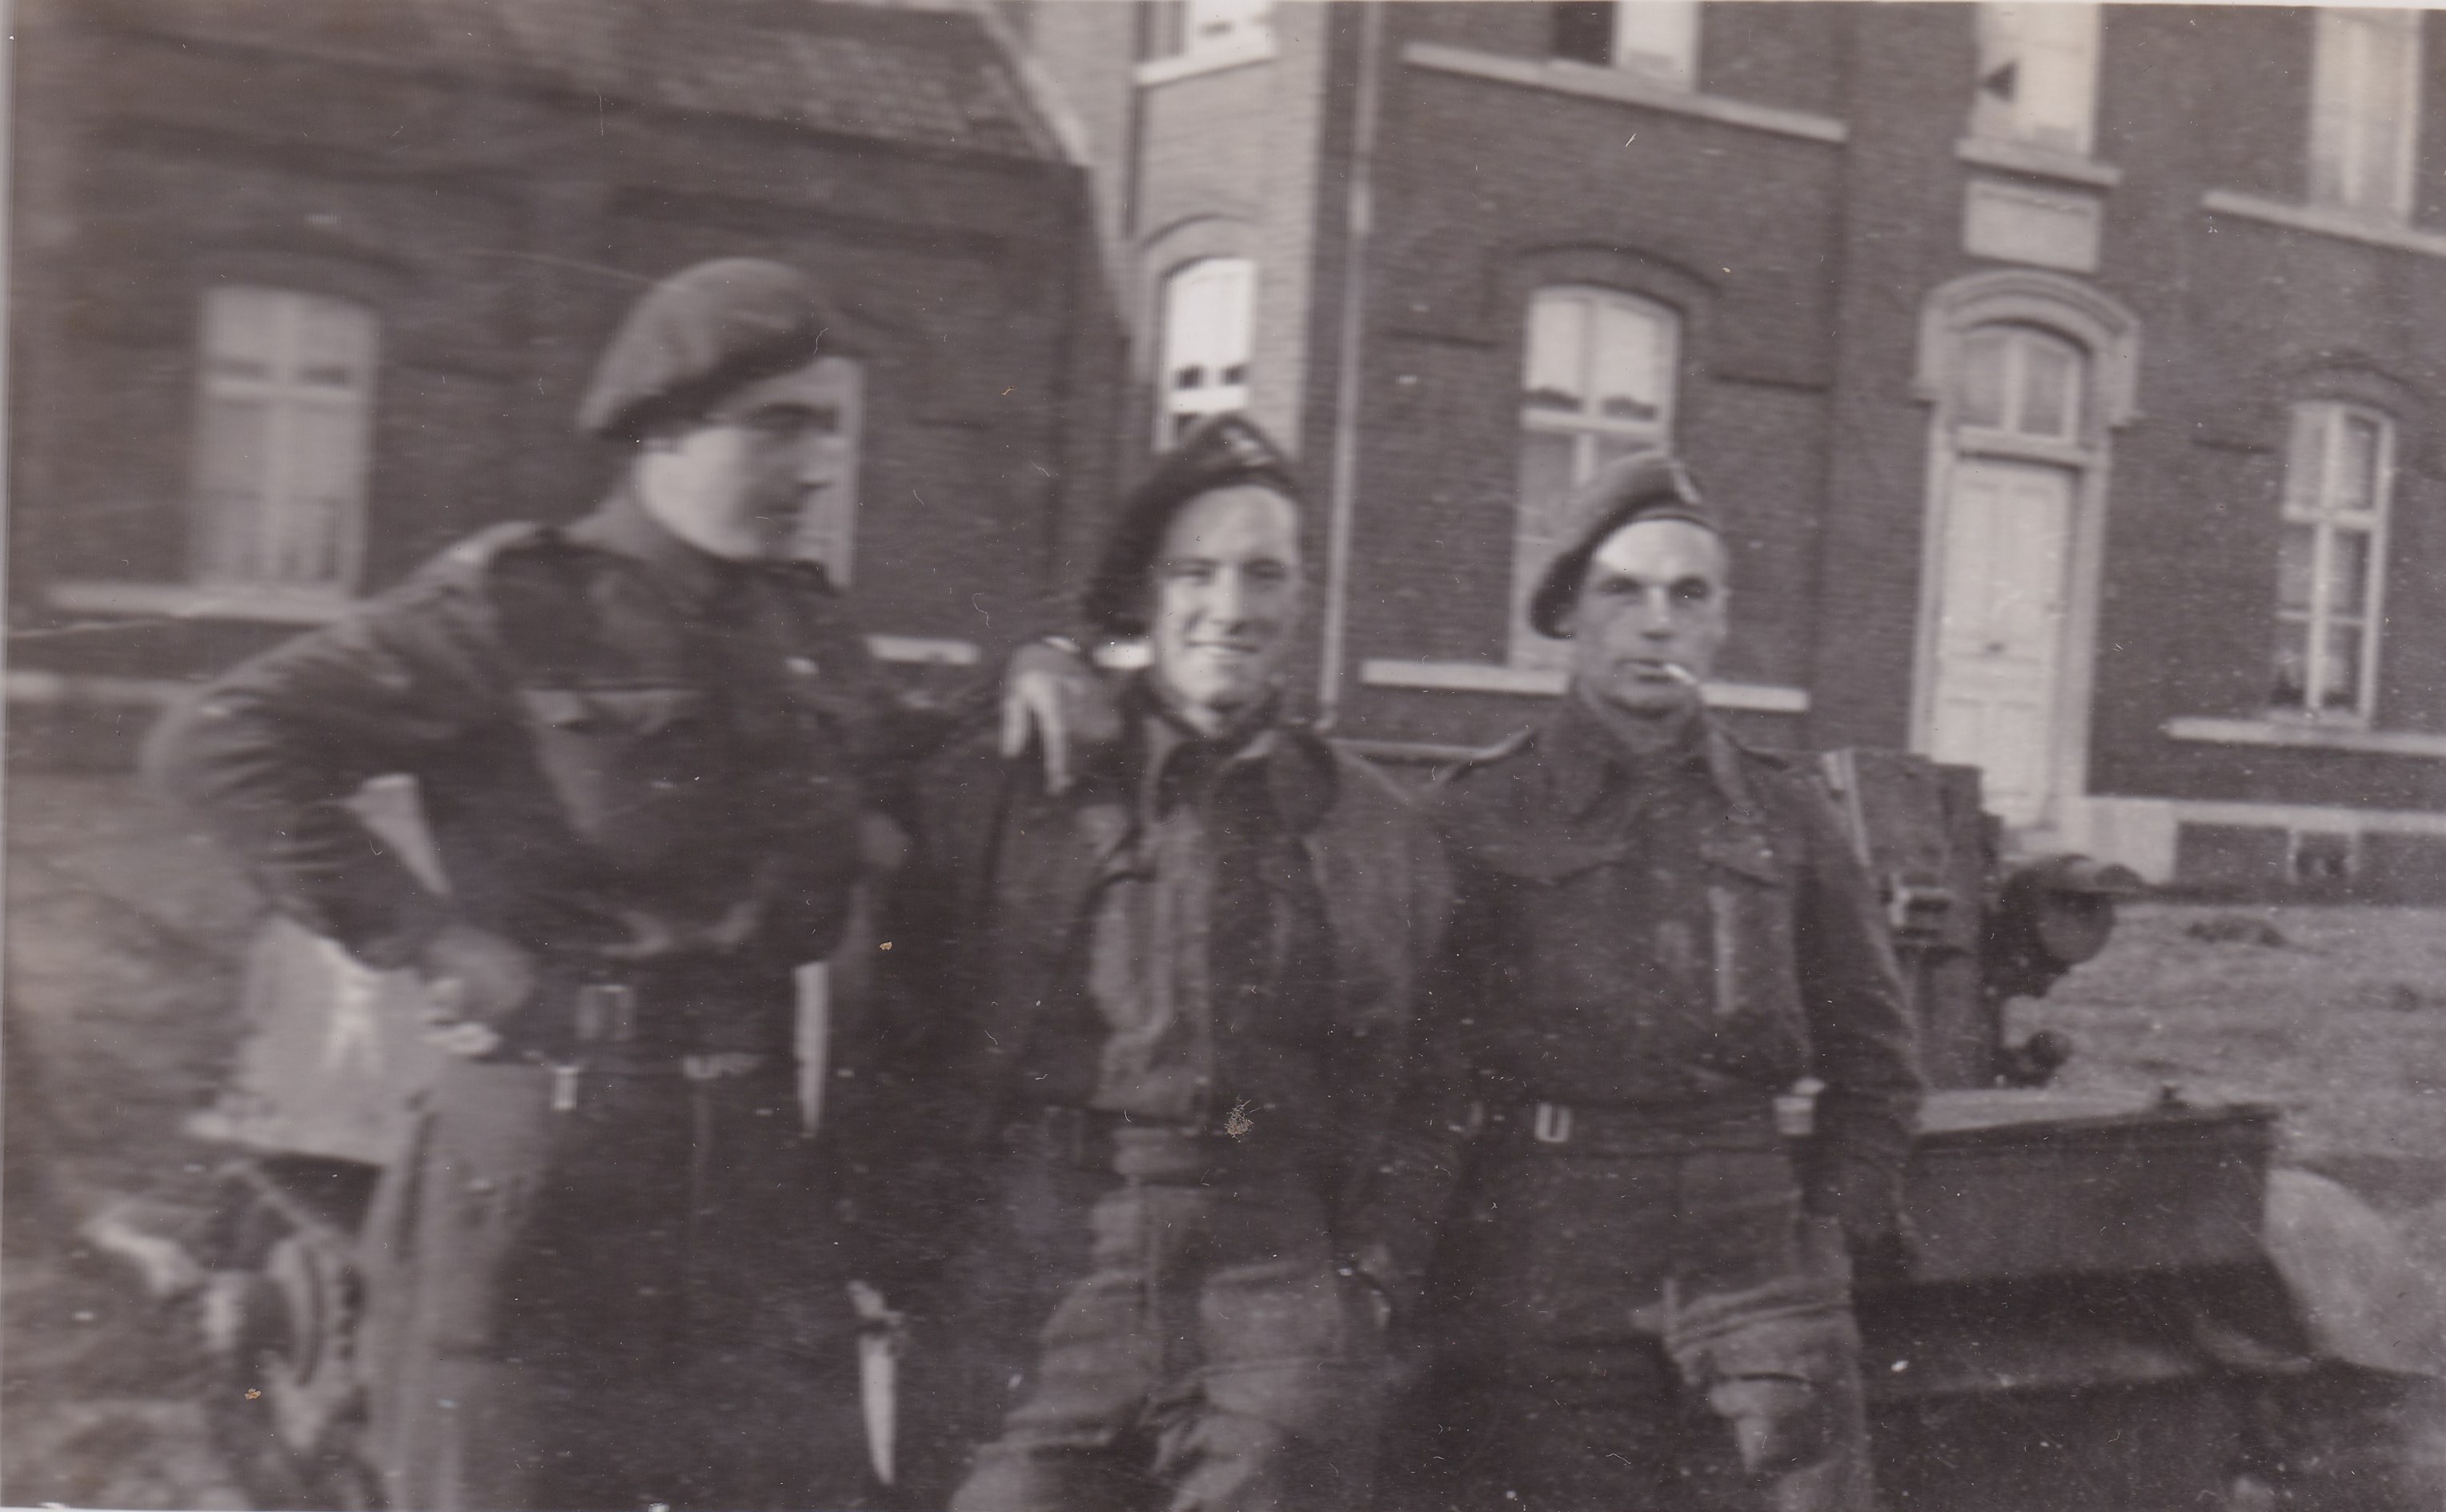
CC Bty Mess Queue. My father is fourth from the left, so this is probably Battery HQ.
|
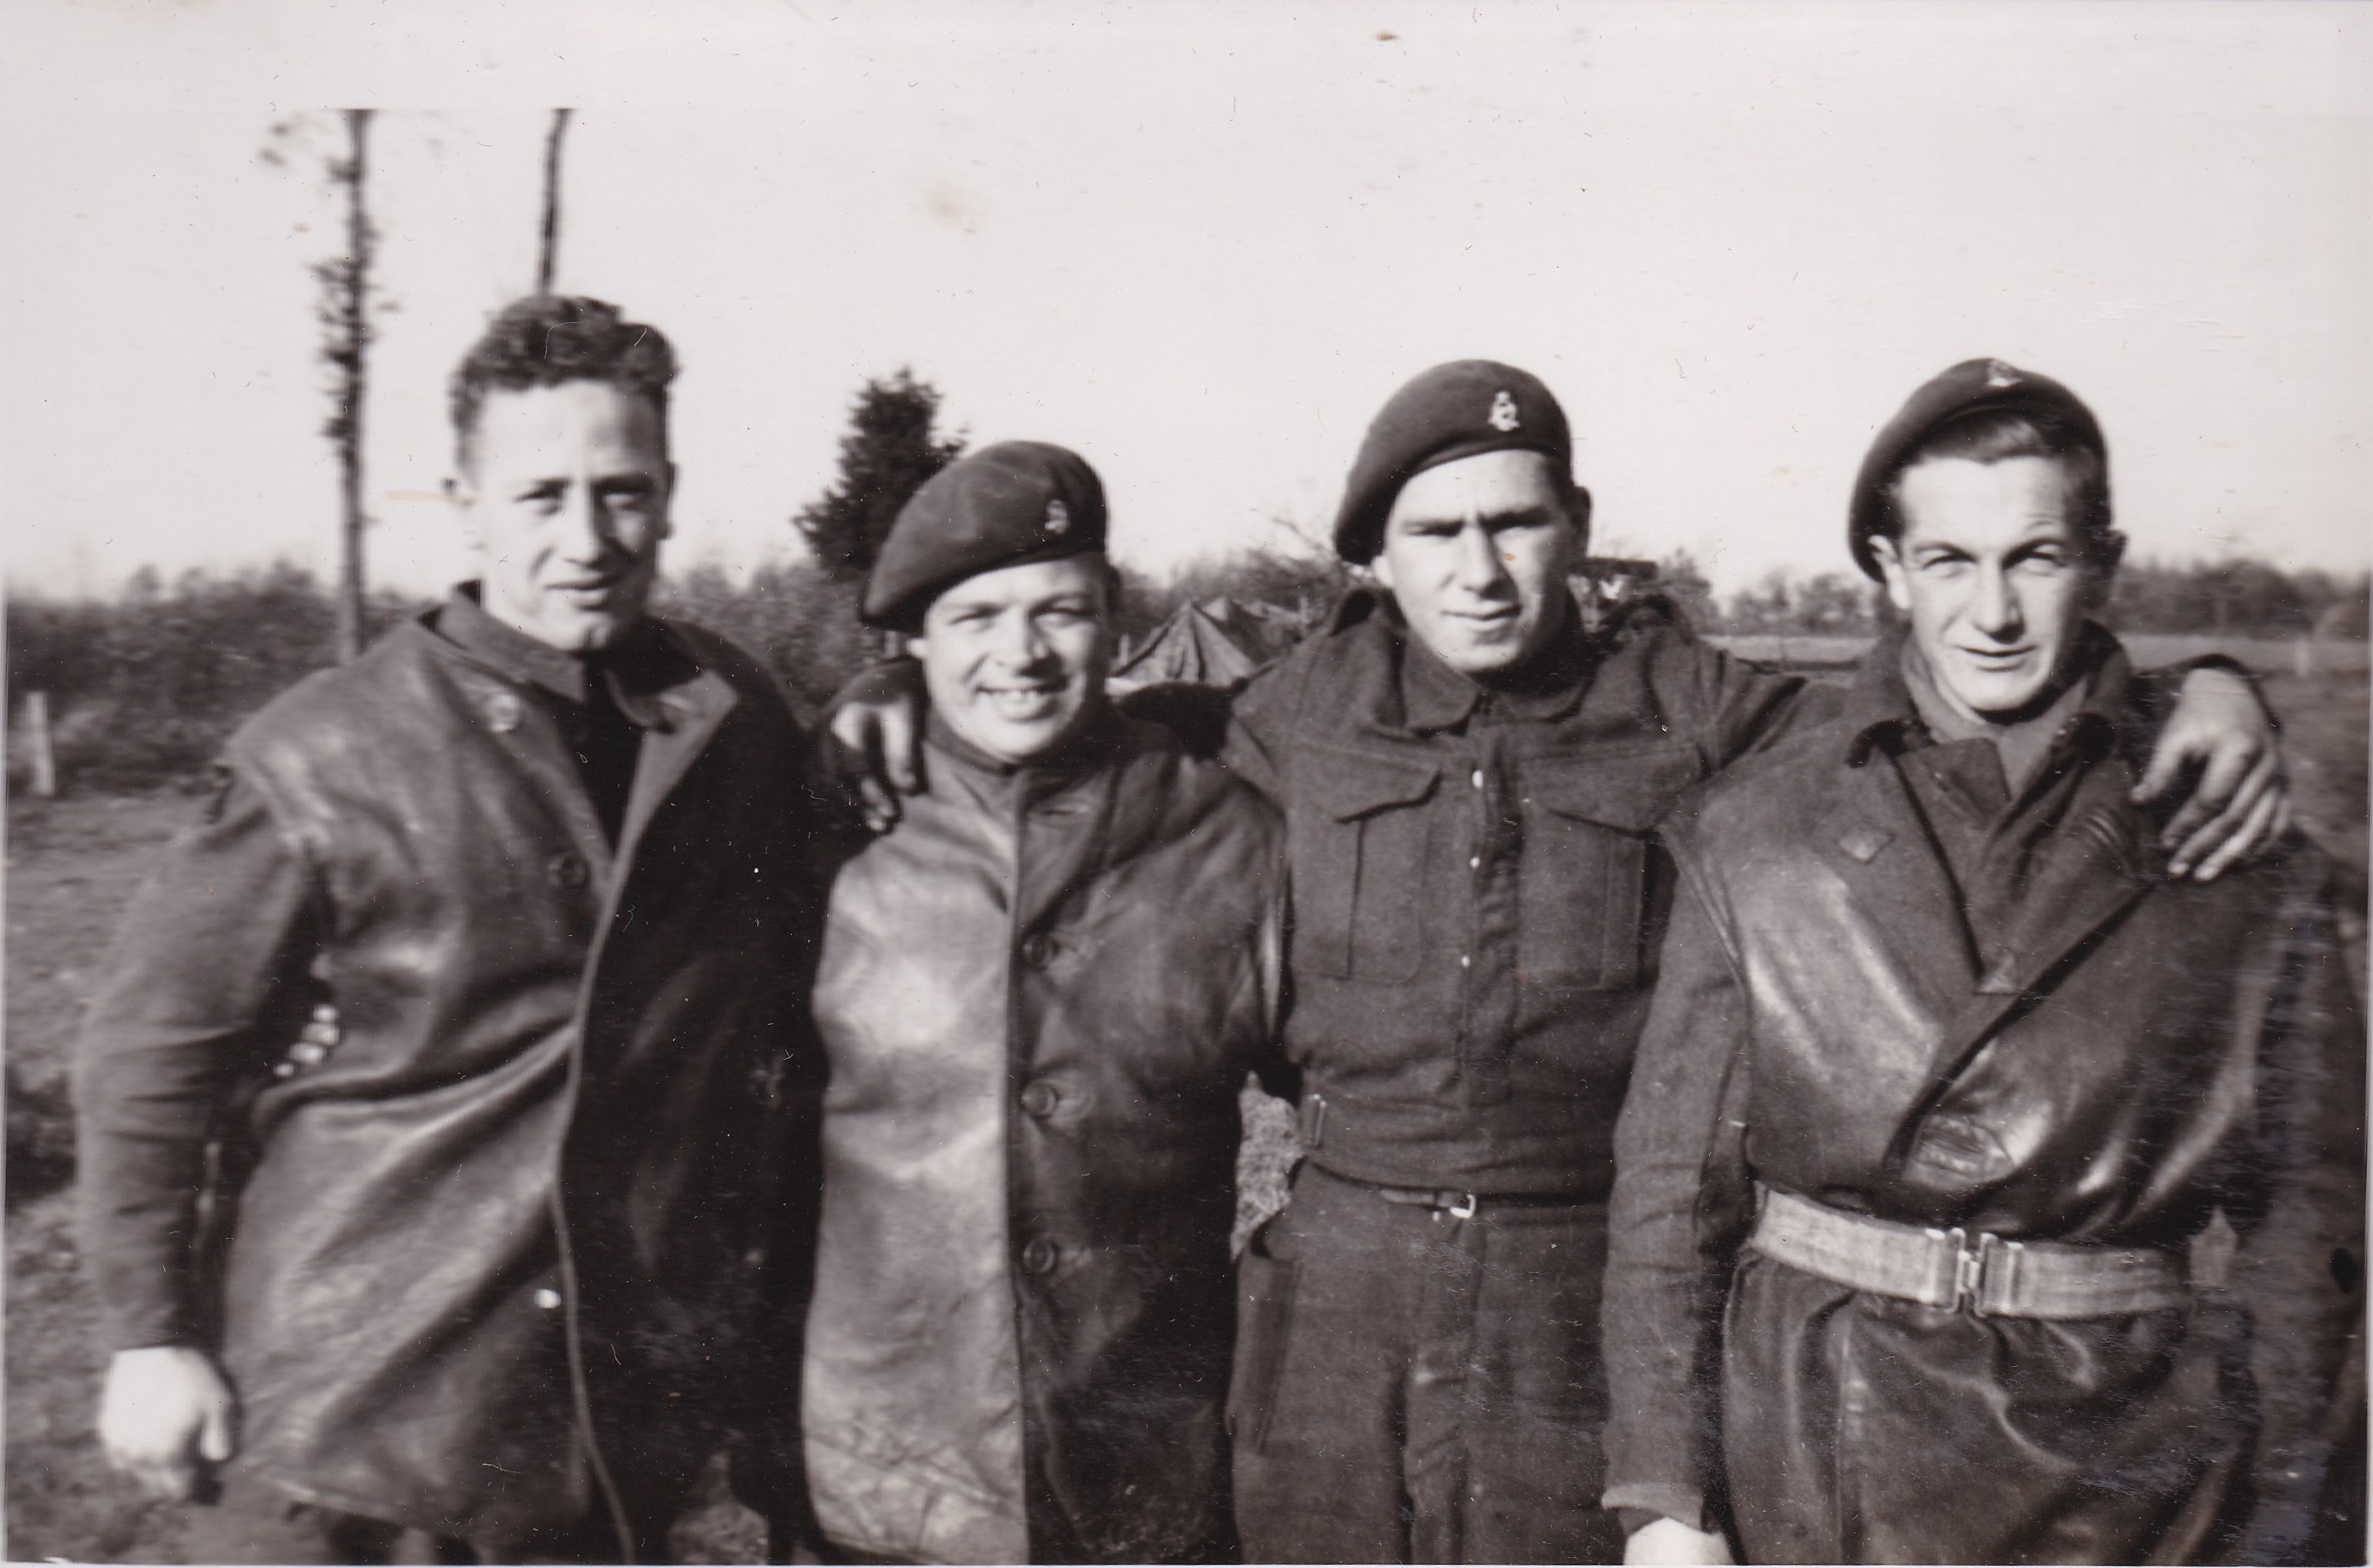
Men from CC Battery HQ. My father Dvr/Op Alex Paterson is second the right.
|
|
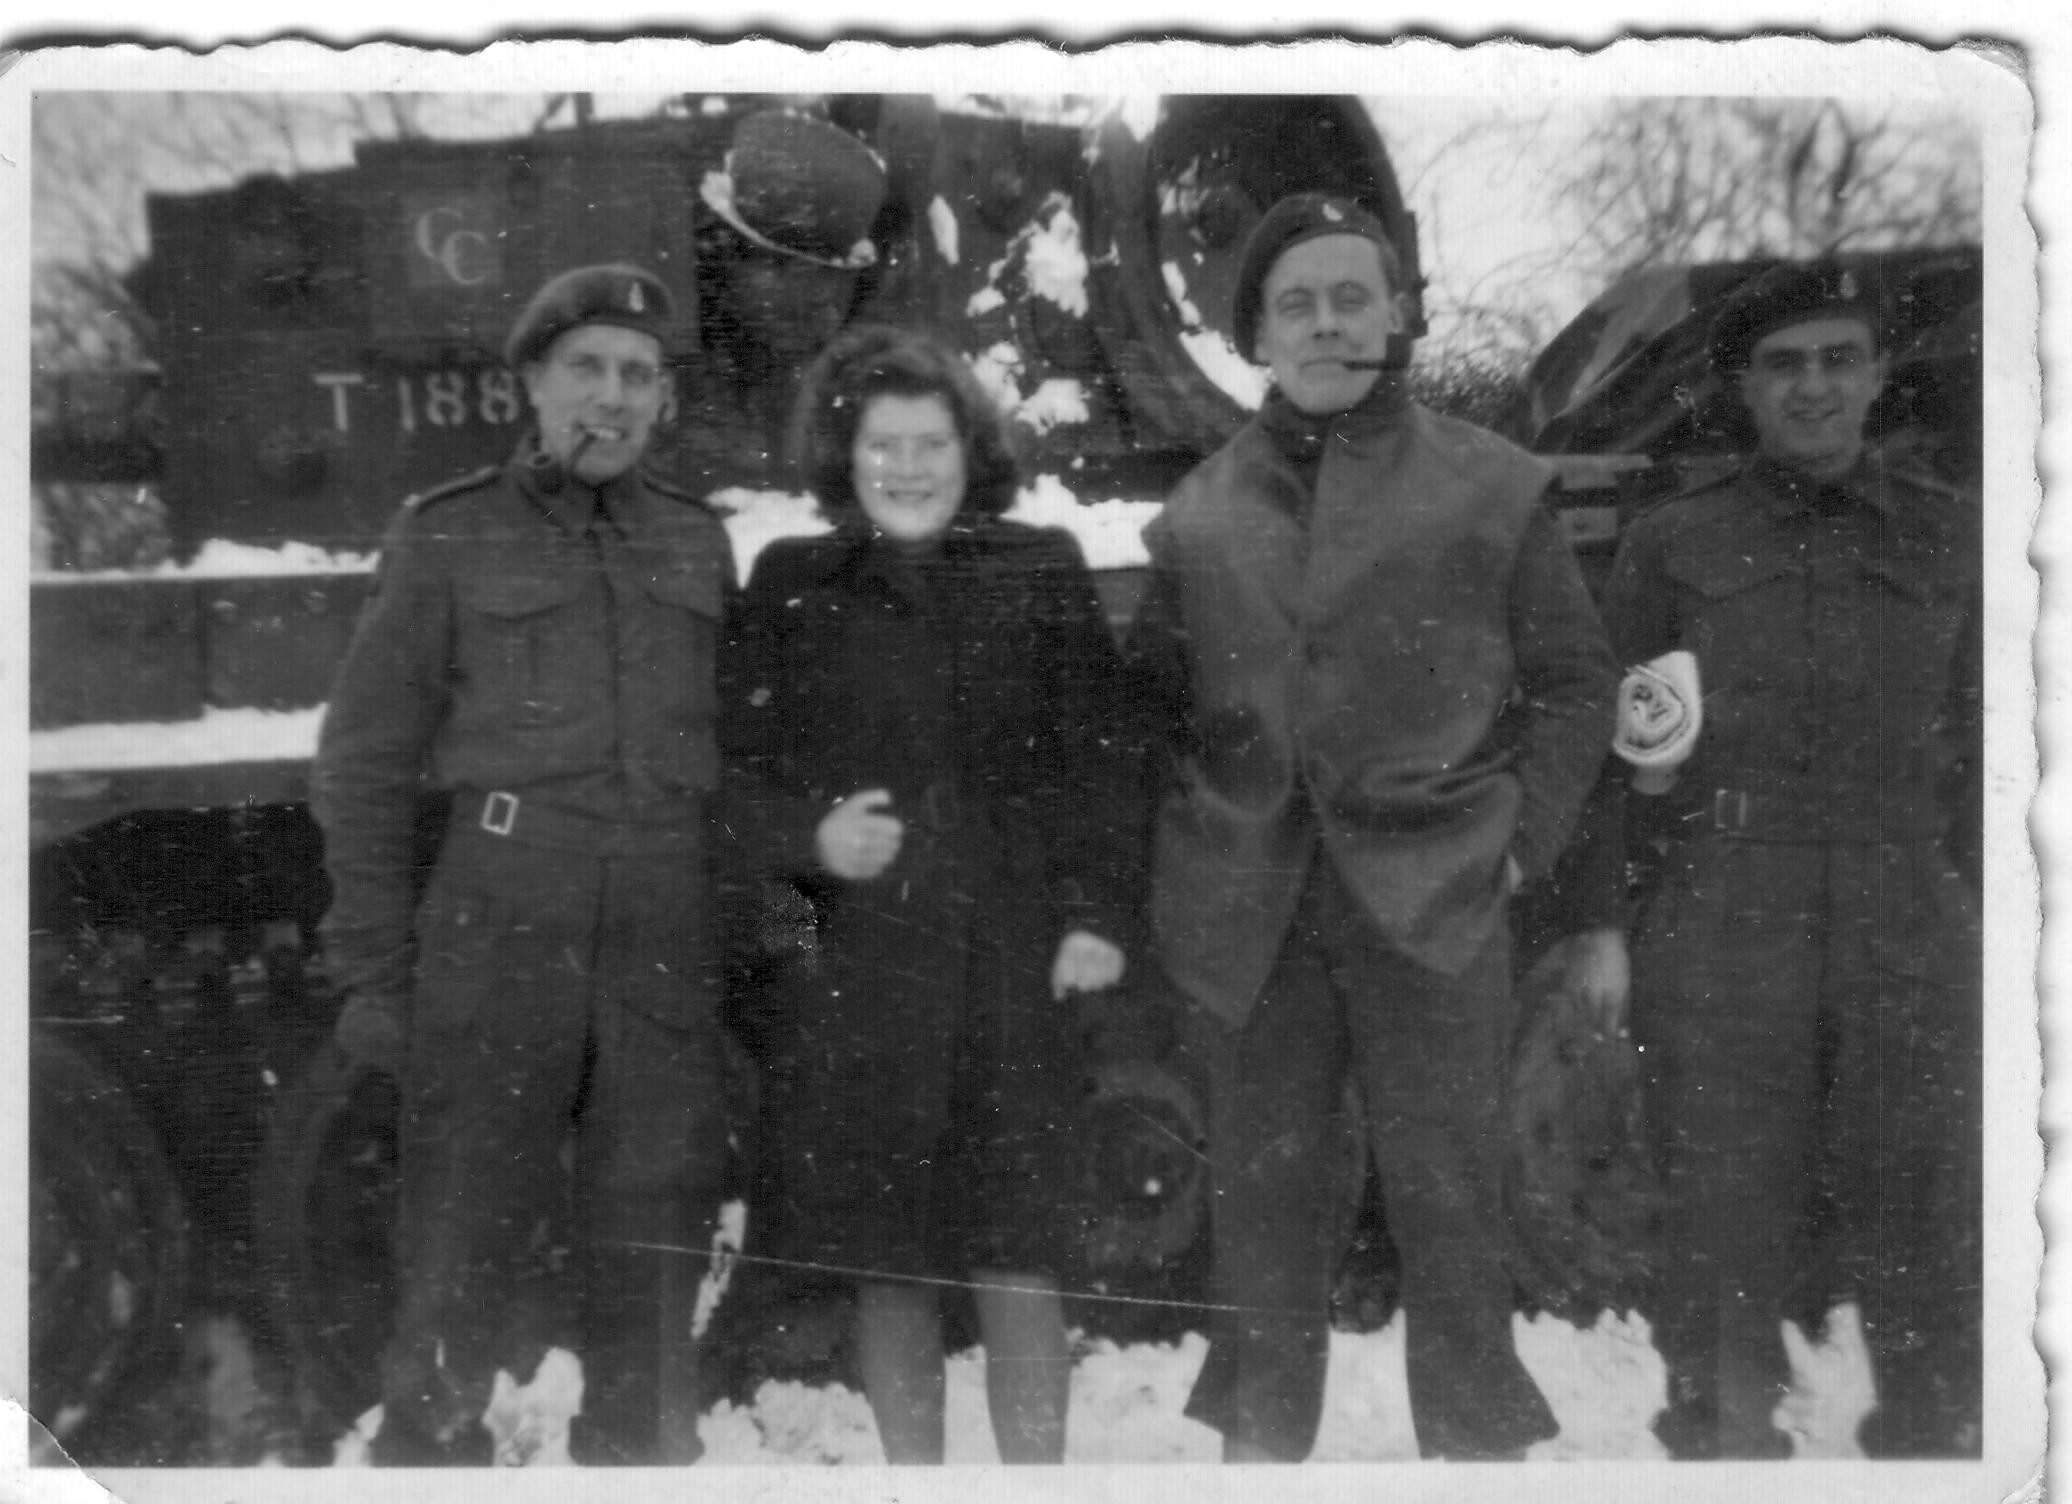
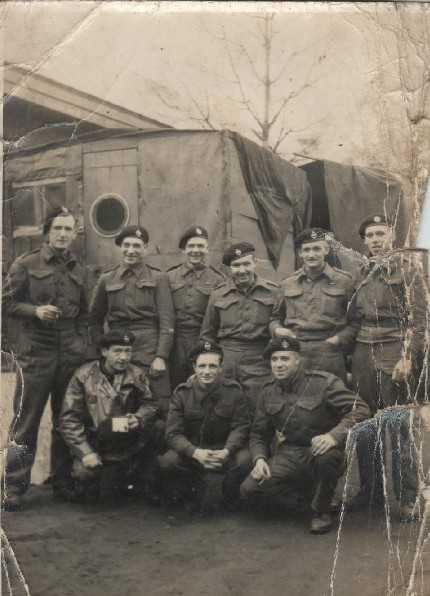
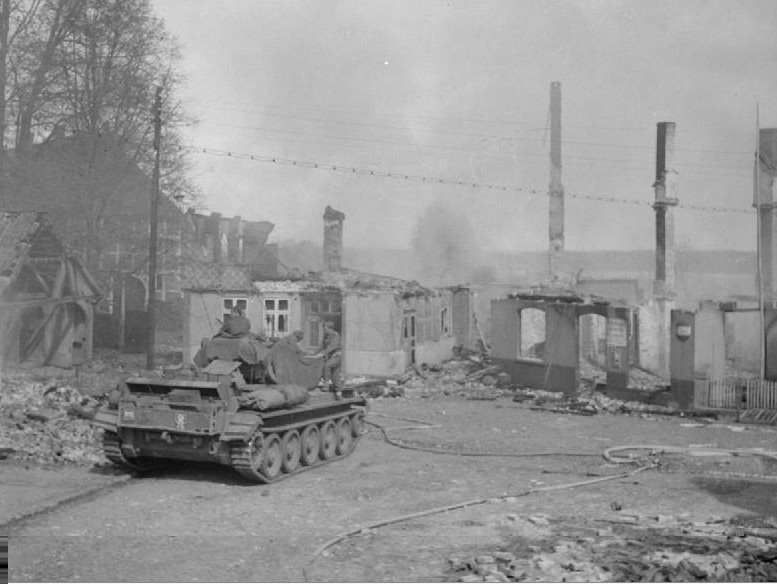
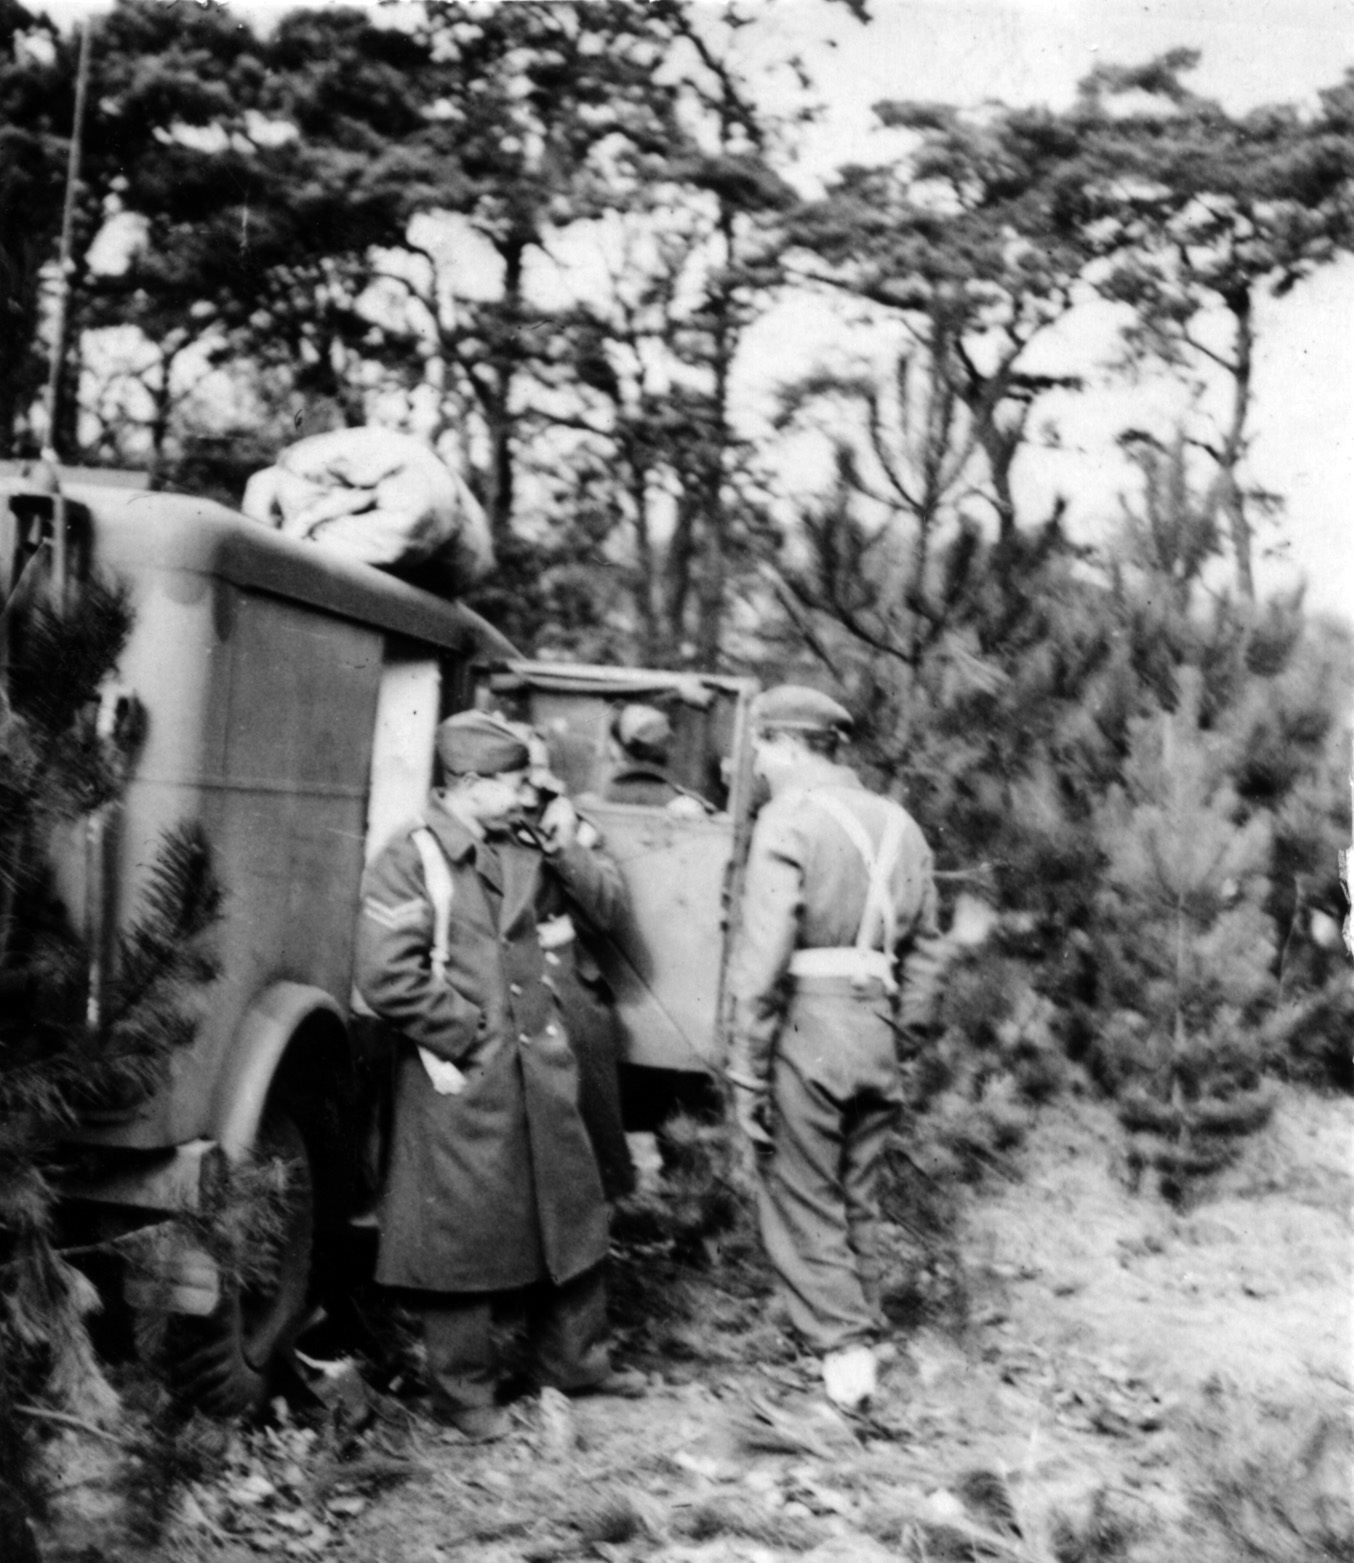
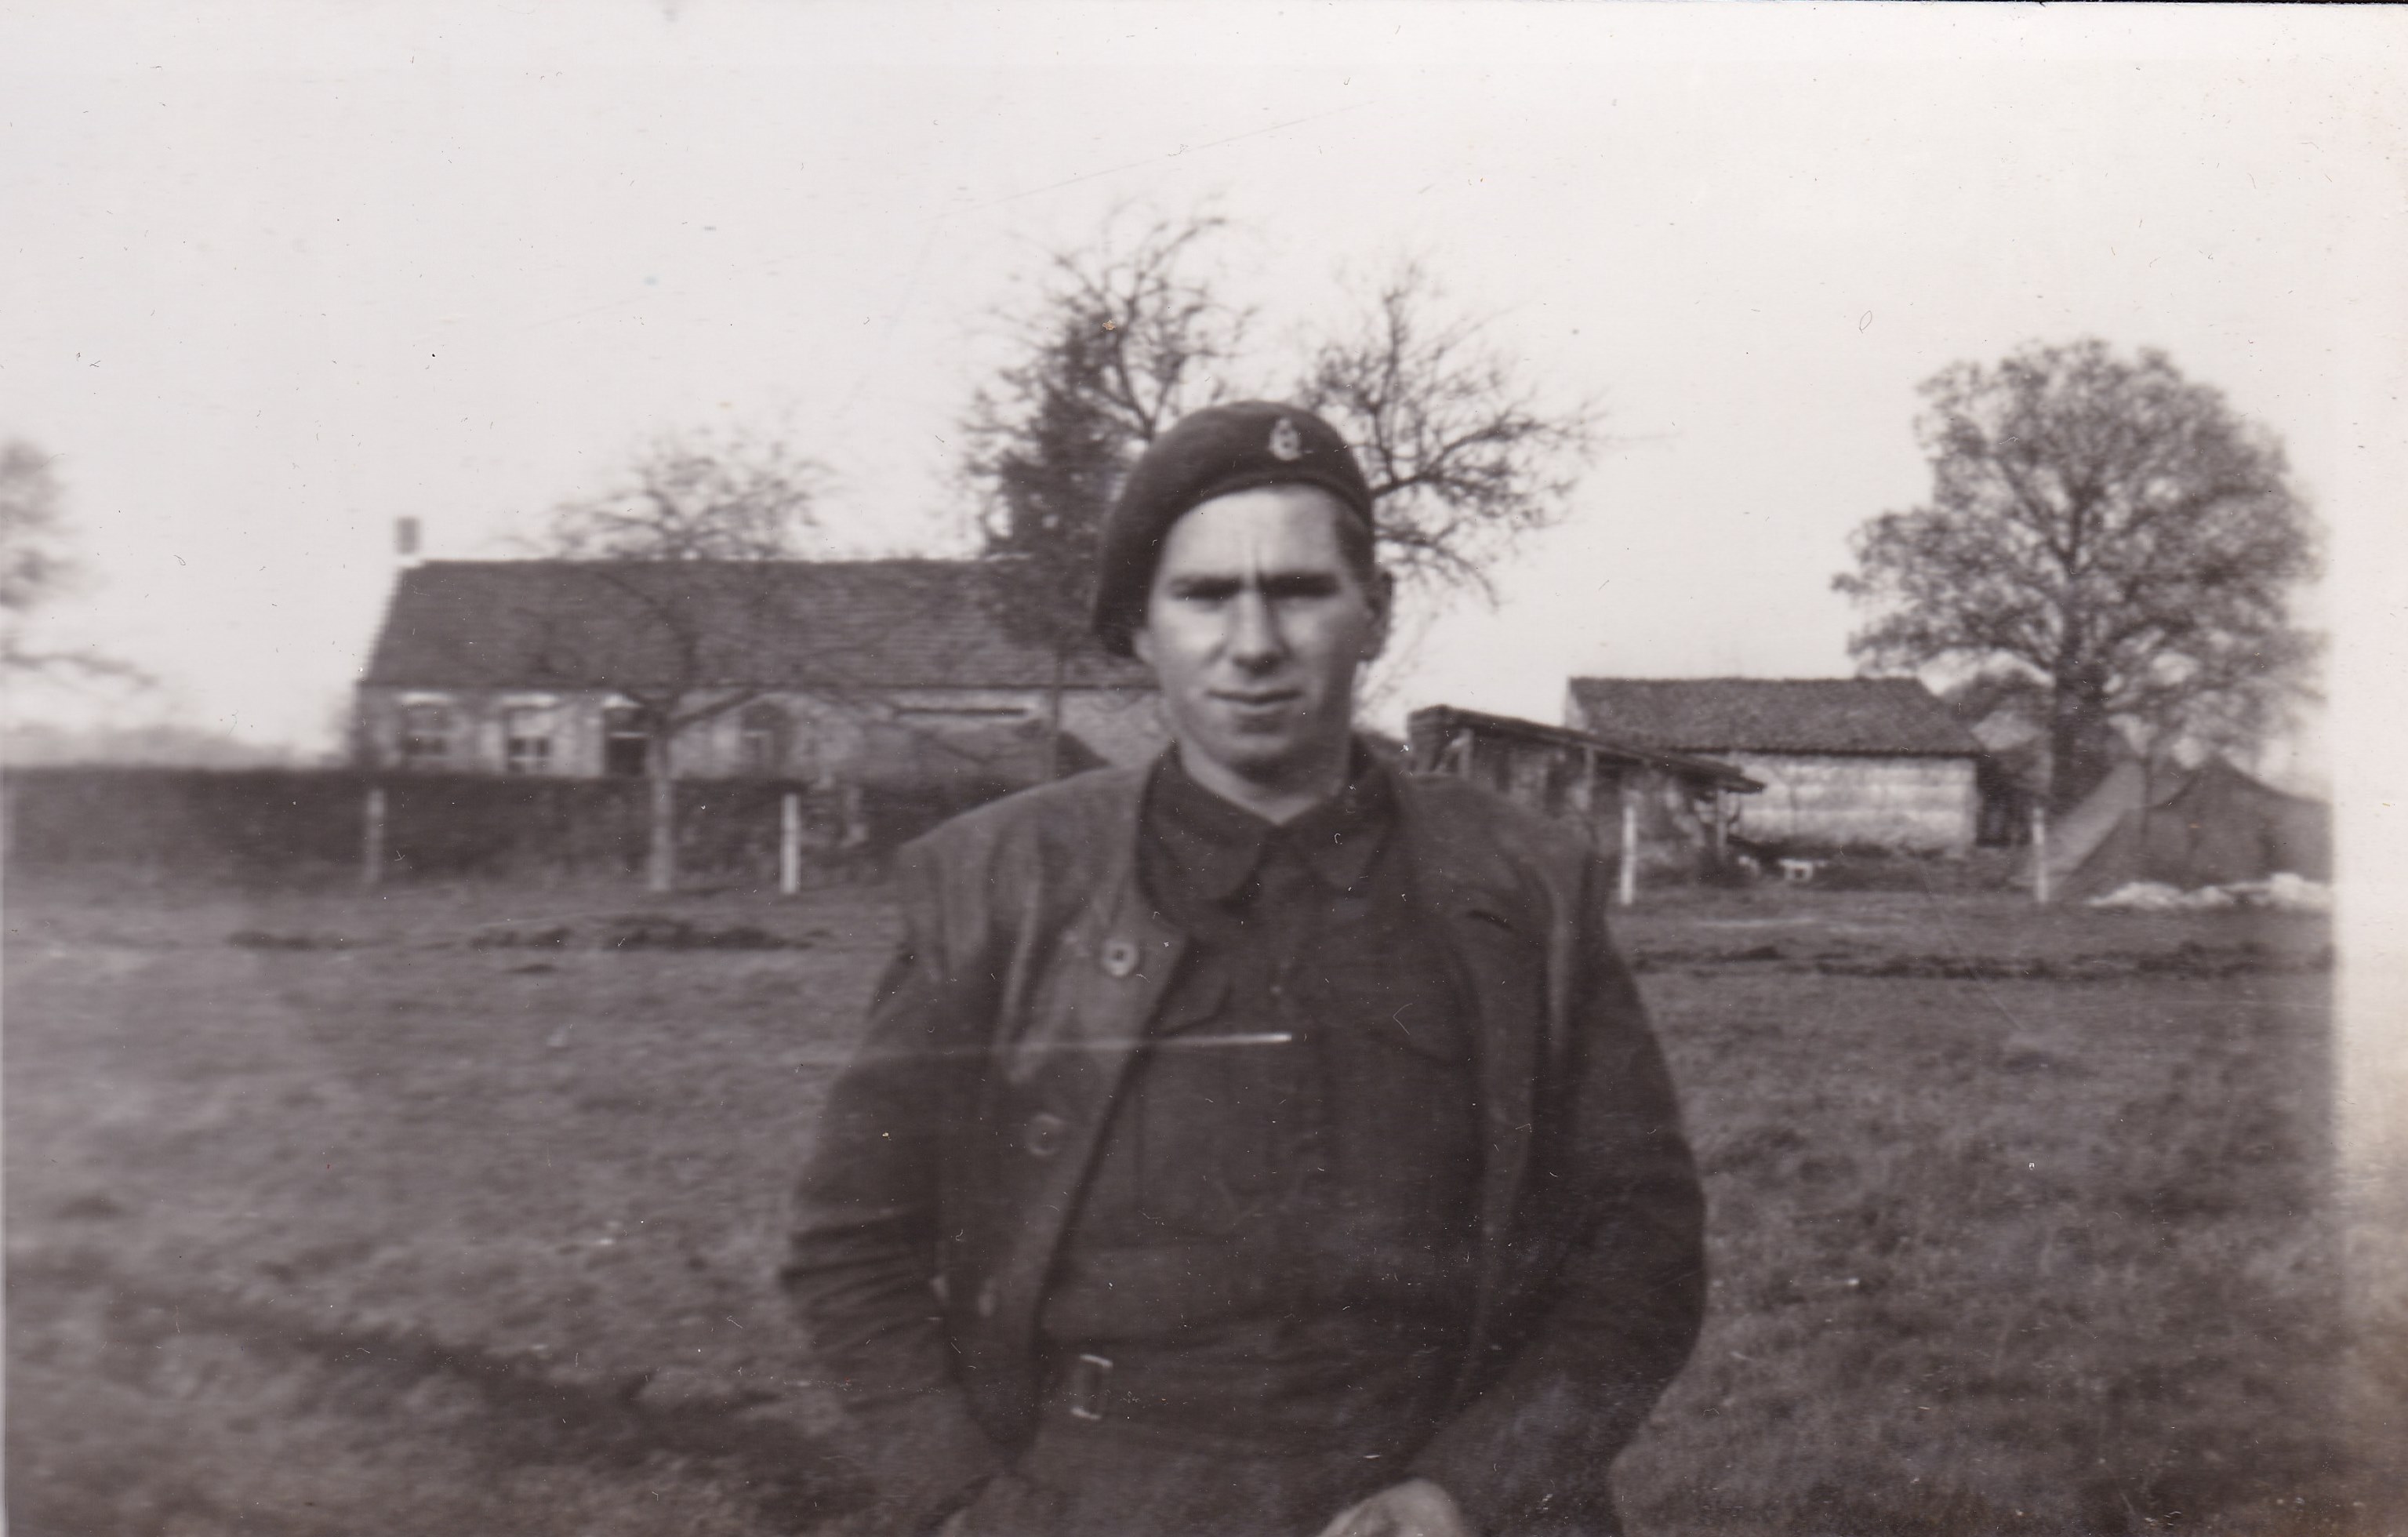
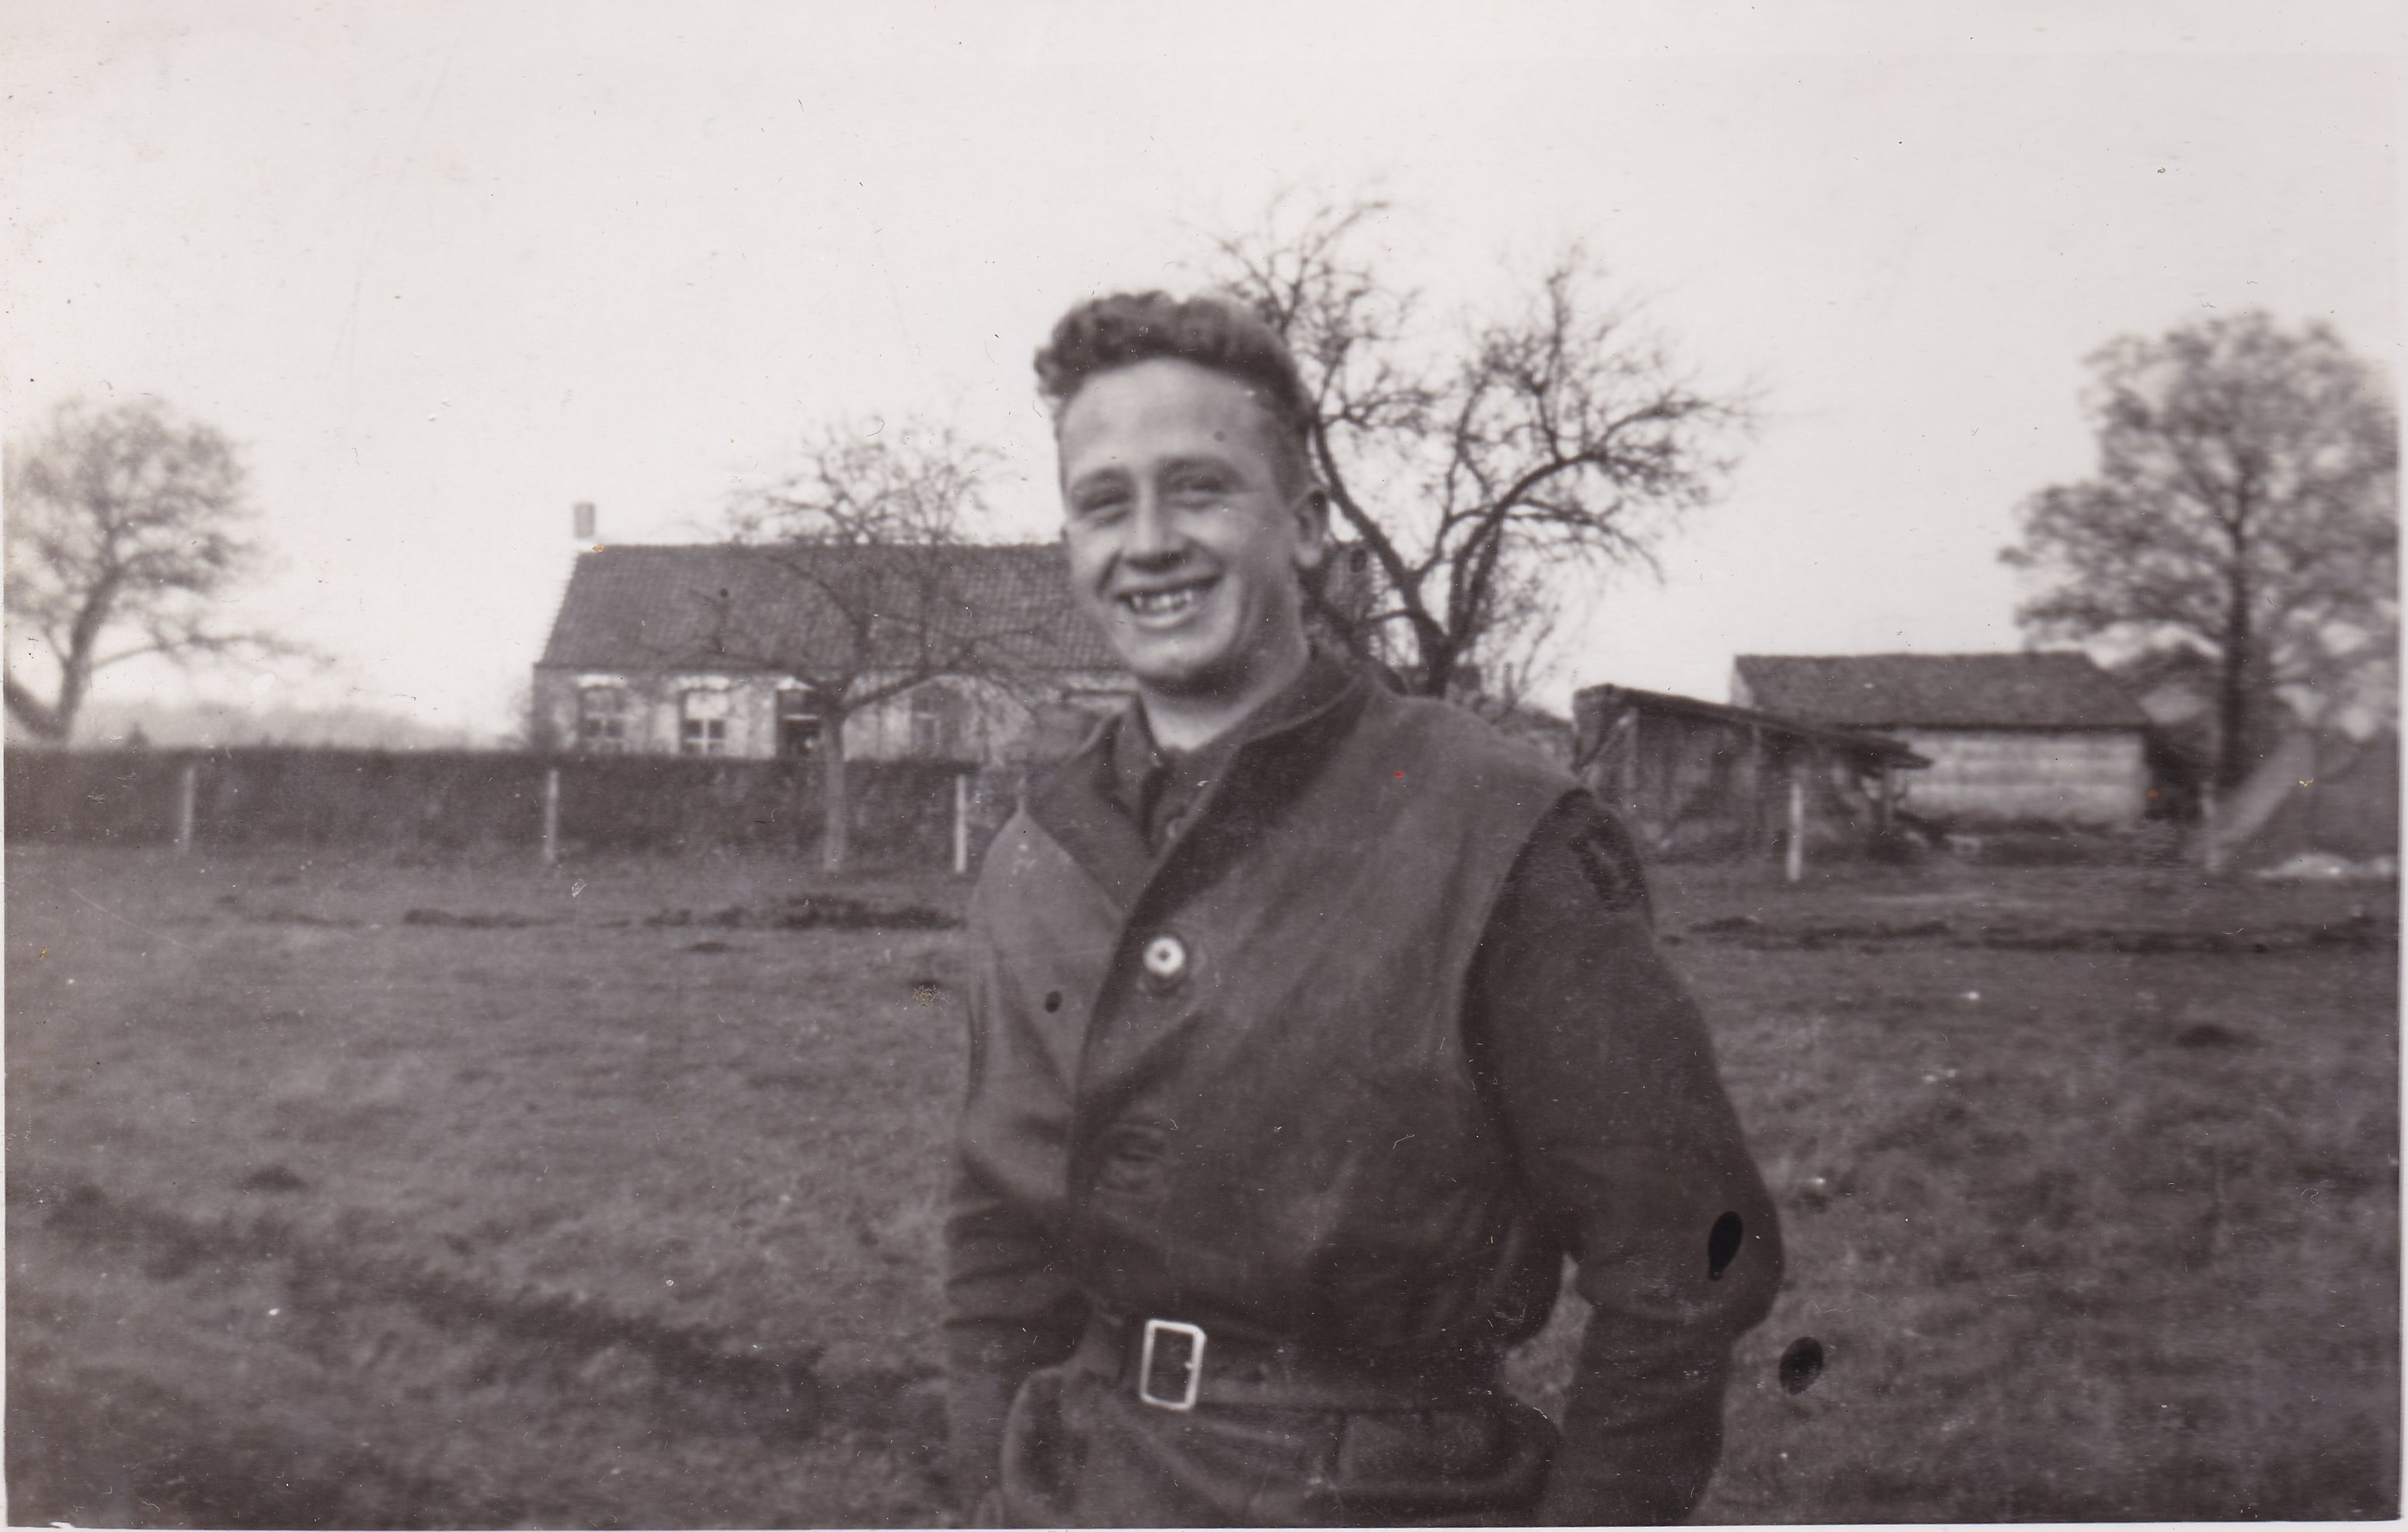
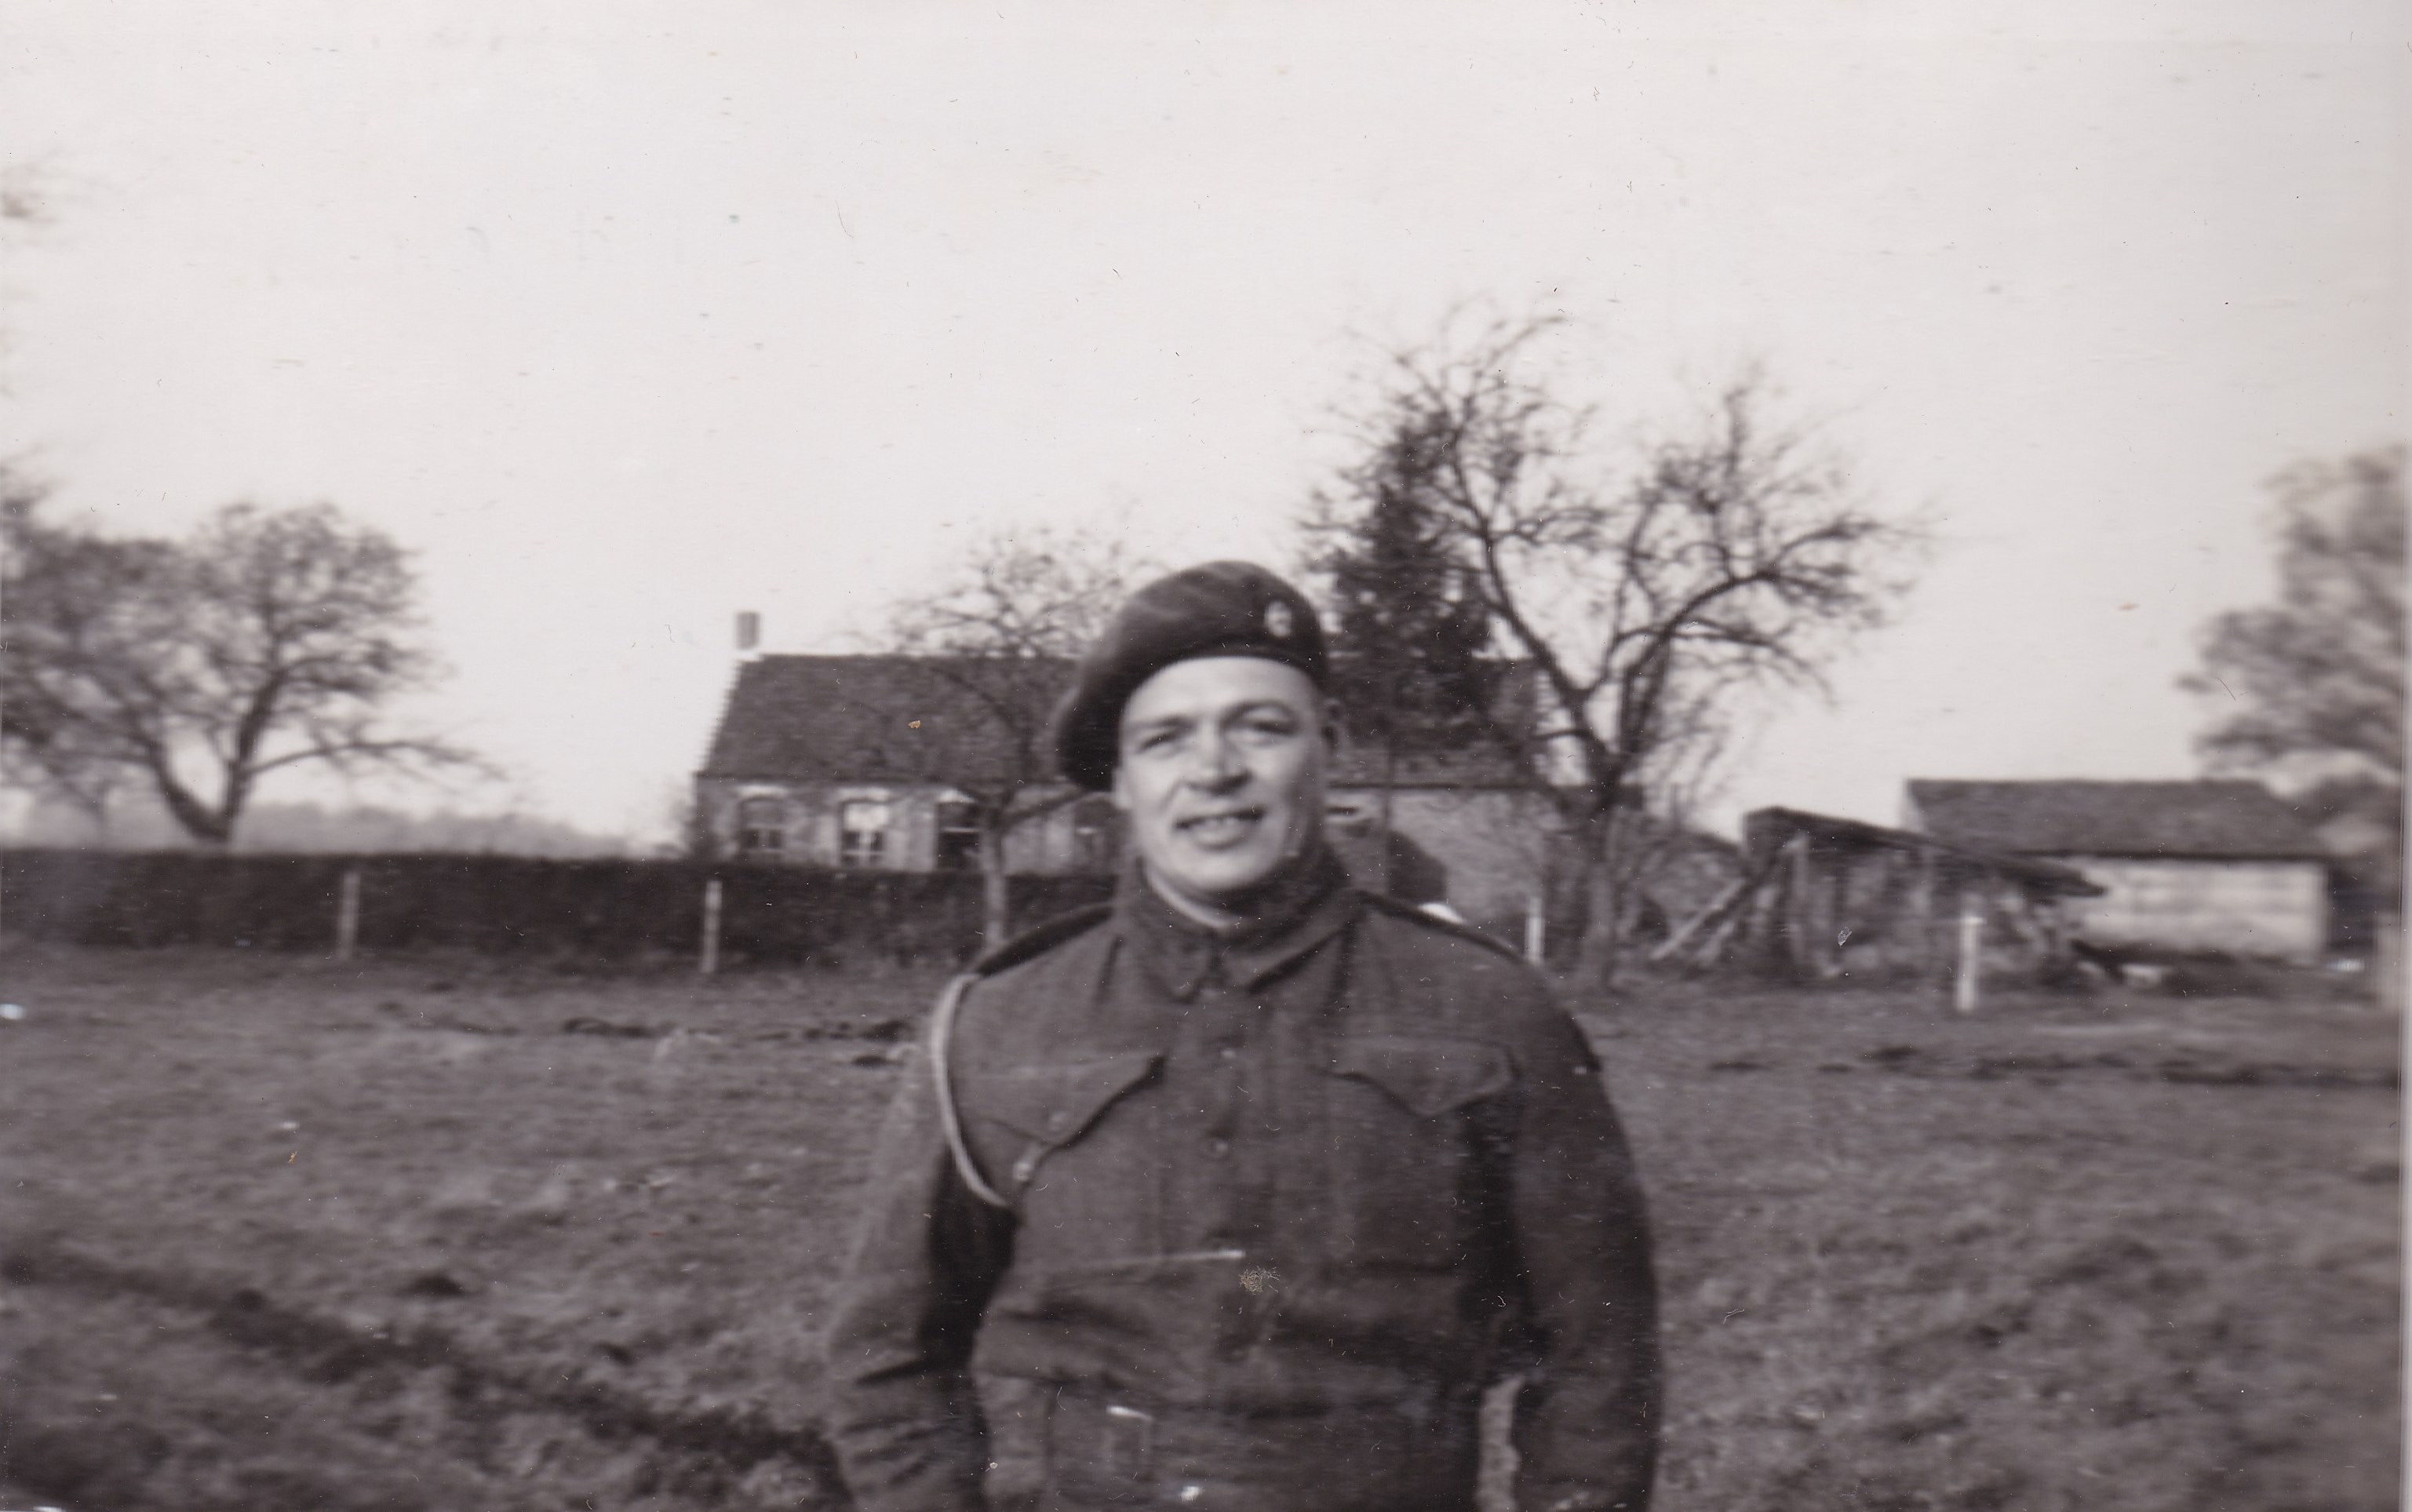
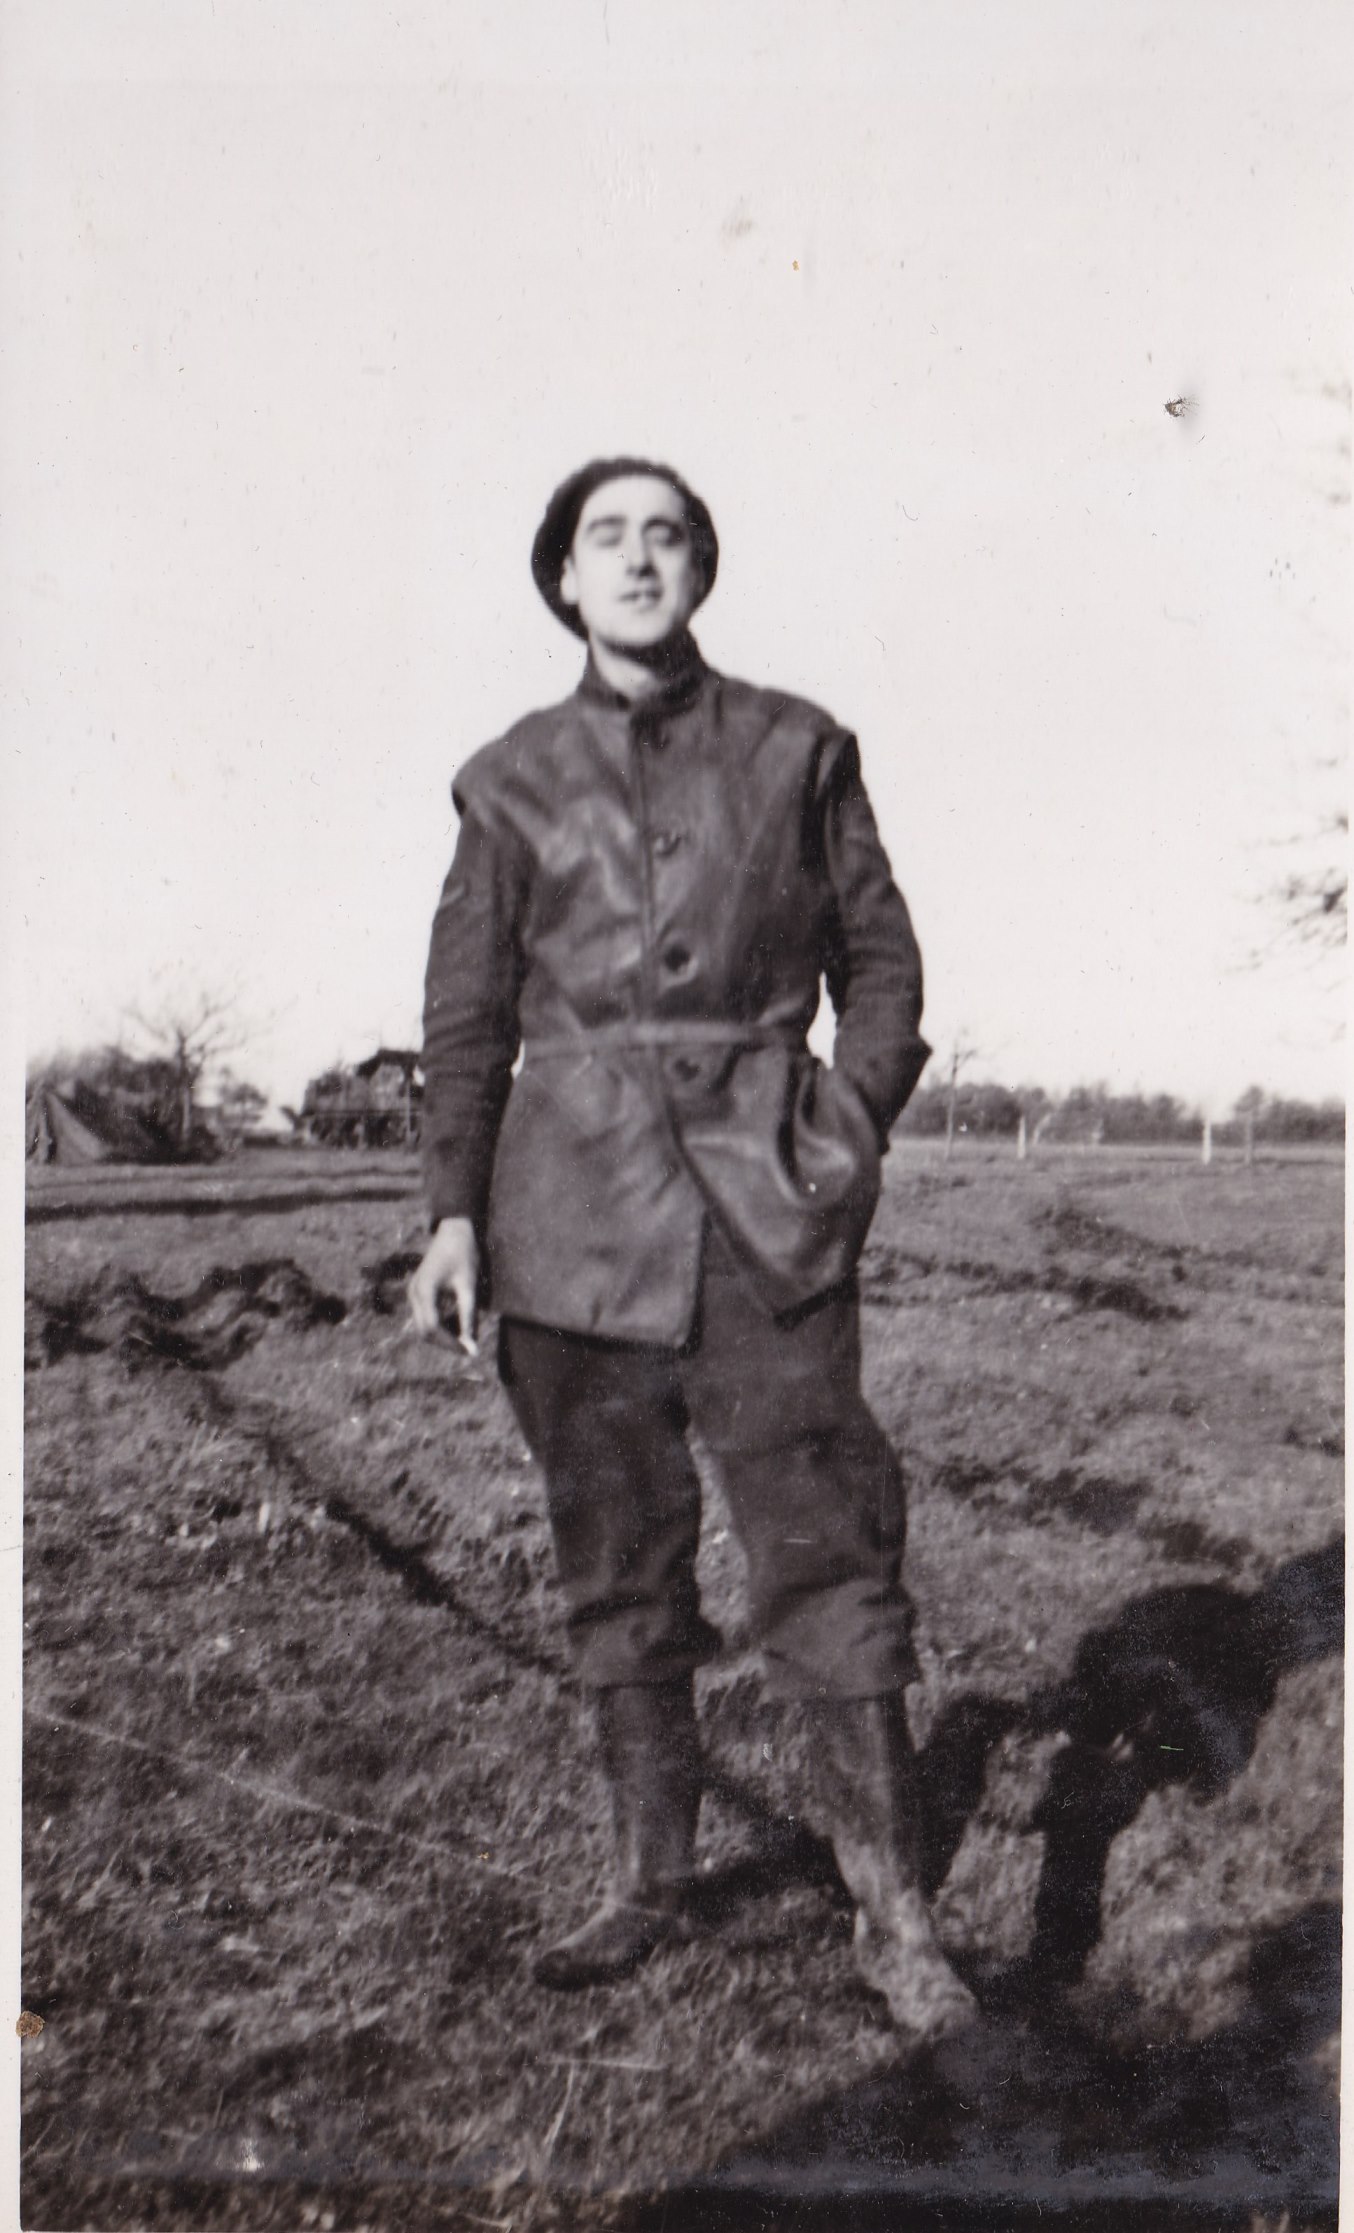
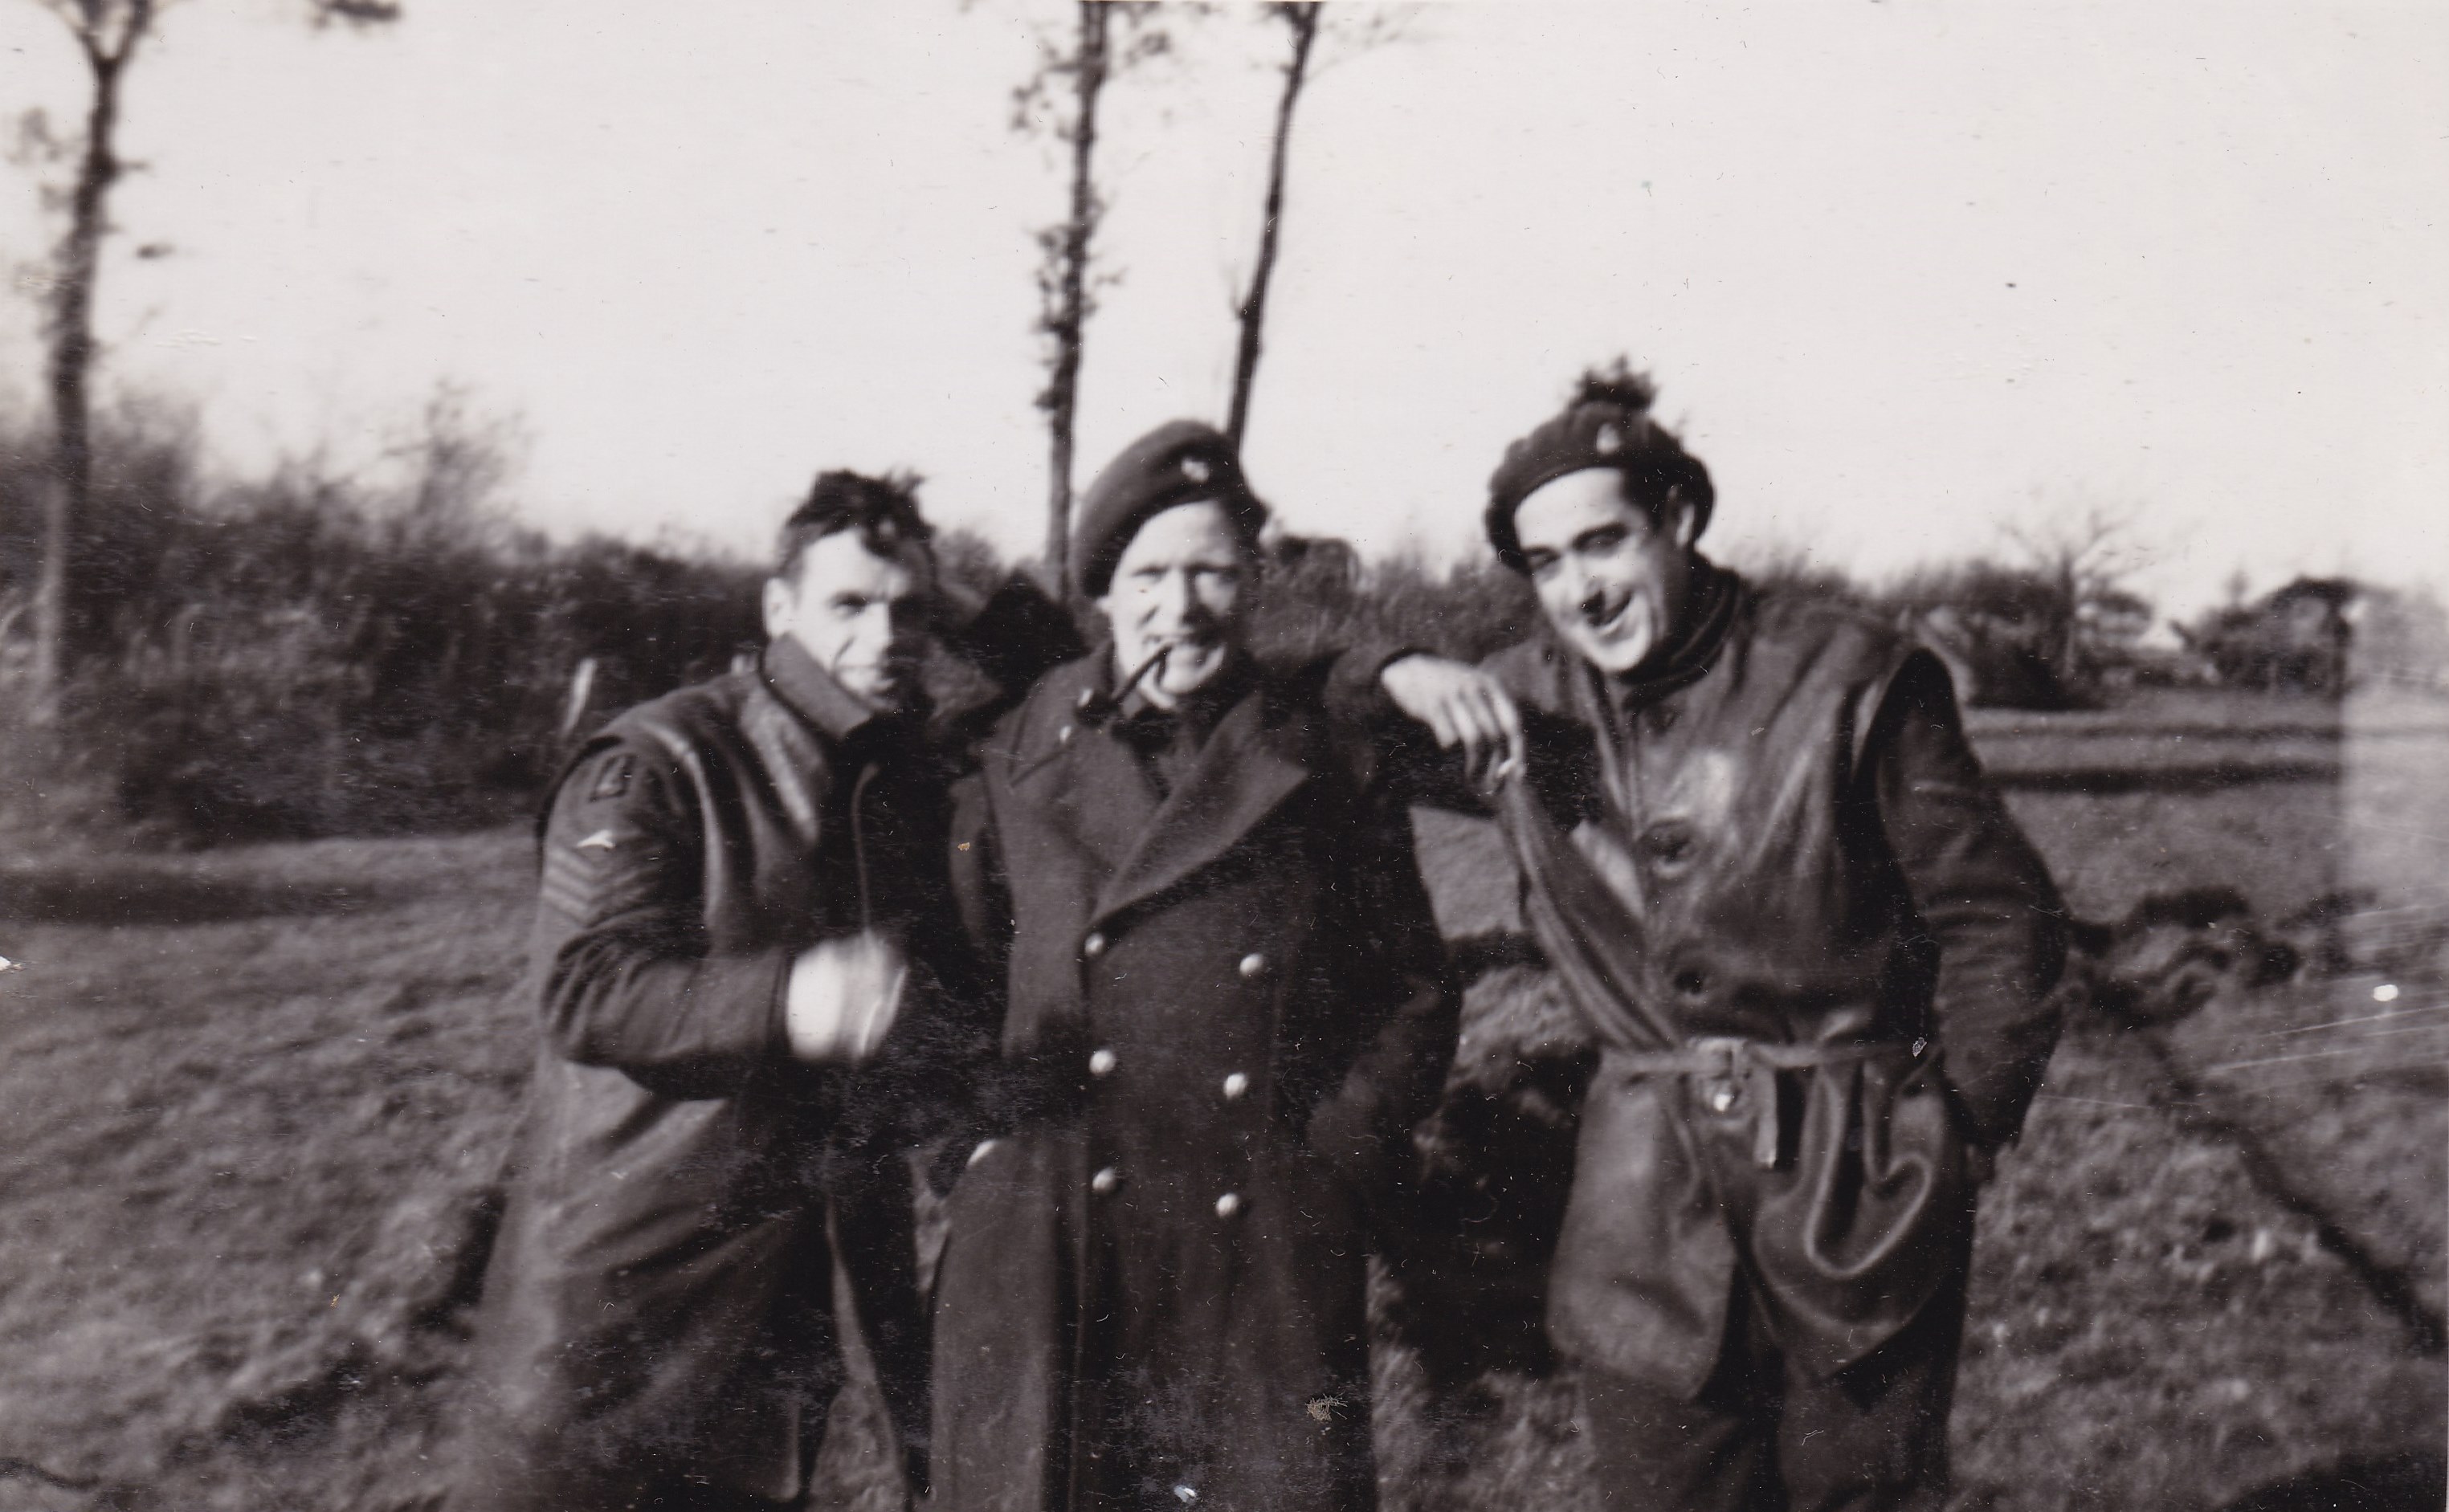
Men from CC Battery HQ in the snow by a AOP Cromwell, clearly showing the CC Bty Badge, with a local. This
is in Hingenderstraat in Sint Joost the Netherlands in late 1944 or early 1945. My father is in the leather Jerkin, smoking a pipe.
L-R Gnr Ronald Hobbs (G Bty), Mia de Brouwer, Gnr
Alexander Paterson (CC Bty), unknown
|


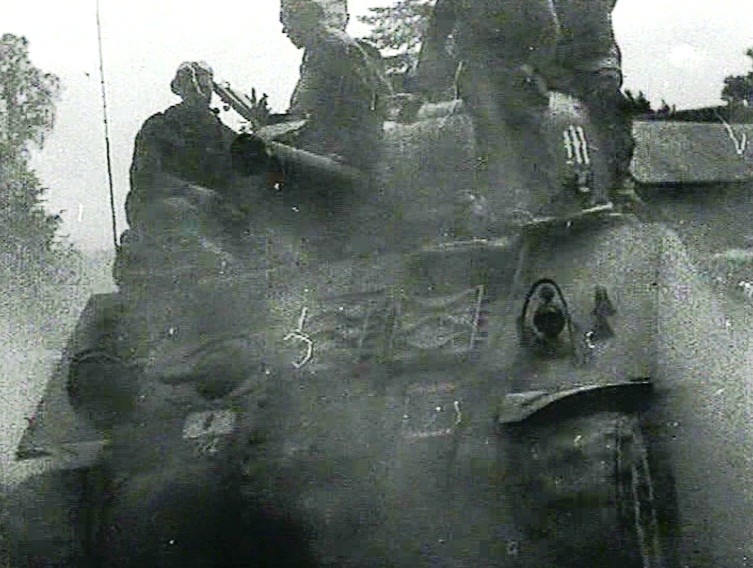
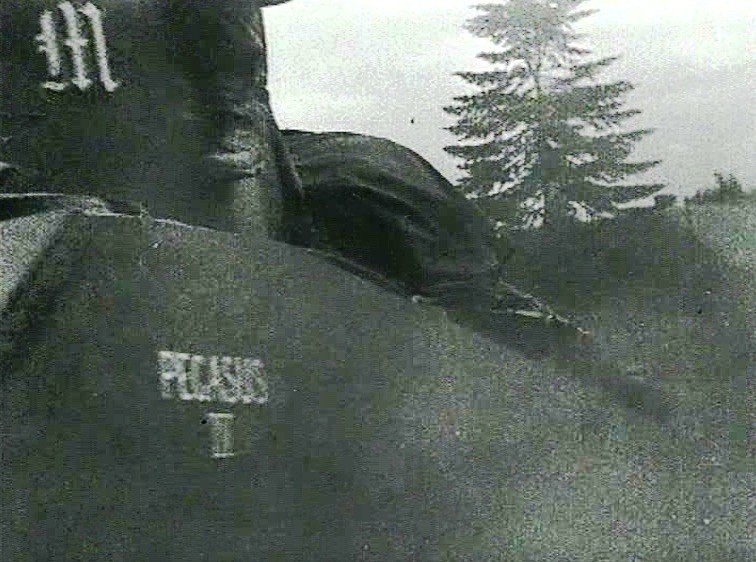


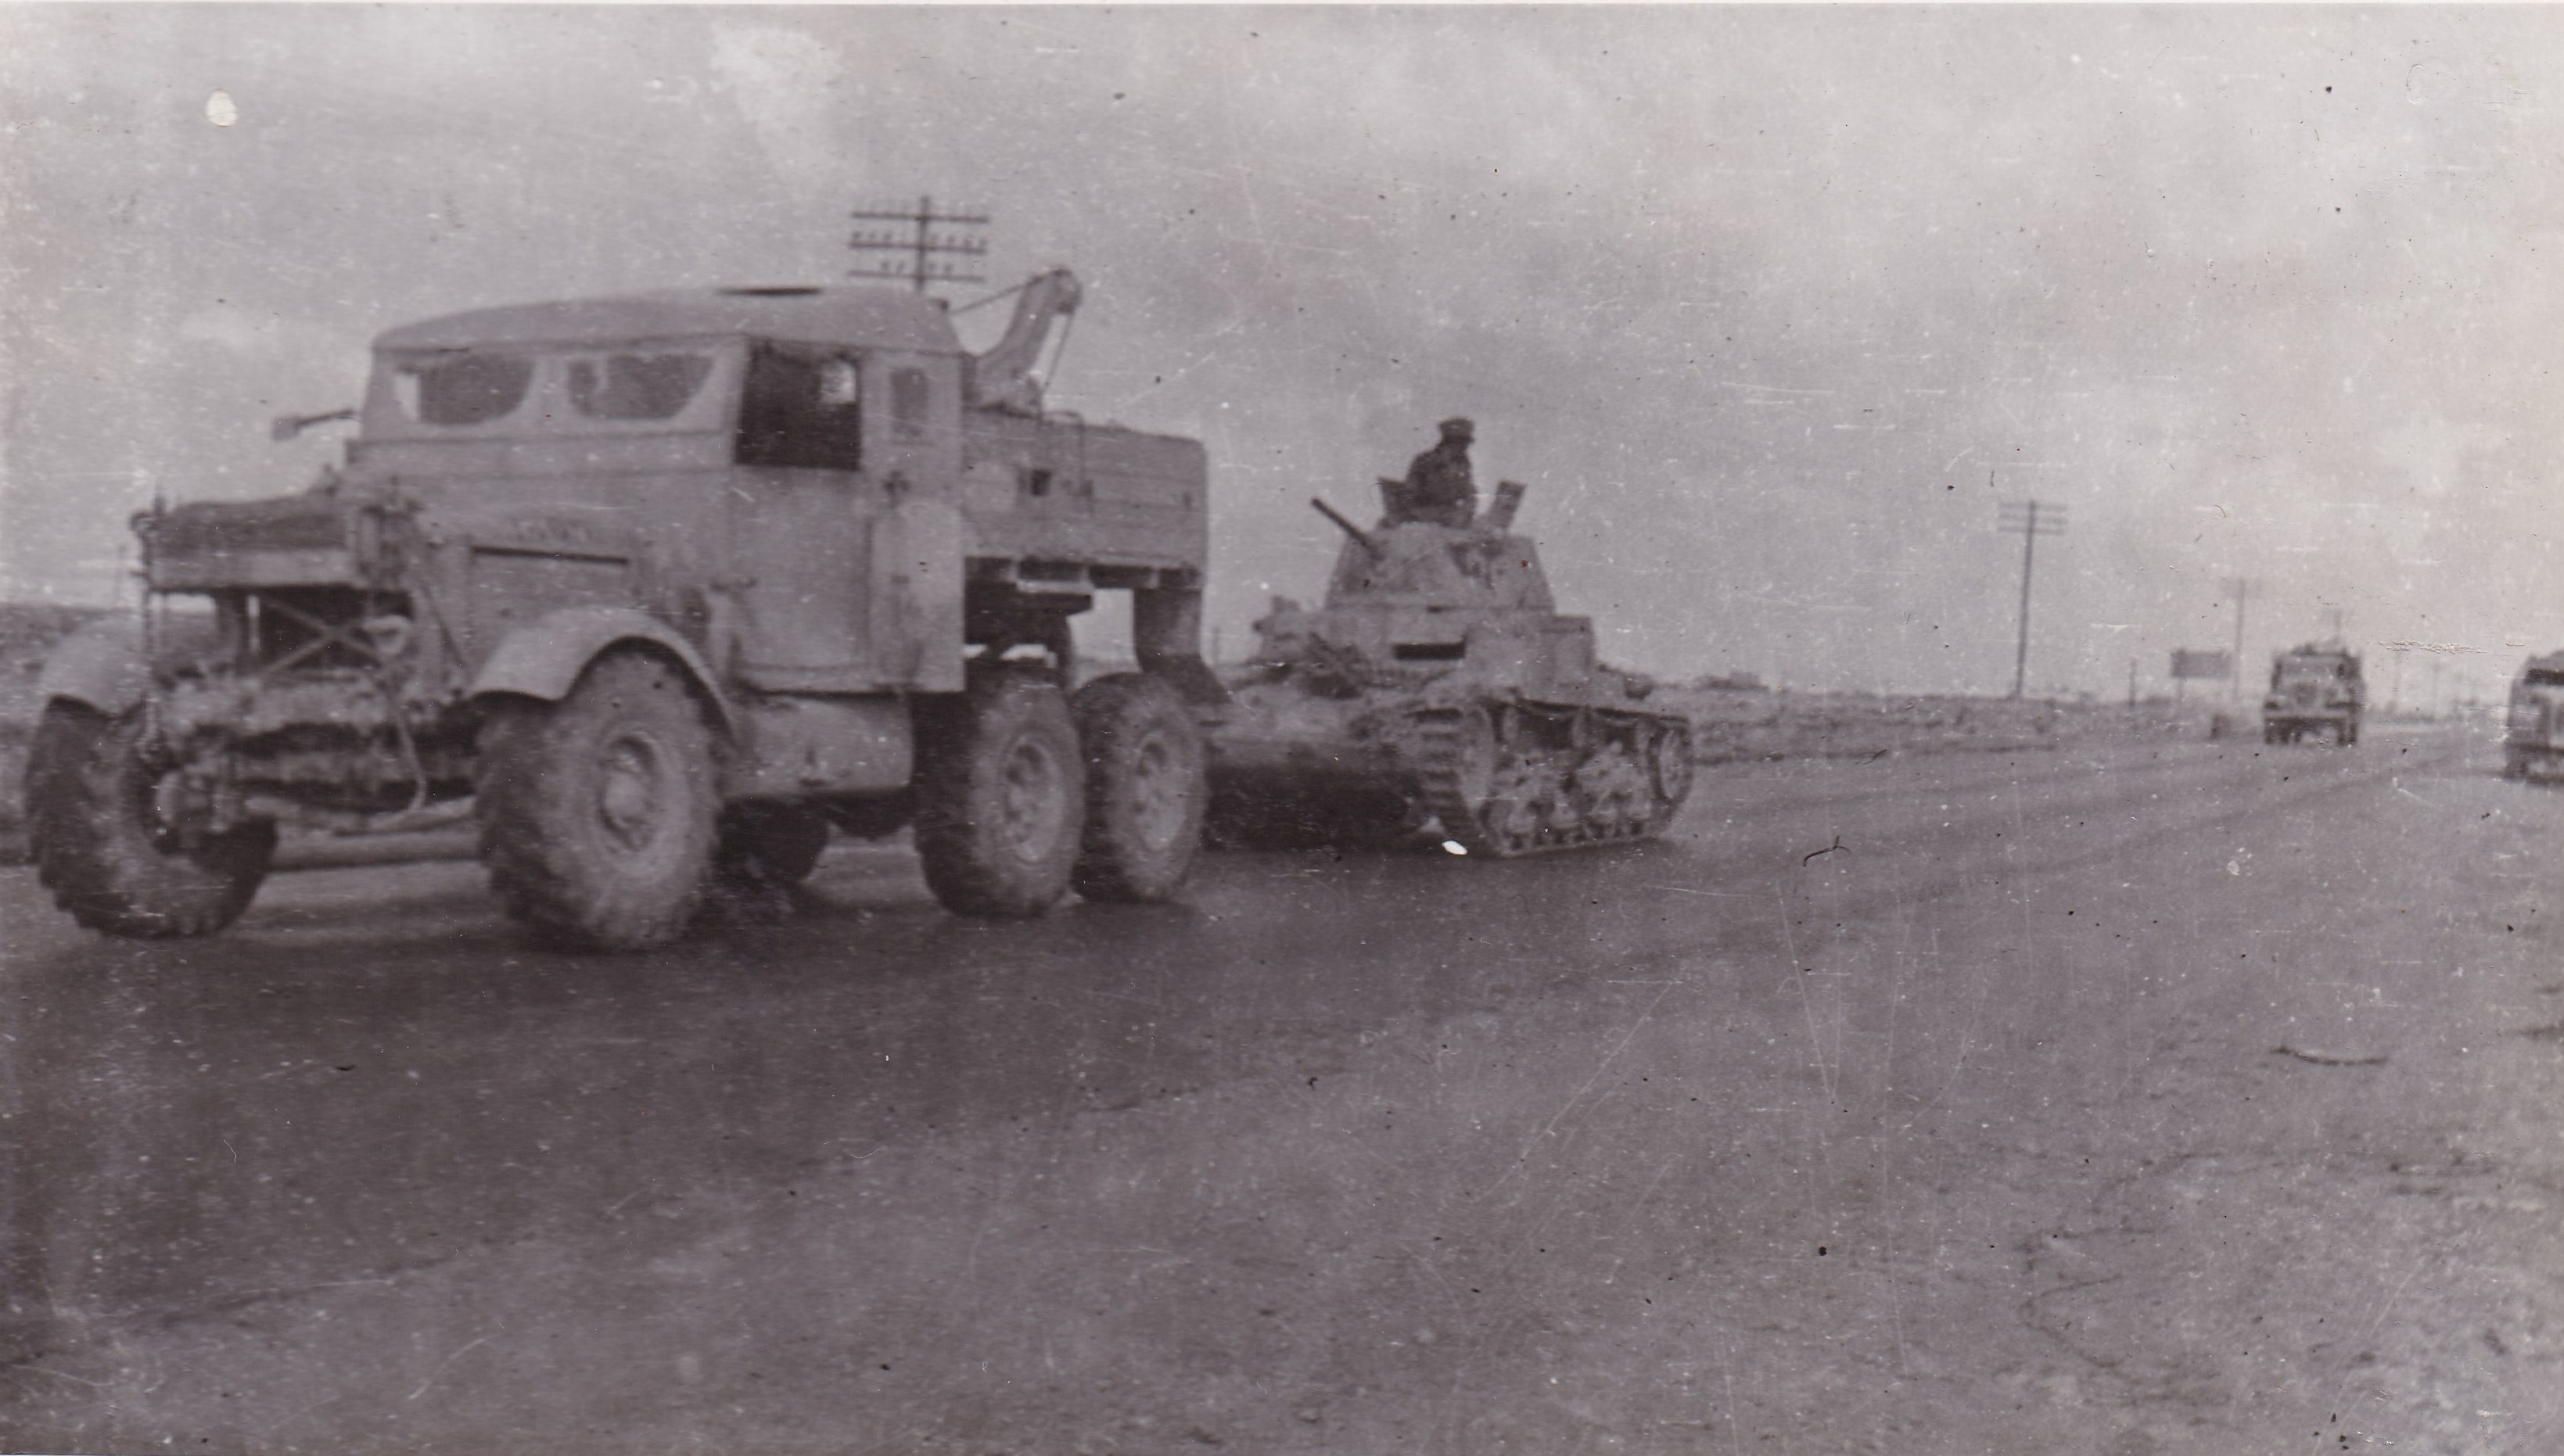


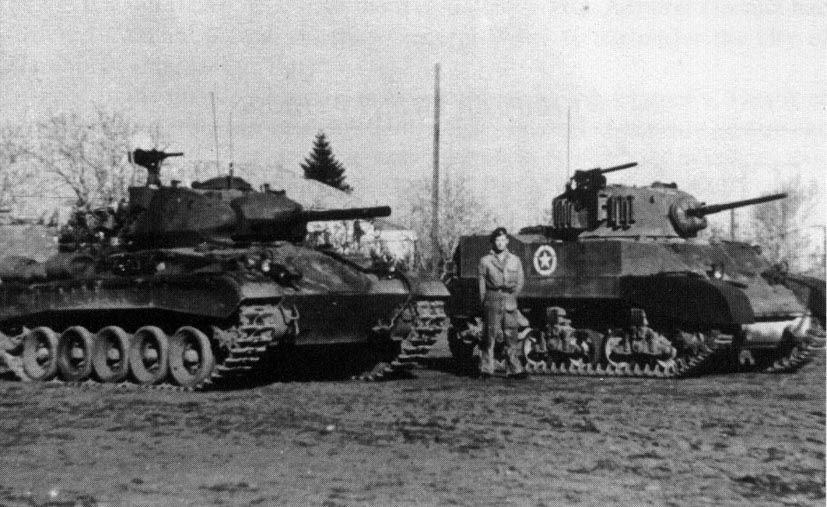
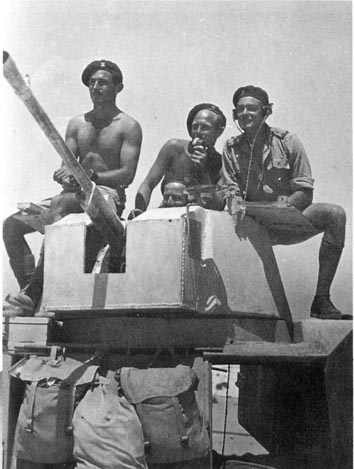
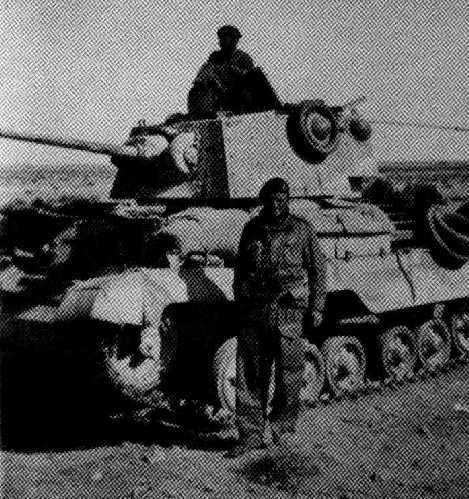
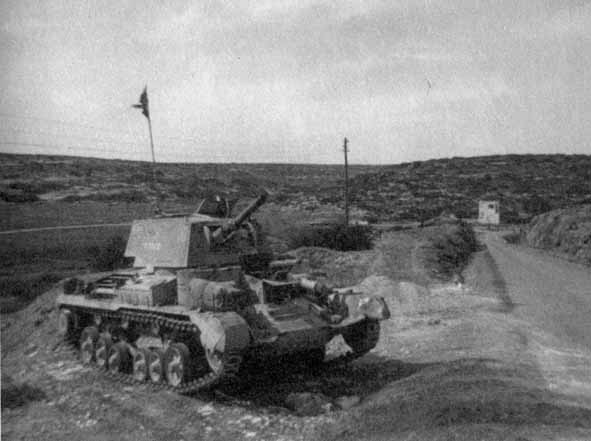
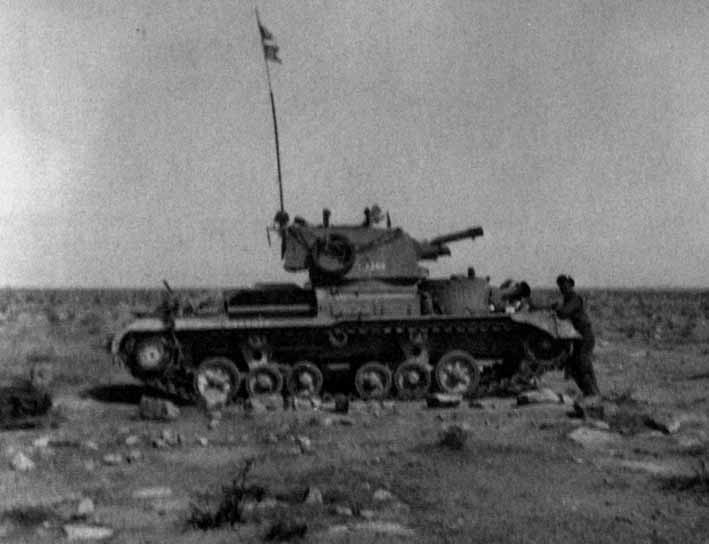
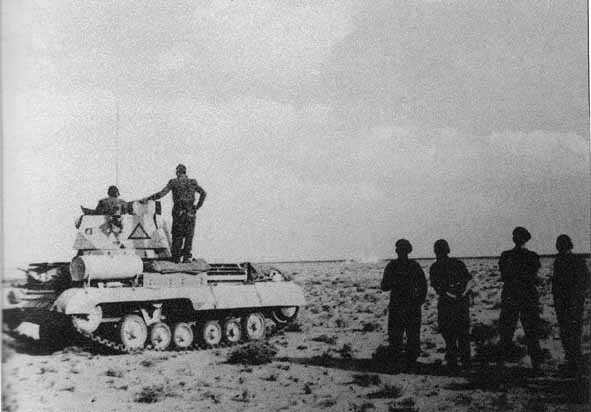
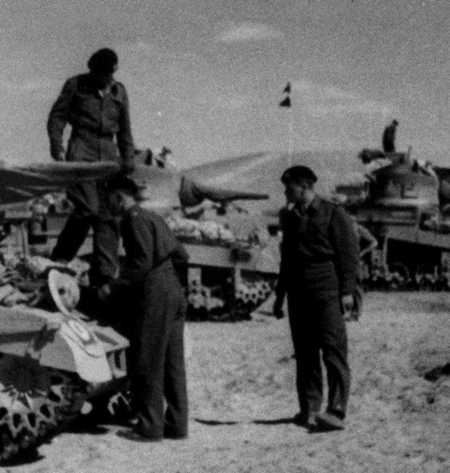
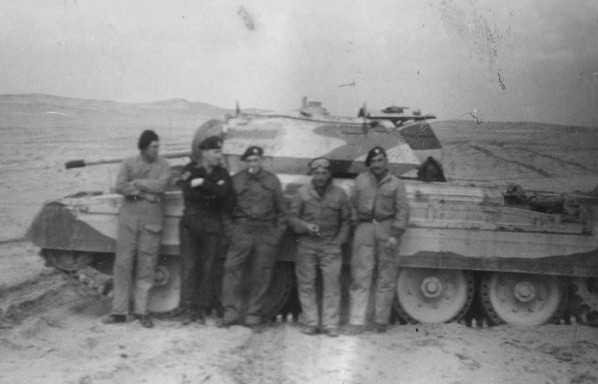
![Sergeant W. Paul DuPre on top of Captured German Pz MKII Tank! On the ground:German prisoner (left), an unknown soldier, 'Slim' Hylift [later captured] and Captain Hooper [later captured]. NB The Hylift name may not be accurate as the first letter of the last name is partially obscured by old glue from photo album](images/Photos/WPD-8HUS0007D.jpg)